


 |
Rancho 9000’s w/in-cab controller |
Installation date: 3/6/99
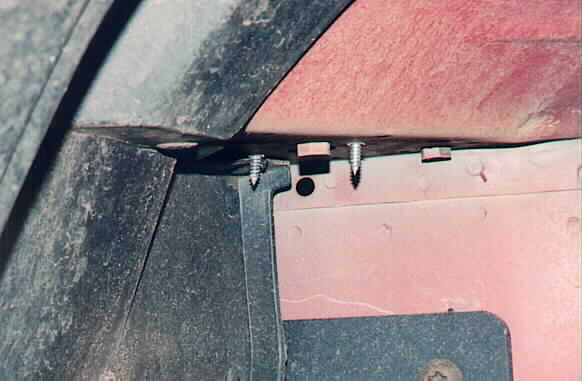
Because of time restraints (ie: school), I did the complete installation over the course of two weekends. I first installed the compressor and gauge/controller kit, since well, without the controller kit the shocks would be stuck on the lowest setting. I mounted the compressor to the fender well inside the engine bay, just behind the nose clip. Had I not installed the Turbo City Rock-it Tube and removed my airbox, I wouldn’t have had a very good place to mount the compressor (I’ve got ABS which takes up a lot of space under the hood). The compressor mounts using 2 3/8″ bolts, so you’ll have to do some drilling. Here you can see where the mounting screws go though the sheet metal, I made sure the screws wouldn’t interfere with the tires or anything else.
 |
 |
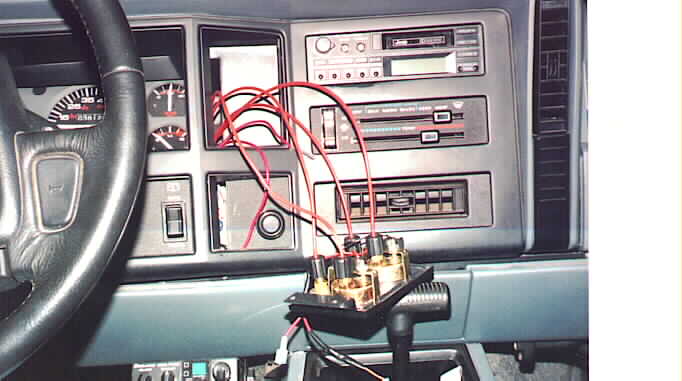
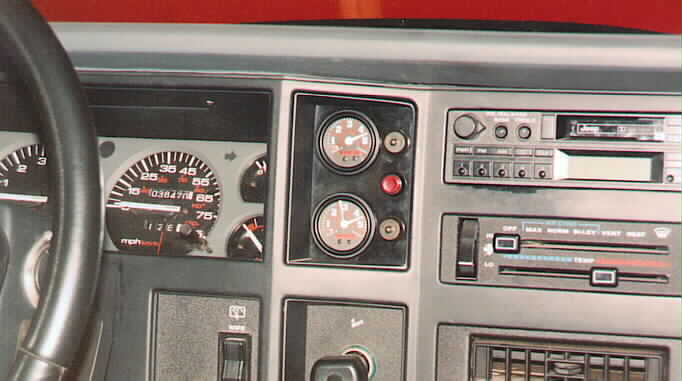
The gauges are custom mounted in the panel in the dash directly to the left of the stereo. This won’t work for some people, but on my rig the panel was blank so it didn’t make any difference (on ’97+ XJ’s you can mount the gauges in the ashtray with a little work, FOUR WHEELER did this on one of their project rigs). I bought the kit used and the guy I bought it from had already installed the gauges and controls in the panel, so all I had to do was run the lines and installed the panel in my dash. The gauges are lighted and I spliced the leads into the light leads for the cigarette lighter, this ensured the gauges would light up when I turned on the vehicle lights, and as an added bonus they dim with the interior lights as well.
 |
 |
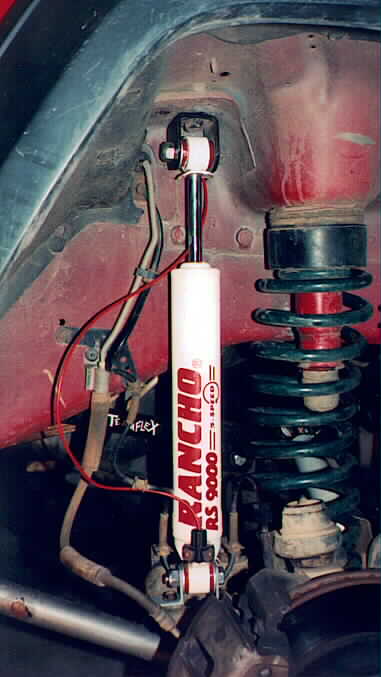
Installing the front shocks required the use of eye-to-stud shock adapters since the RS9116’s I used up front are eye/eye shocks instead of the regular eye/stud shocks the XJ/YJ/TJ use. The adapters from my old Rubicon Express swaybar disconnects worked great for this. Since barpins are prone to developing slop and “clunking”, I decided to use BPE’s (barpin eliminators) on all the shocks. There are few companies, like JKS, that make BPE’s, but I decide to make my own. The front BPE’s are made of 1/8″ angle-iron and a couple of washers, I would have liked to use 3/16″ but there wasn’t enought room to use metal that thick. The top adapters add 1.5″ to the overall shock length and the front BPE’s I made add another 1″. For the rear BPE’s I simply used the brackets from my rear swaybar links, they bolted right up and were a perfect fit, so if you’ve removed your rear swaybar you’ve got free BPE’s for your rear shocks. After driving around with the shocks and BPE’s installed, the BPE’s made a big difference, I’ll hacksaw the barpins out before I install another set of shocks with them.
 |
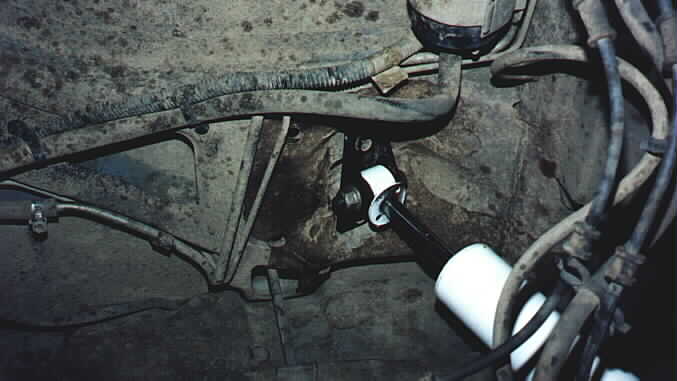 |
Running the airlines was no big deal, and not very hard. There are quite a few little holes in the front fenders to choose from to run the lines down to the front shocks. To get the airlines to the rear I simply followed the factory brakelines all the way to the shocks. Just make sure you leave enough slack in the lines so that you don’t rip them out on the trail.
When I get around to it, I’m going to redo the rear lines so that the back distribution block is up by the top of the shocks, not down on the side of the frame rail as you see in the bottom right photo.
 |
 |