


 |
Rusty’s Off-Road’s Transfer case Skid Plate |
Installation date: 2/7/00
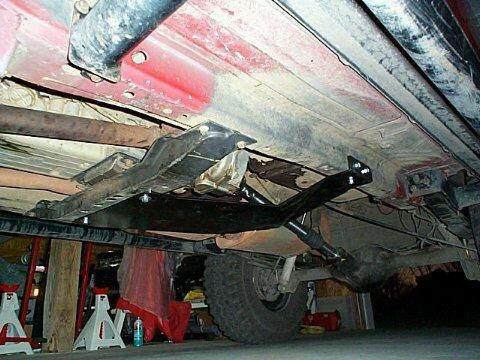
One of the most important add-ons for off-roading in your Jeep is a skid plate for the transfer case. The transfer case housing is made of aluminum, and while it’s pretty strong, and I have seen photos of housings that have been cracked open by rocks. Some Jeeps (with the UpCountry or Off-Road suspension packages) come with a MOPAR/Jeep transfer case skid plate from the factory, but most don’t, and the MOPAR t’case skid plate isn’t really up to the task of serious rock crawling anyway (and it doesn’t provide much protection for the cross-member either, as the dents in mine clearly show). That’s where Rusty’s Off-Road comes in. Rusty’s t’case skid plate, made of heavy-duty 3/16″ thick steel, is one of the beefiest skid plates you’ll find. It also features a gusset (seen below) for added strength. The skid plate mounts to the cross-member with two grade-5 bolts and to the unibody frame using three self-tapping bolts.
When I spoke to Rusty about his t’case skid plate I was concerned about loosing easy access to the front driveshaft (since at the time I frequently removed it because of driveline vibs), but Rusty assured me that he had designed his skid plate to give enough room to work with the front driveshaft if needed, but still provide total protection for the t’case. The skid plate does block access to the t’case drain plug however, so you’ll probably have to remove the skid plate to change the fluid in your t’case.
 |
The kit comes with the skid plate, all the hardware, and a good set of installation instructions that even include a diagram. The installation is pretty easy and straight forward, the only real problem I ran into was not having a 7/16″ drill bit (the instructions call for two 7/16″ DIA holes to be drilled in the cross-member), so I just used a 1/2″ bit instead. Make sure you have good, sharp drill bits as the cross-member is made of relatively hard steel. |
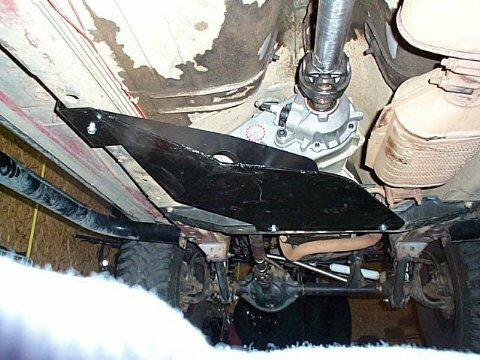
| The first thing to do is support the skid plate under the t’case with a jack. This will allow you to line everything up and mark the holes without having to hold the skid plate up yourself.
Line up the front edge of the skid plate with the middle of the cross-member and mark the two holes on the cross-member. Next mark the three holes on the unibody frame rail. Once you have all five holes marked you can remove the skid plate and start drilling, or, if the skid plate isn’t moving on the jack, you can just leave it up and use it as a guide as well. |
 |
 |
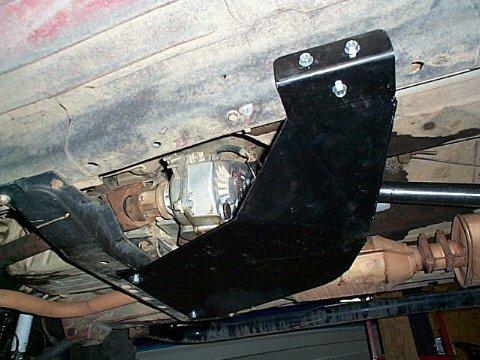
The two holes in the cross-member go all the way through it. If you don’t have a 7/16″ drill bit, a 1/2″ will work fine (it did for me). The slightly larger hole gives you a bit of room to make adjustments if needed.
The three holes in the frame rail are for self-tapping bolts, so don’t drill them too big – you just want to drill a starter hole and let the bolt do the rest. And be sure not to over-tighten these, you don’t want to strip out the frame or you’ll never be able to get the bolts tight. |
| Once you have all the holes drilled, jack the skid plate back up, bolt it up, and you’re ready to hit the trails.
Installation should take about an hour or so with good drill bits. |
 |
 |
 |
For more information, contact:
Rusty’s Off-Road Products
213 Oak St.
Trussville, AL 35173
205-655-8714
Rusty@rustysoffroad.com
http://www.rustysoffroad.com/