
|
 01-28-2018, 12:00 AM
|
#61 |
|
Working Mother
Join Date: Mar 2004
Posts: 19,874
 |
Got the new perches, got it in last night. Took a video showing the installed state and a few things about it.
Be forwarned its a little long if you are not planning to swap this axle into an MJ: https://www.youtube.com/watch?v=QcPzZFVUUrs |

|

|
|
01-29-2018, 03:15 PM
|
#62 |
|
shoplifter fail

Join Date: Jun 2003
Posts: 5,699
|
Hey look at that, the centerpin bolt heads fit through just fine
|
|
|
|
|
01-29-2018, 08:05 PM
|
#63 | |
|
Working Mother
Join Date: Mar 2004
Posts: 19,874
|
Quote:
|
|
|
|
|
|
01-31-2018, 08:22 AM
|
#64 |
|
Working Mother
Join Date: Mar 2004
Posts: 19,874
|
I started removing the seat brackets from the XJ donor metal. I made a how to video for removing the spot welds. This process applies to pretty much any spot weld cutting you are likely to ever do for automotive purposes.
https://www.youtube.com/watch?v=HLpjFQDPA4s |
|
|
|
|
01-31-2018, 10:36 AM
|
#65 |
|
AKA: jeepnski

Join Date: Sep 2002
Location: Pittsburgh, PA
Posts: 16,513
|
nice vid! that's the first i've had a chance to watch
no DeWALT plug? good action shots though lol |
|
|
|
|
01-31-2018, 11:38 AM
|
#66 | |
|
Working Mother
Join Date: Mar 2004
Posts: 19,874
|
Quote:
It took me about an hour to do that video, so I had to speed up and cut down quite a bit of footage to make it watchable length, hopefully it shows enough of the process for people to get the idea. |
|
|
|
|
|
01-31-2018, 02:48 PM
|
#67 |
|
Senior Member

Join Date: Feb 2006
Posts: 2,718
|
You have a very James May type of calmness to you

|
|
|
|
|
01-31-2018, 03:05 PM
|
#68 | |
|
AKA: jeepnski
Join Date: Sep 2002
Location: Pittsburgh, PA
Posts: 16,513
|
Quote:
|
|
|
|
|
|
01-31-2018, 03:17 PM
|
#69 | ||
|
Working Mother
Join Date: Mar 2004
Posts: 19,874
|
Quote:
Combined with the fact I decided to make a video means I kinda took my time and didn't have to bend over to do it. I don't think I even swore once during that whole hour........usually I have to be asleep for that to happen. Now other times, I'll make an enlisted sailor blush when its not going well. Quote:
Last edited by Sir Sam; 01-31-2018 at 03:40 PM. |
||
|
|
|
|
02-01-2018, 07:24 PM
|
#70 |
|
Working Mother
Join Date: Mar 2004
Posts: 19,874
|
So I cleaned, brushed, flap disked, primed with self etching primer, and painted the hard to find drawtight hitch I pulled at a junkyard in Feb of 2010 and have been storing for eventual use.
And the sucker sits way too low. Dammit. 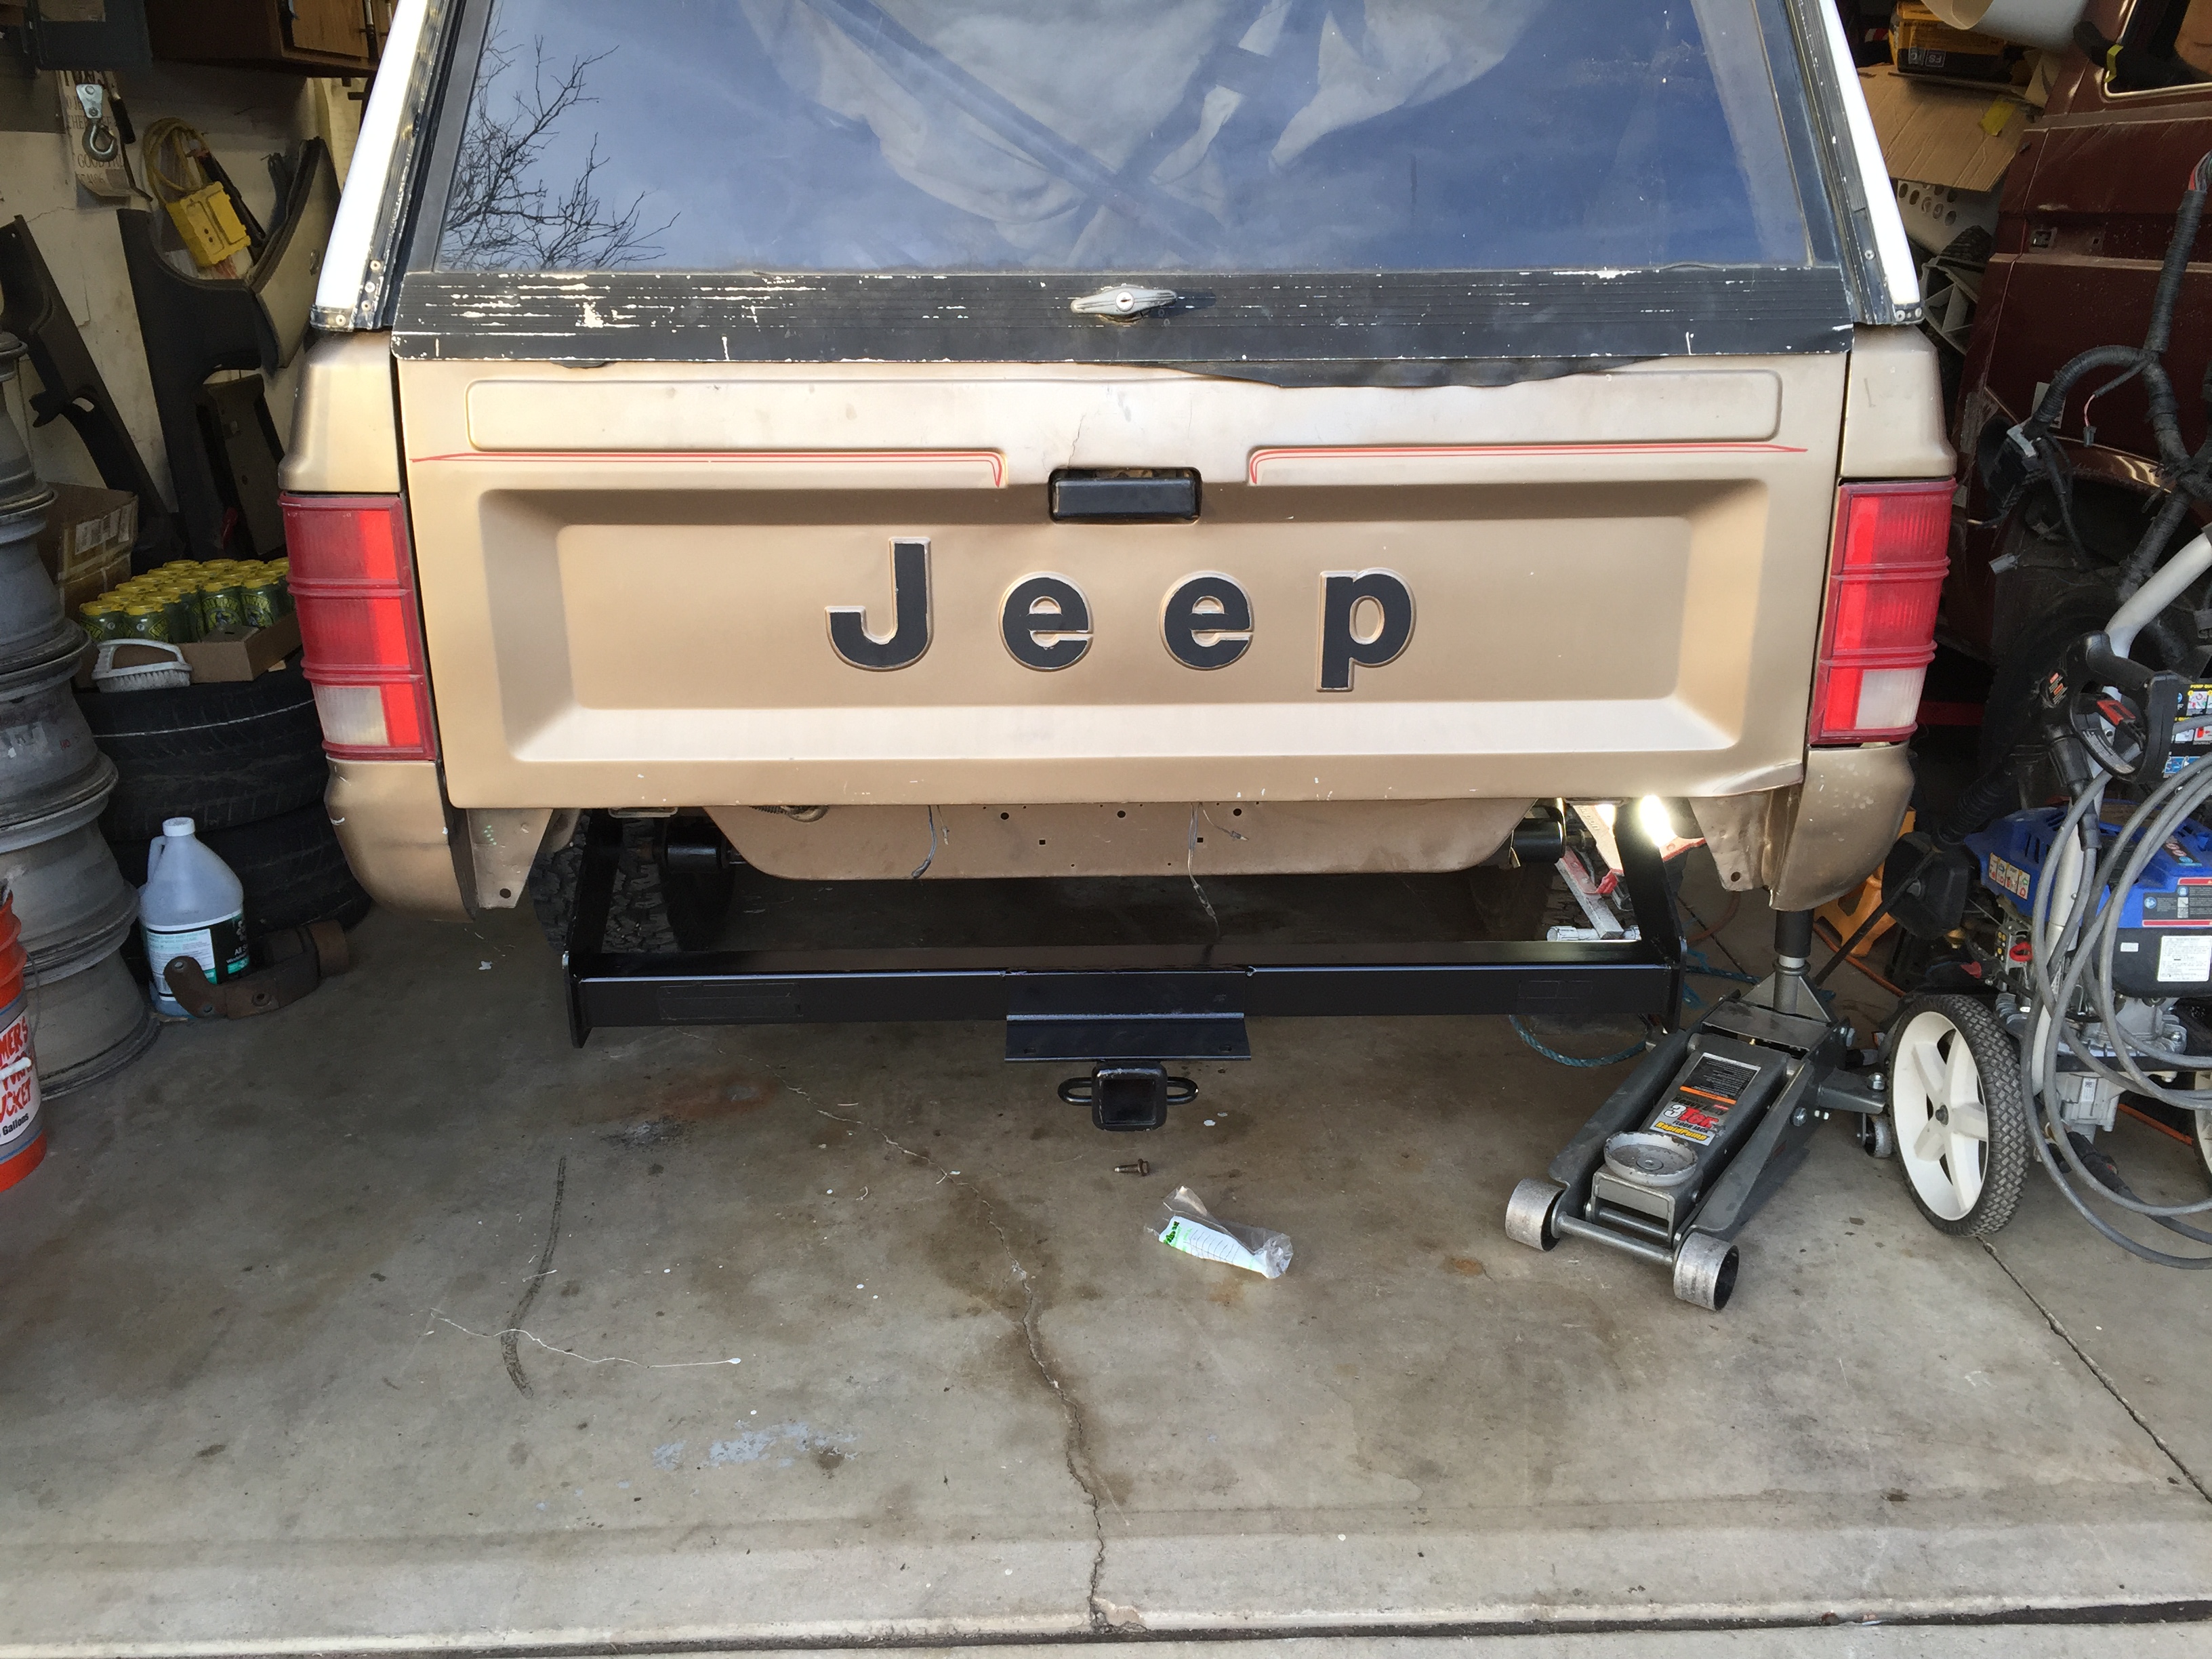 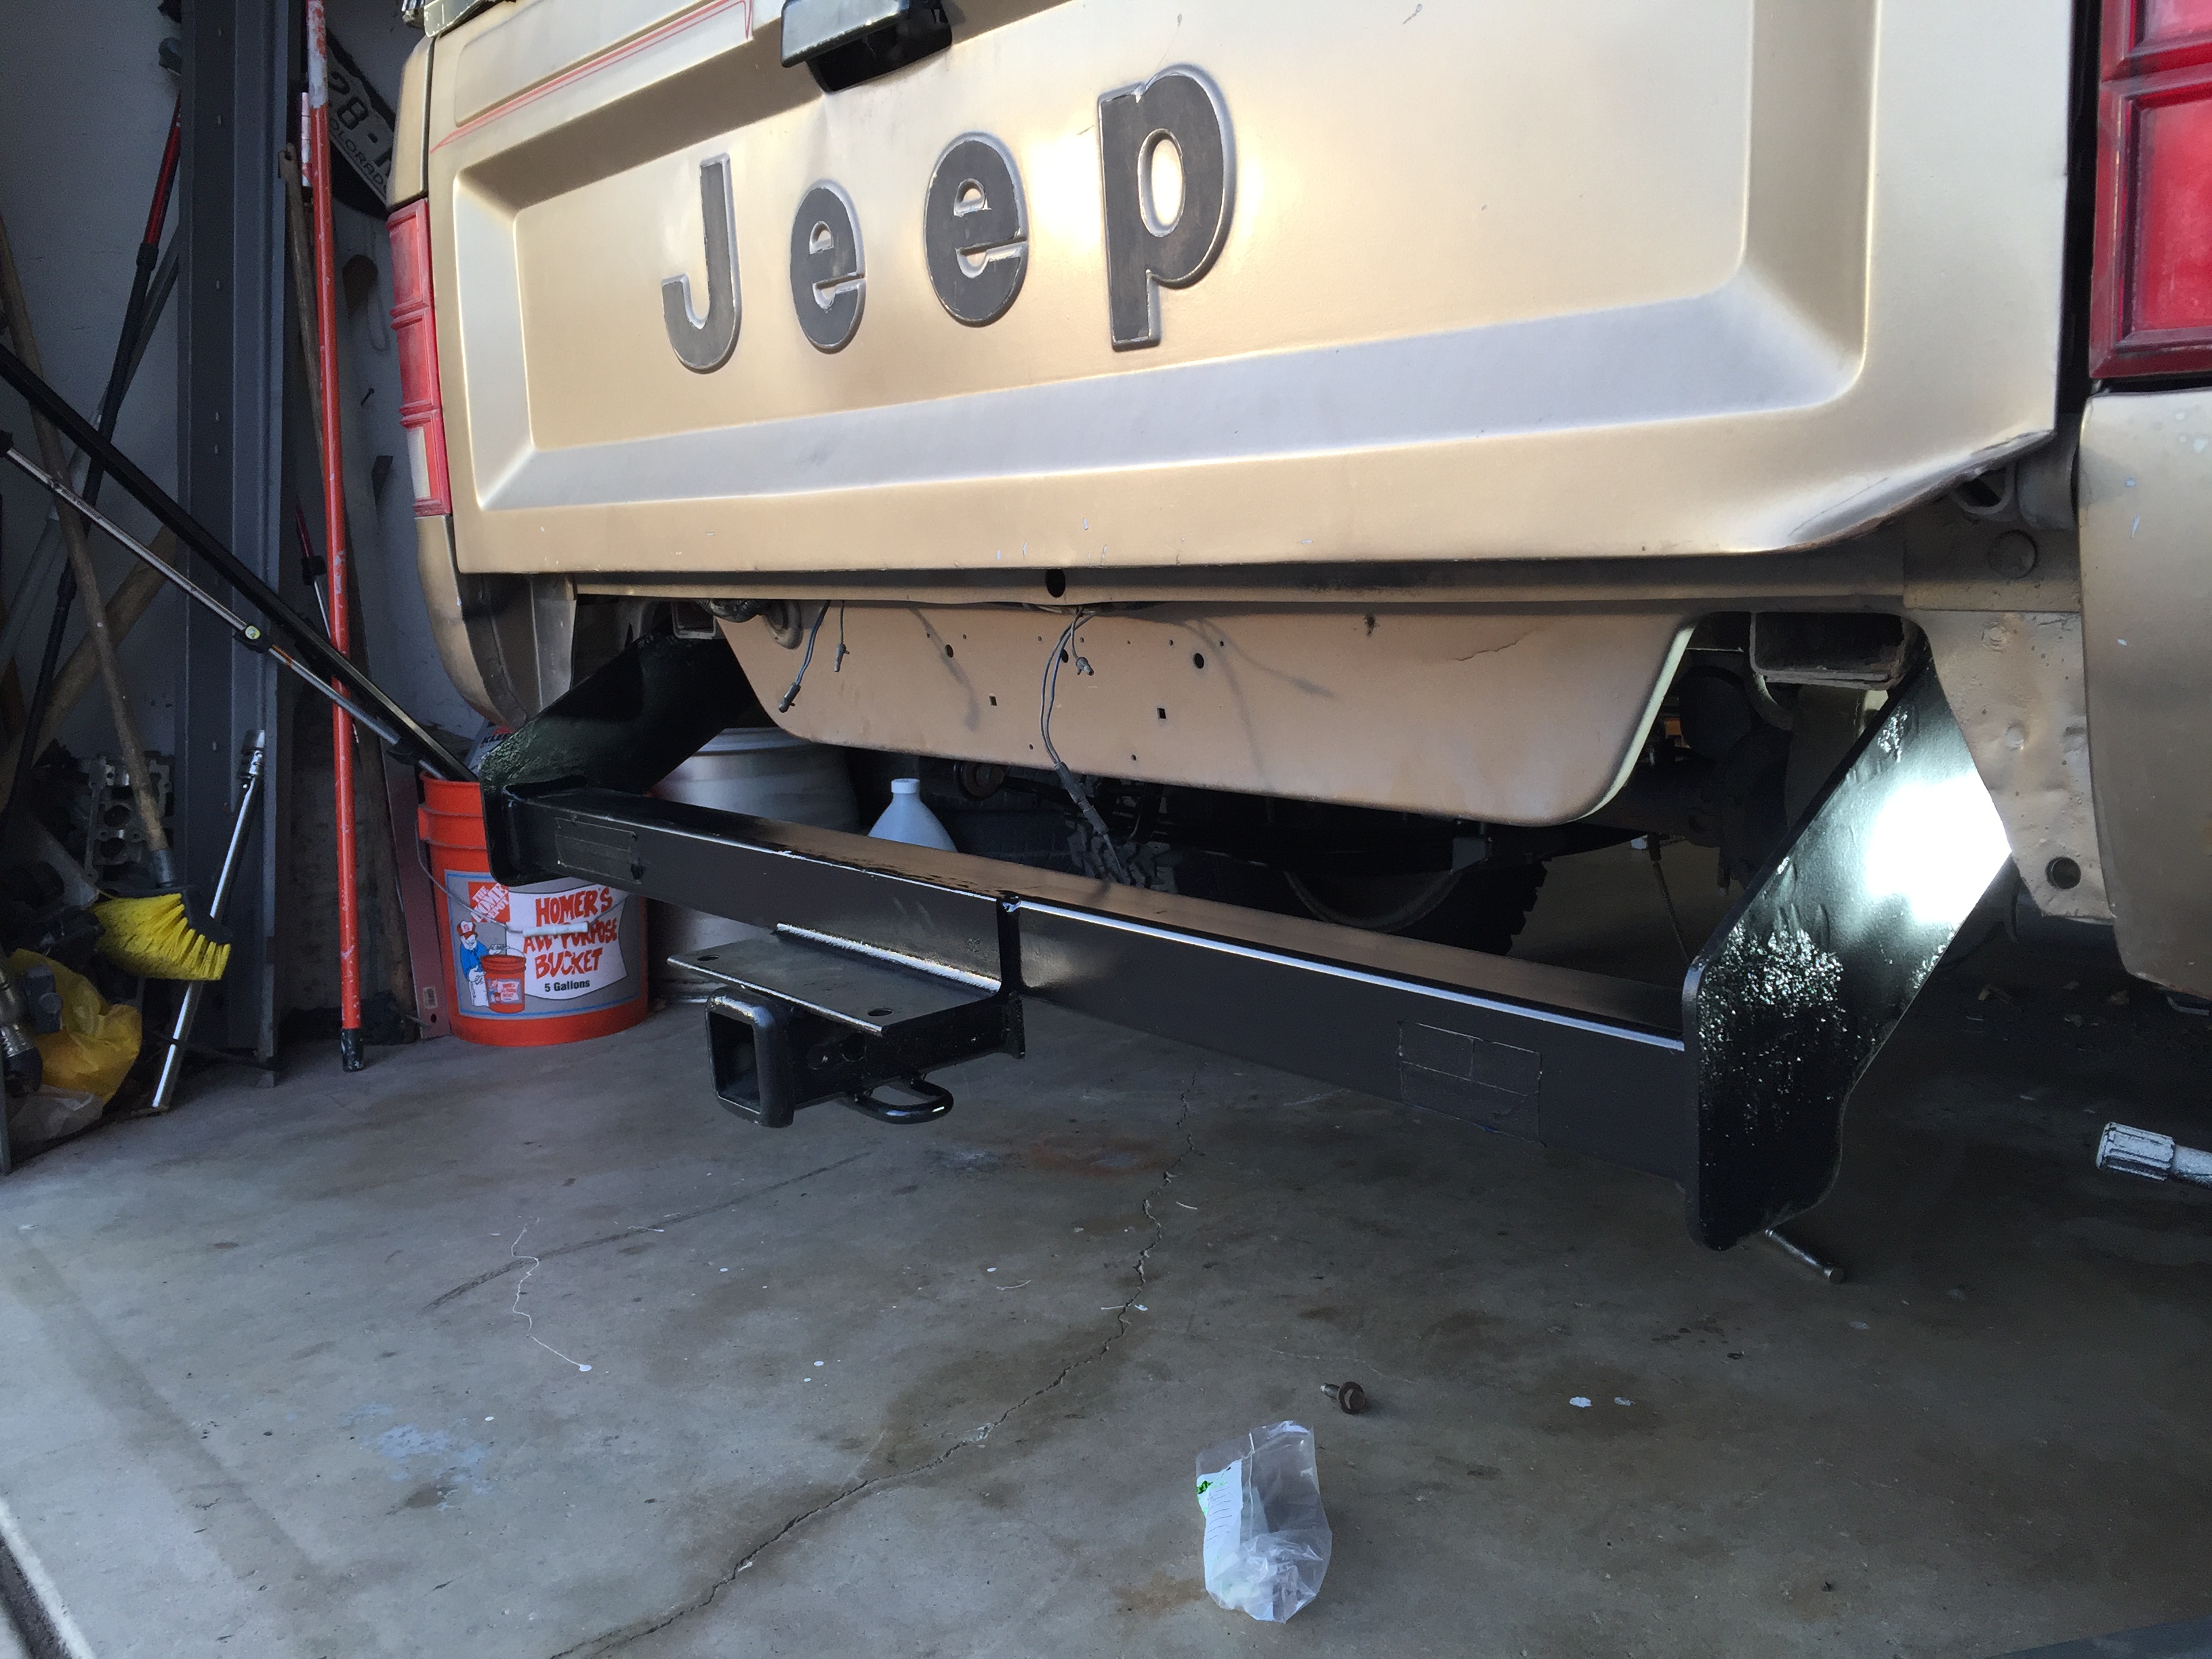 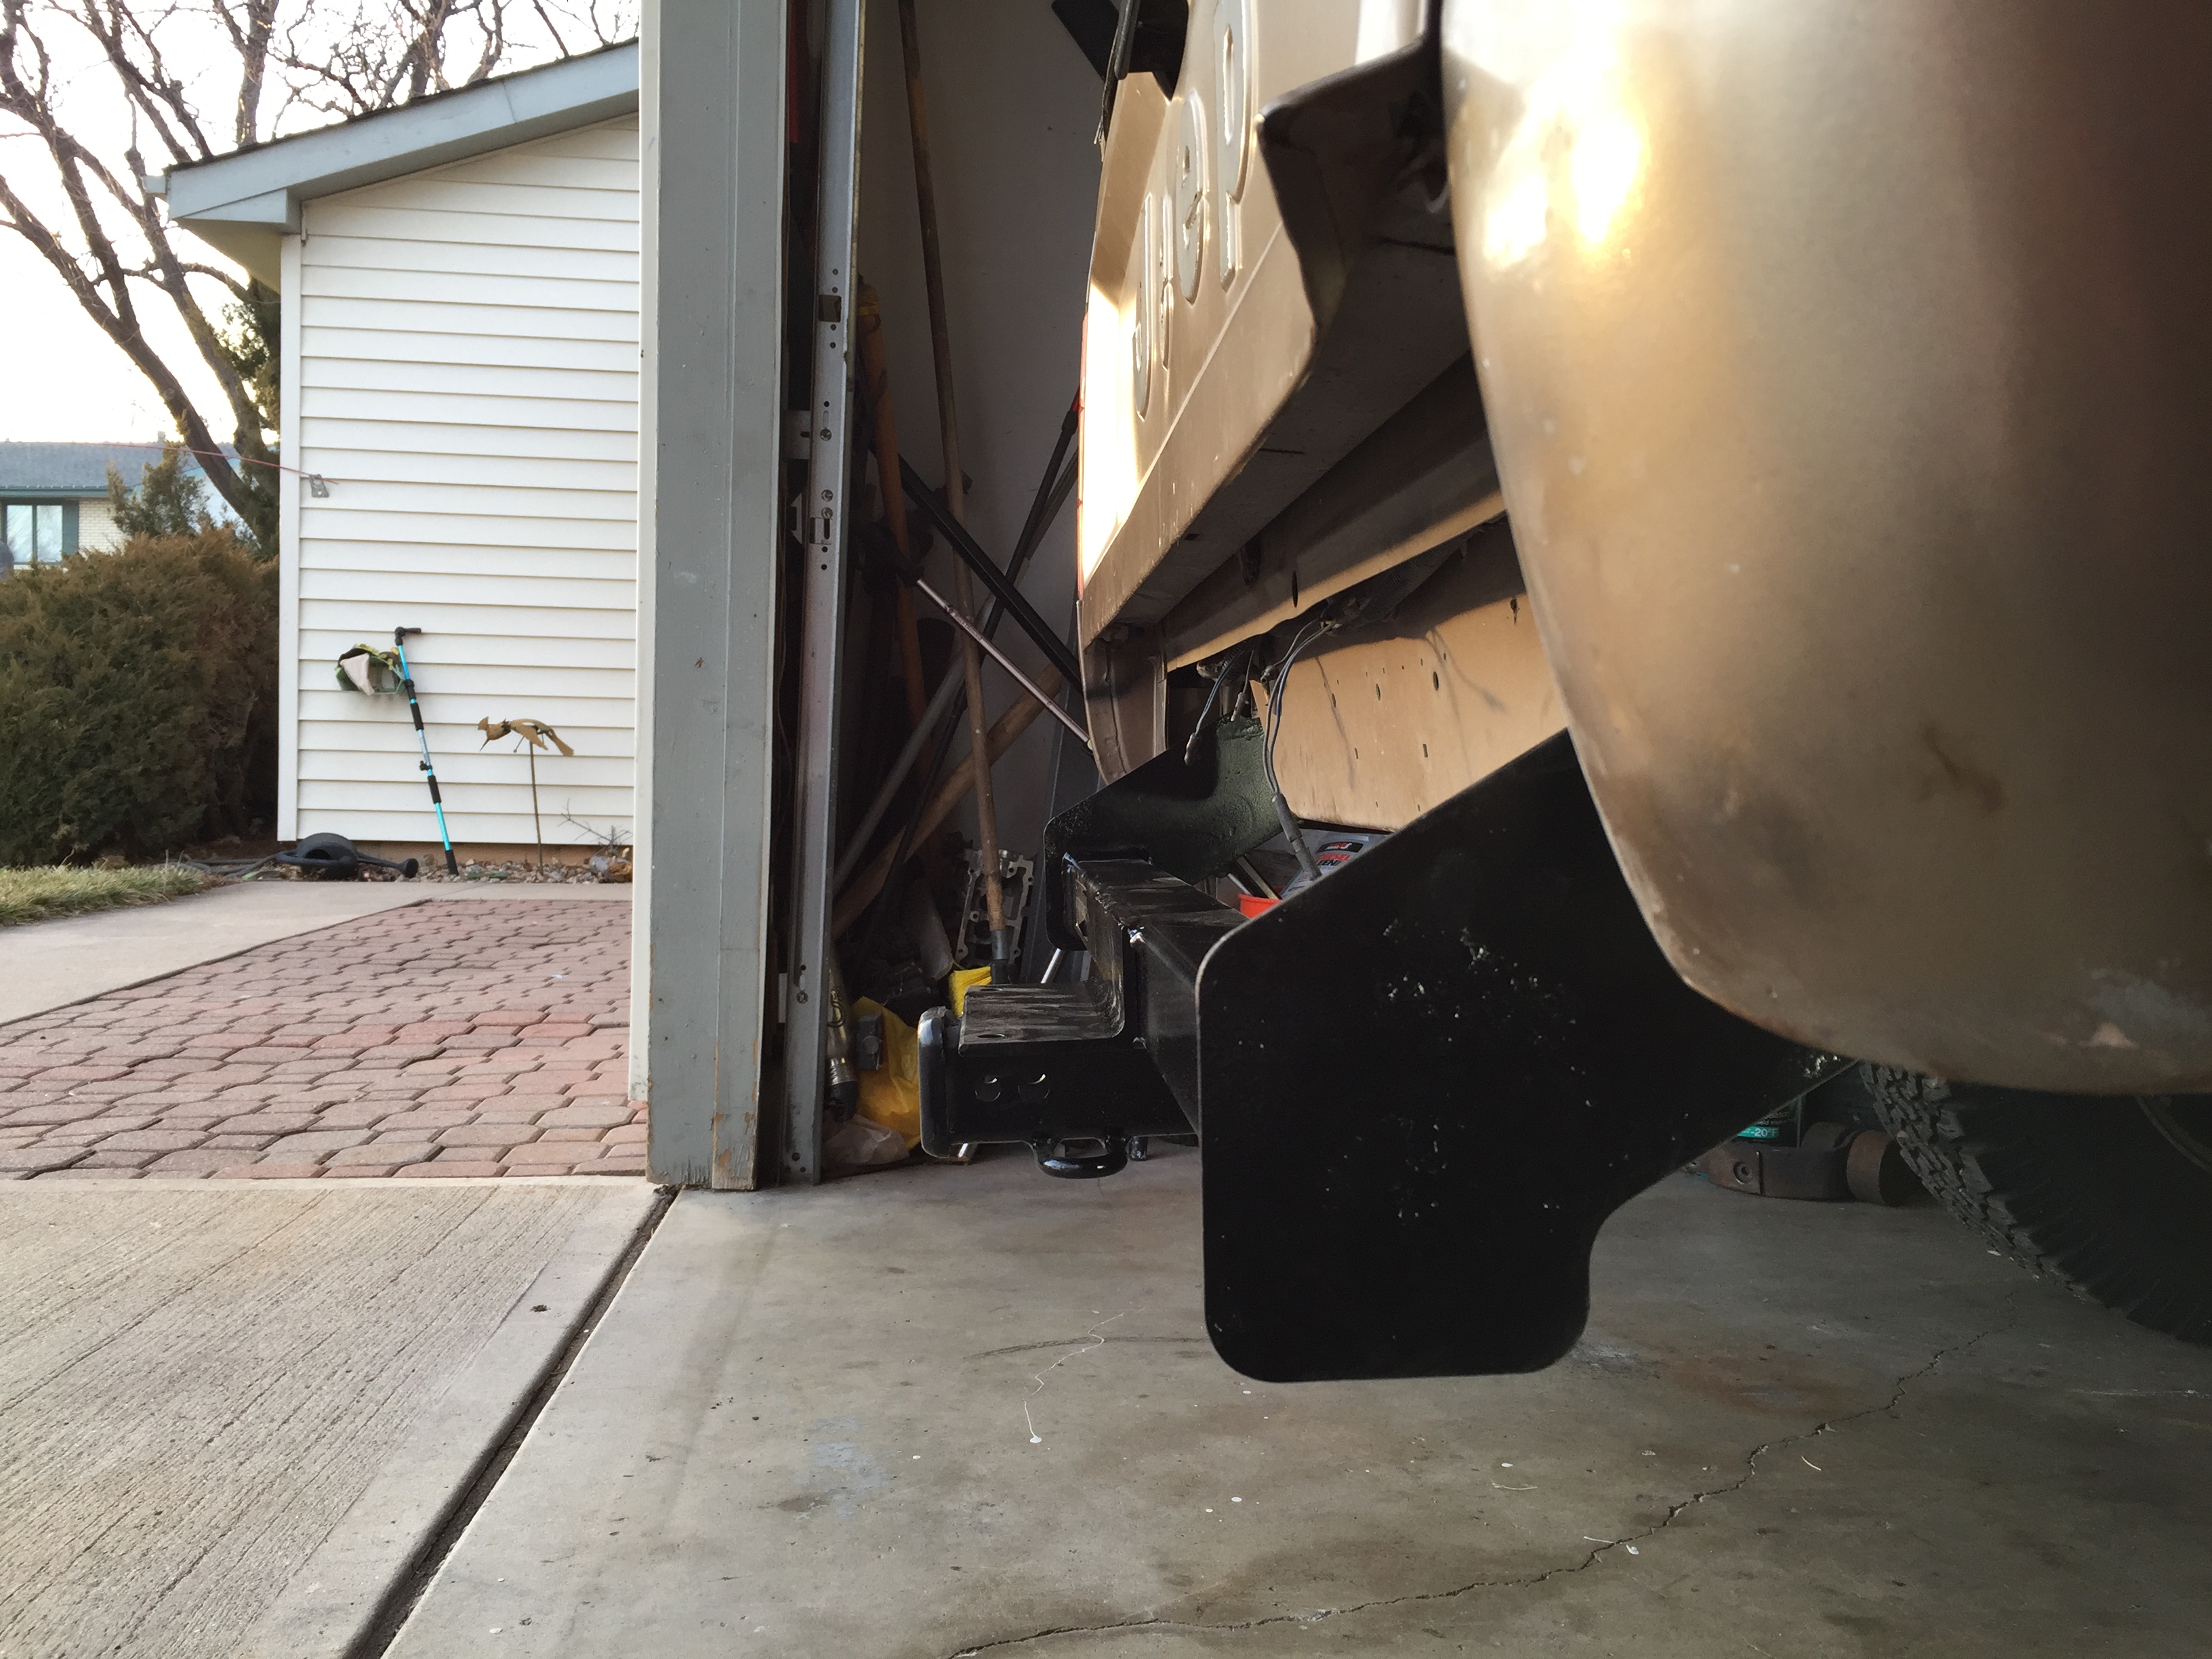 So I will look at an aftermarket option that has better clearance with an integrated hitch. |
|
|
|
|
02-01-2018, 07:35 PM
|
#71 |
|
Working Mother
Join Date: Mar 2004
Posts: 19,874
|
I cleared parts out of the cab and got started on cleaning it up, there was a bunch of nasty rust dust around on the floor.
More than half a decade ago I was cutting out the metal support that will be replaced by the seat bracket, I had just finished with a cutoff wheel and went to take a brake, as I pulled my earmuffs and safety glasses off I realized I had a rather large bit of slag that had gotten around my safety glasses, and melted on the INSIDE of my prescription glasses. I noped the phuck out of grinding more for the day and left everything sitting there.......for years. There were piles of grinding dust around, a file, my center punch, cutoff wheels, etc that I left sitting there, and those dust piles turned to rust piles, lucky they didnt continue to eat up the floor, but they made a nice fine coat of rust dust that seems to cleanup pretty easy. 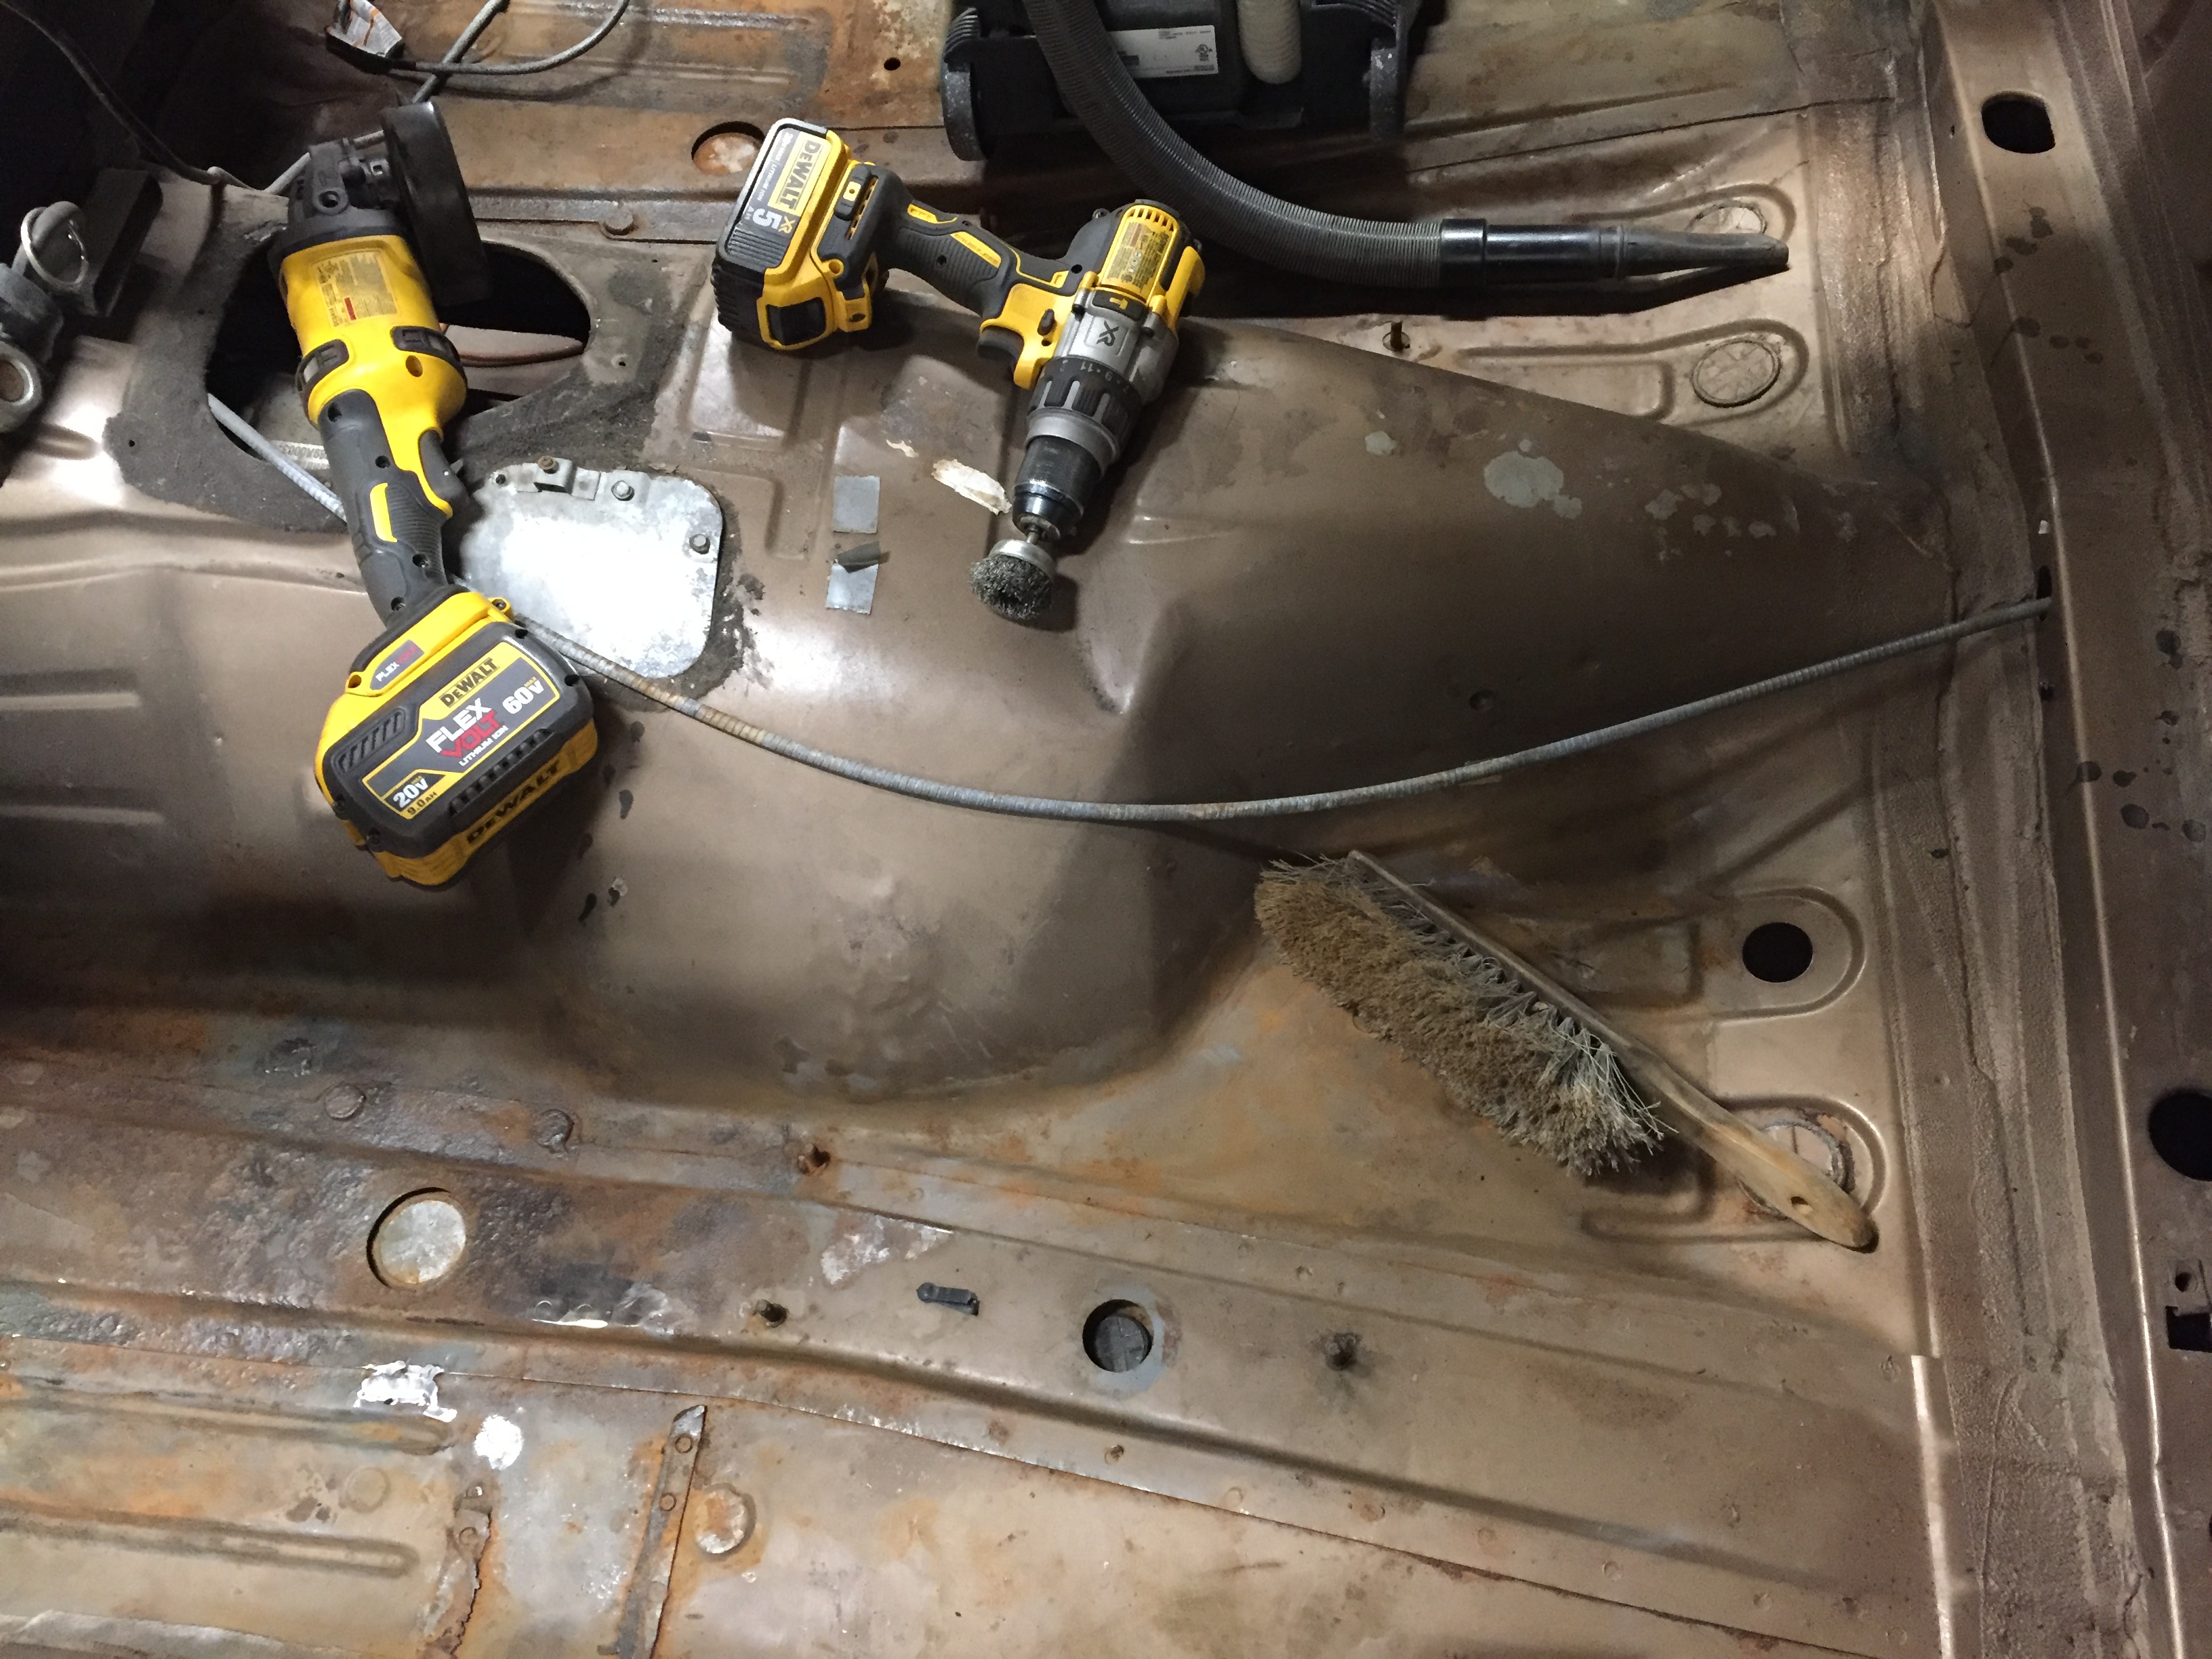 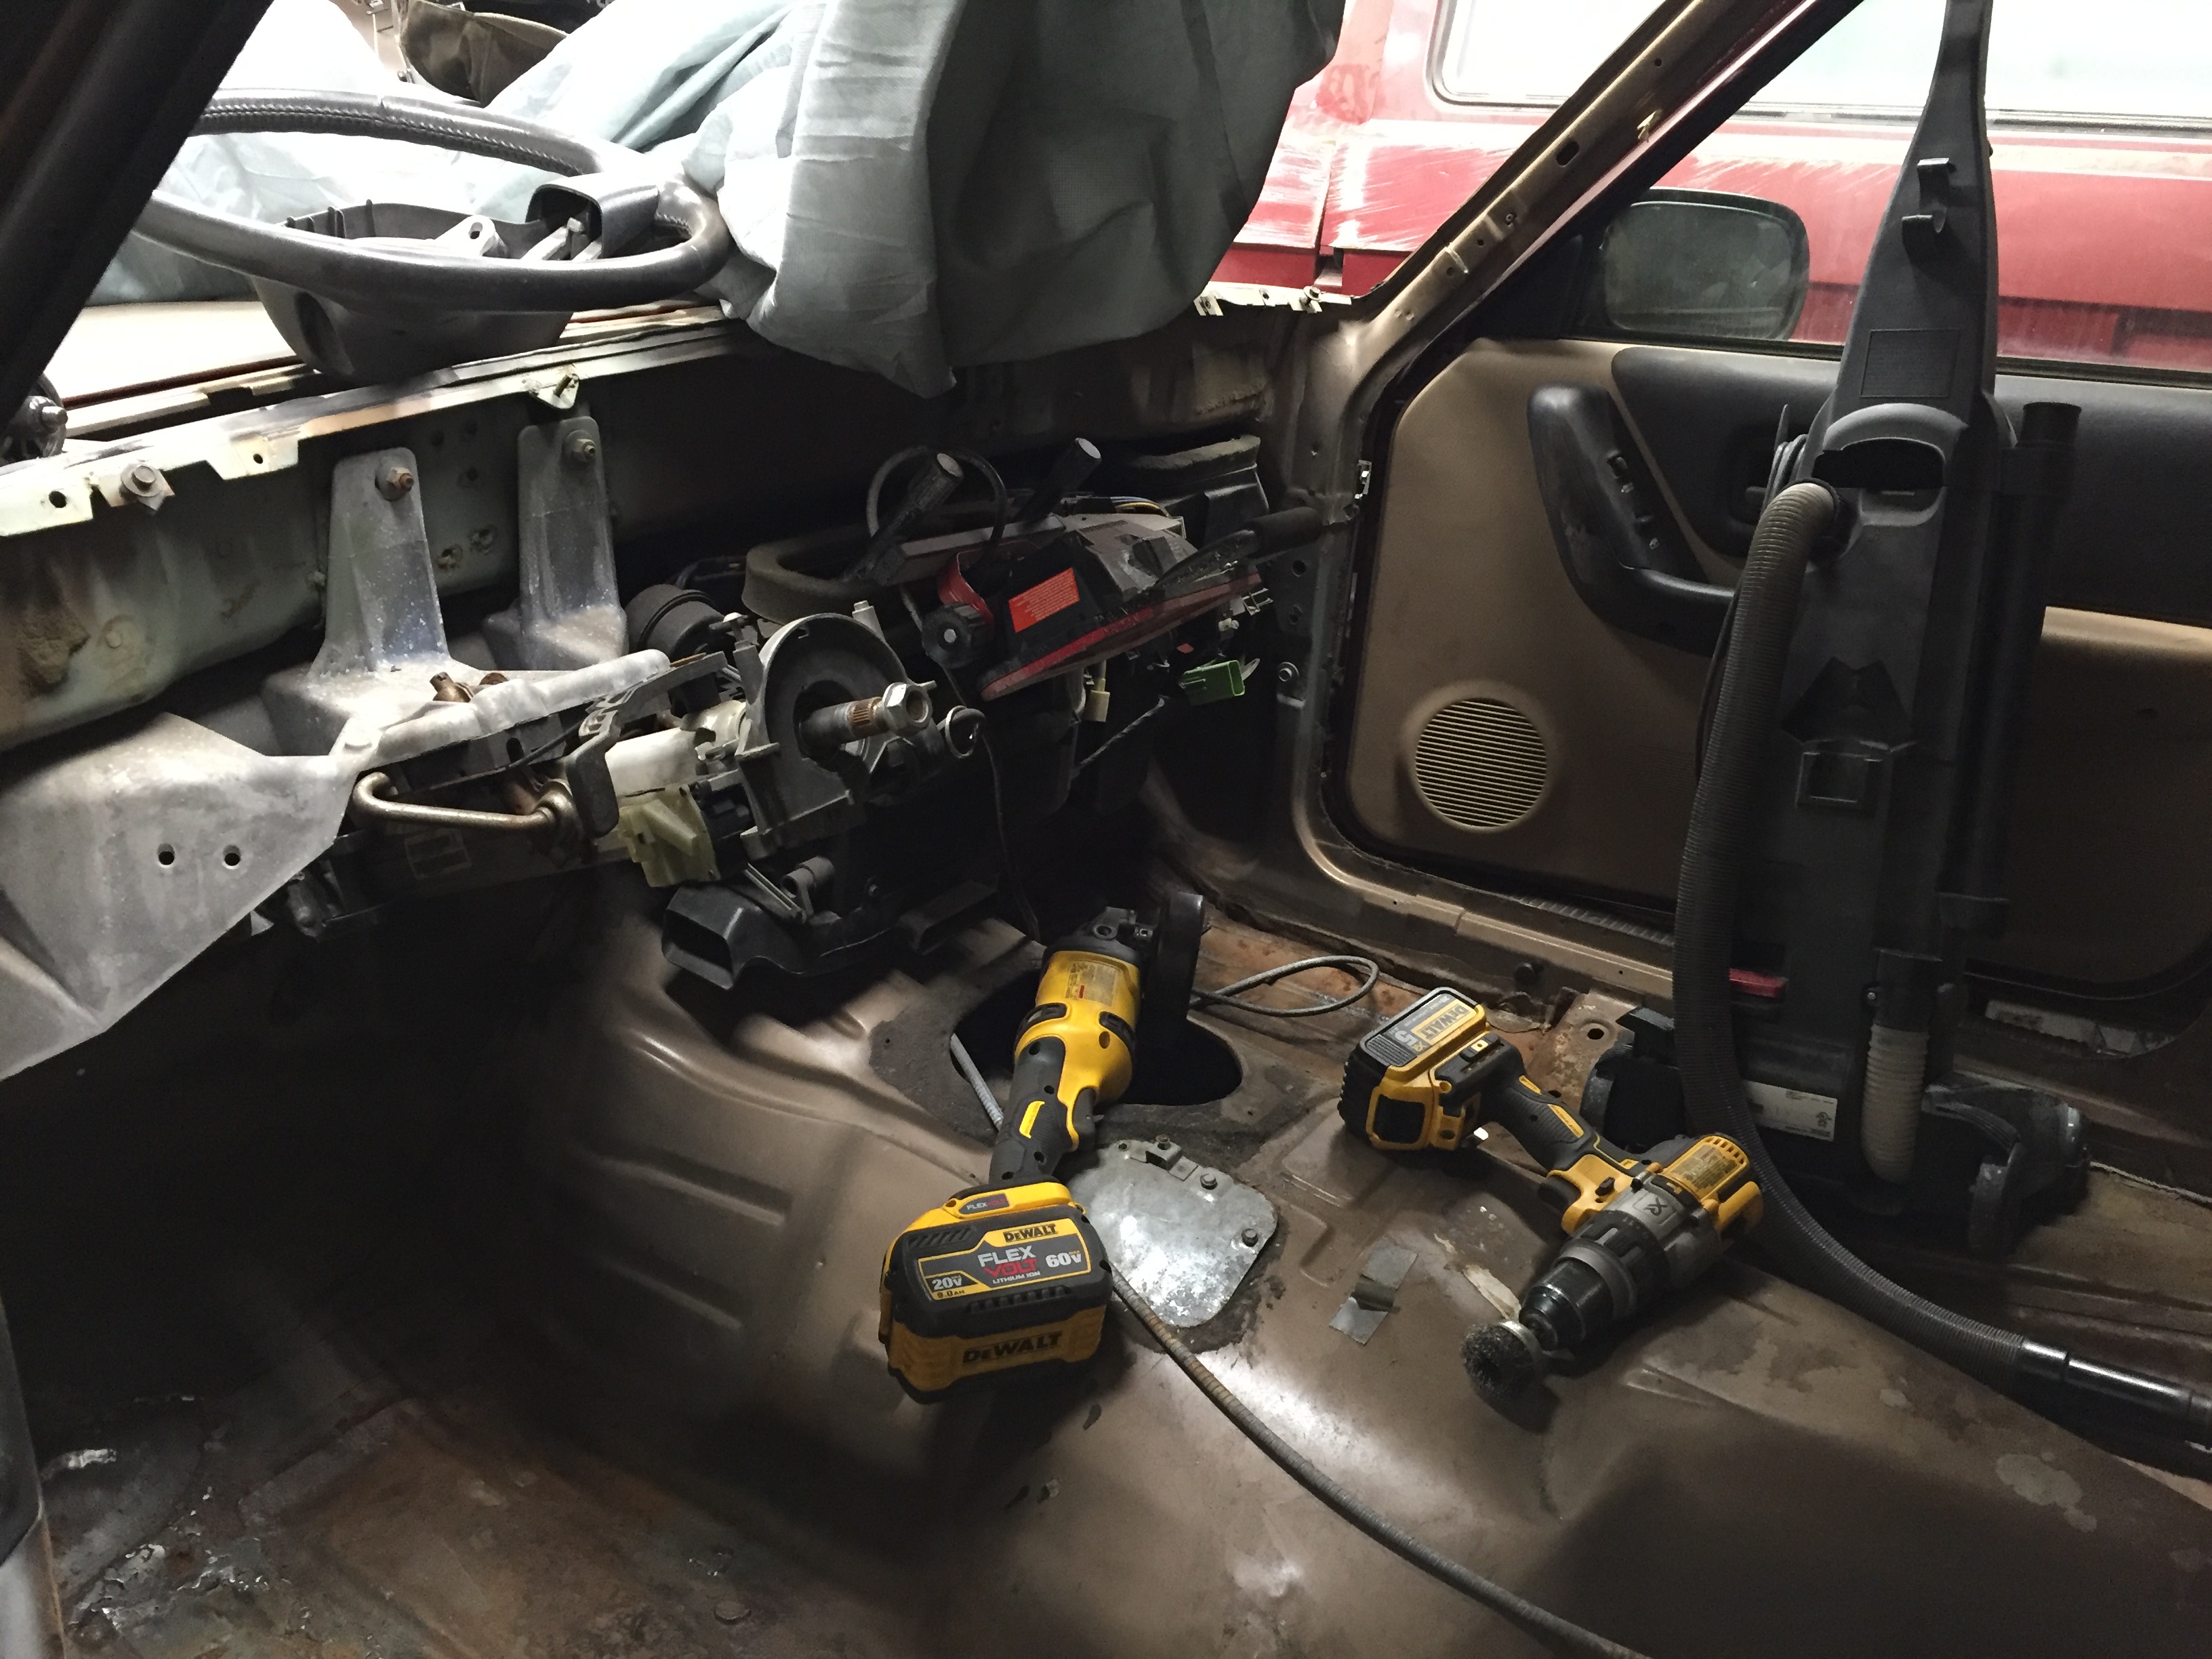 So I am taking a wire wheel around, cleaning up the dust crap and vacuuming it out. I need to finish removing both floor supports to weld in the new seat bracket, cleanup the floor, weld in the seat brackets, and then I am going to coat the whole floor area in por15 and then seam seal it. So I got POR15, seam sealer, more flap disks, cutoff wheels and copper weld through primer coming! After seat brackets I will finish the firewall holes for steering column/wiring, seam seal those, por15 it, and then interior parts can start to go in! |
|
|
|
|
02-02-2018, 07:10 AM
|
#72 | |
|
AKA: jeepnski
Join Date: Sep 2002
Location: Pittsburgh, PA
Posts: 16,513
|
Quote:
 except maybe impending baby ... but that's more fear related
|
|
|
|
|
|
02-02-2018, 10:23 PM
|
#73 |
|
Working Mother
Join Date: Mar 2004
Posts: 19,874
|
Finished installing the Chevy drop shackles. I got about an inch of lift out of them, I have one higher hole on the shackles I could use, but it won't give me much more lift.
This was the set I picked up, I am pleased with the quality for the price. https://www.amazon.com/gp/product/B0106NWAJY 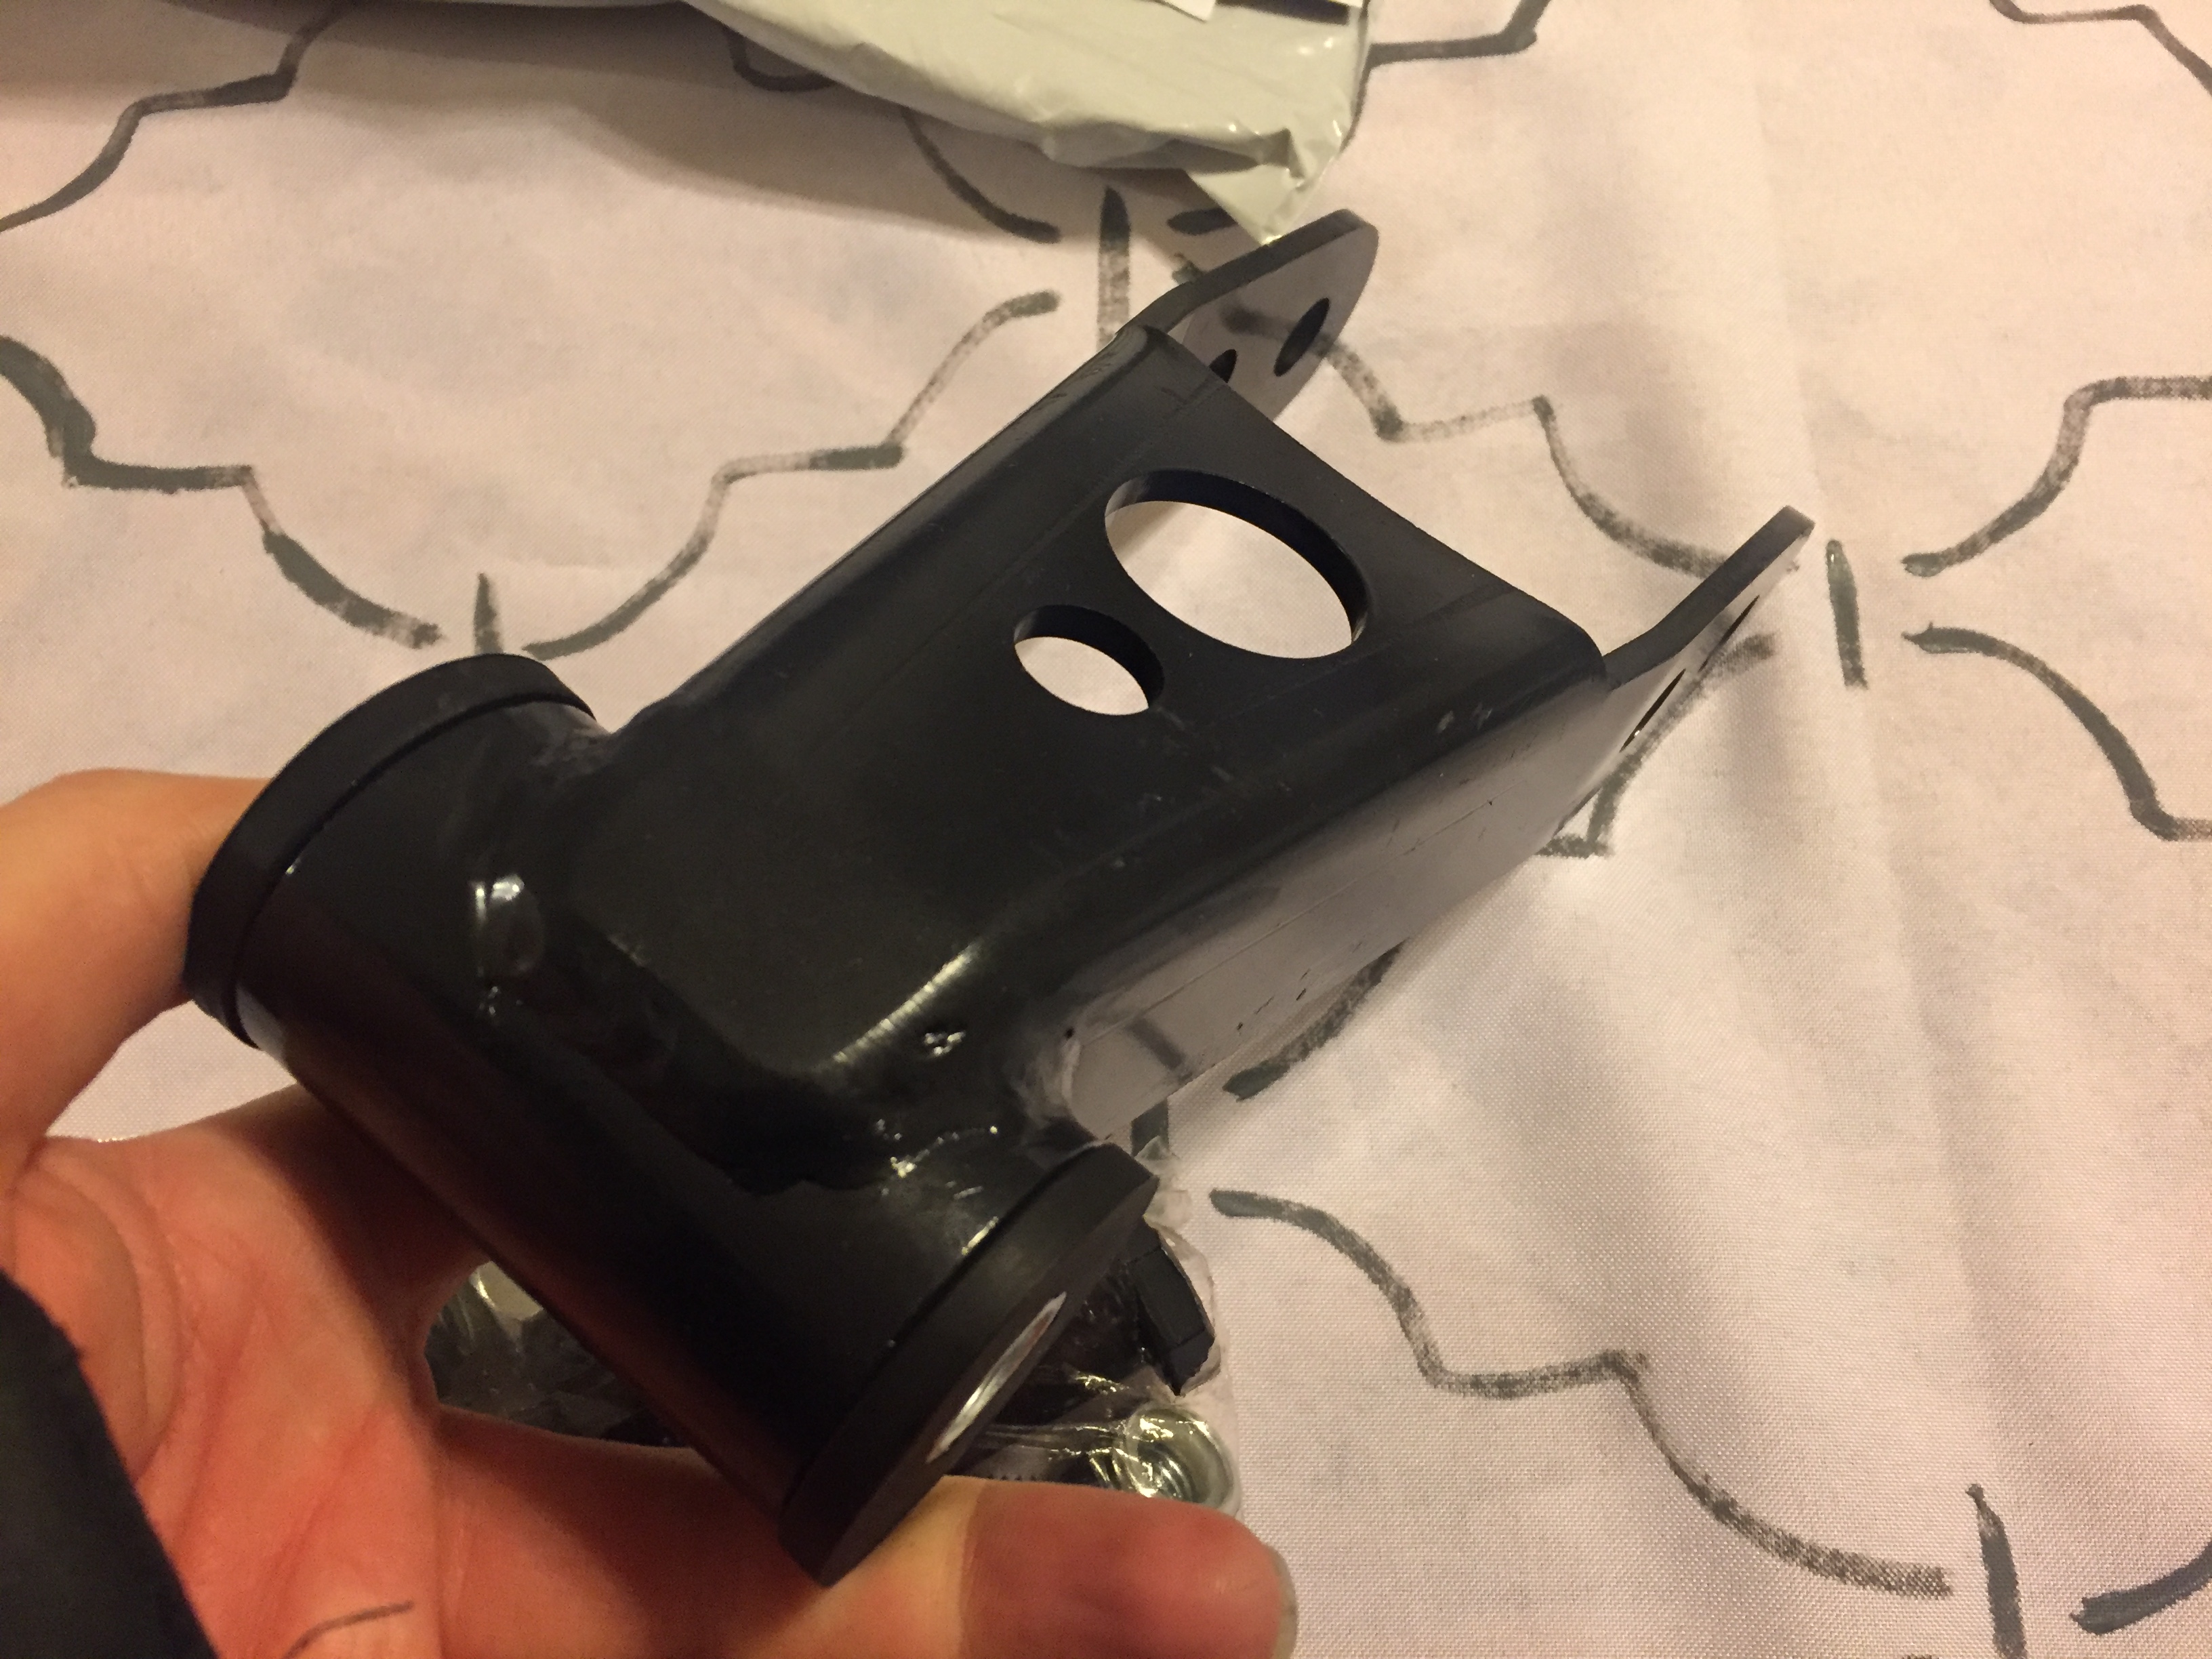 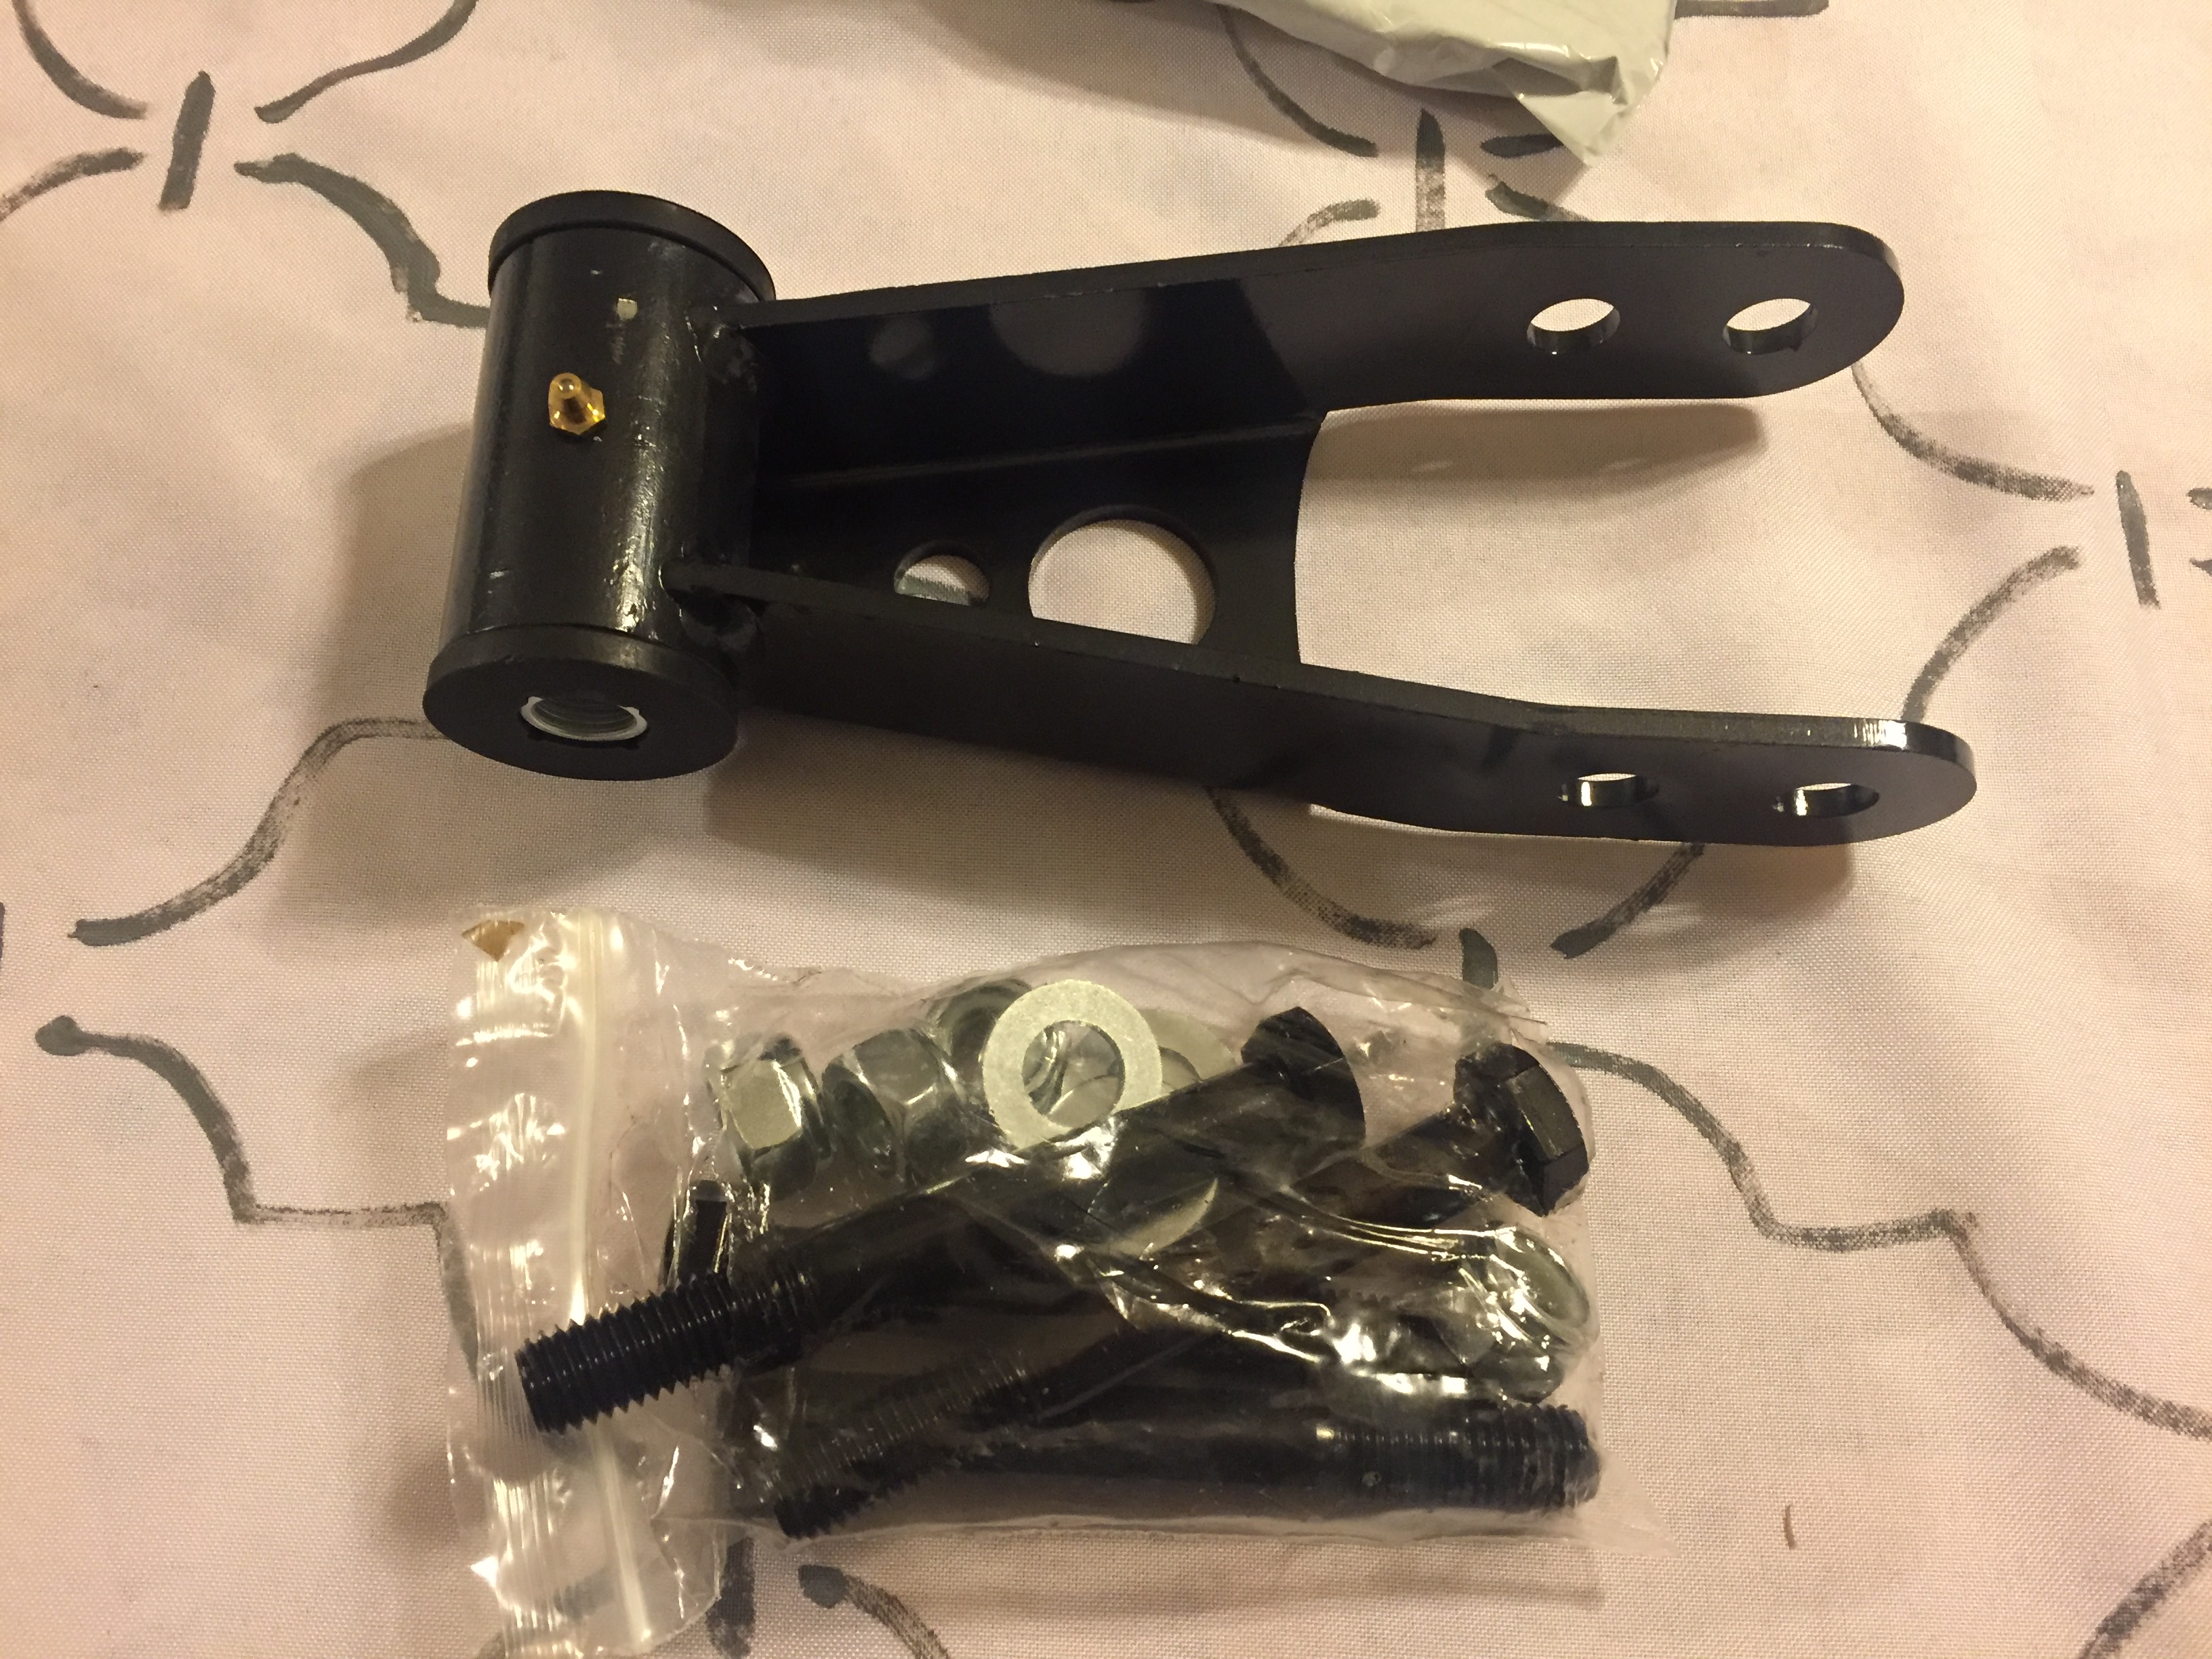 MJ shackle top(which is longer than an XJ shackle) 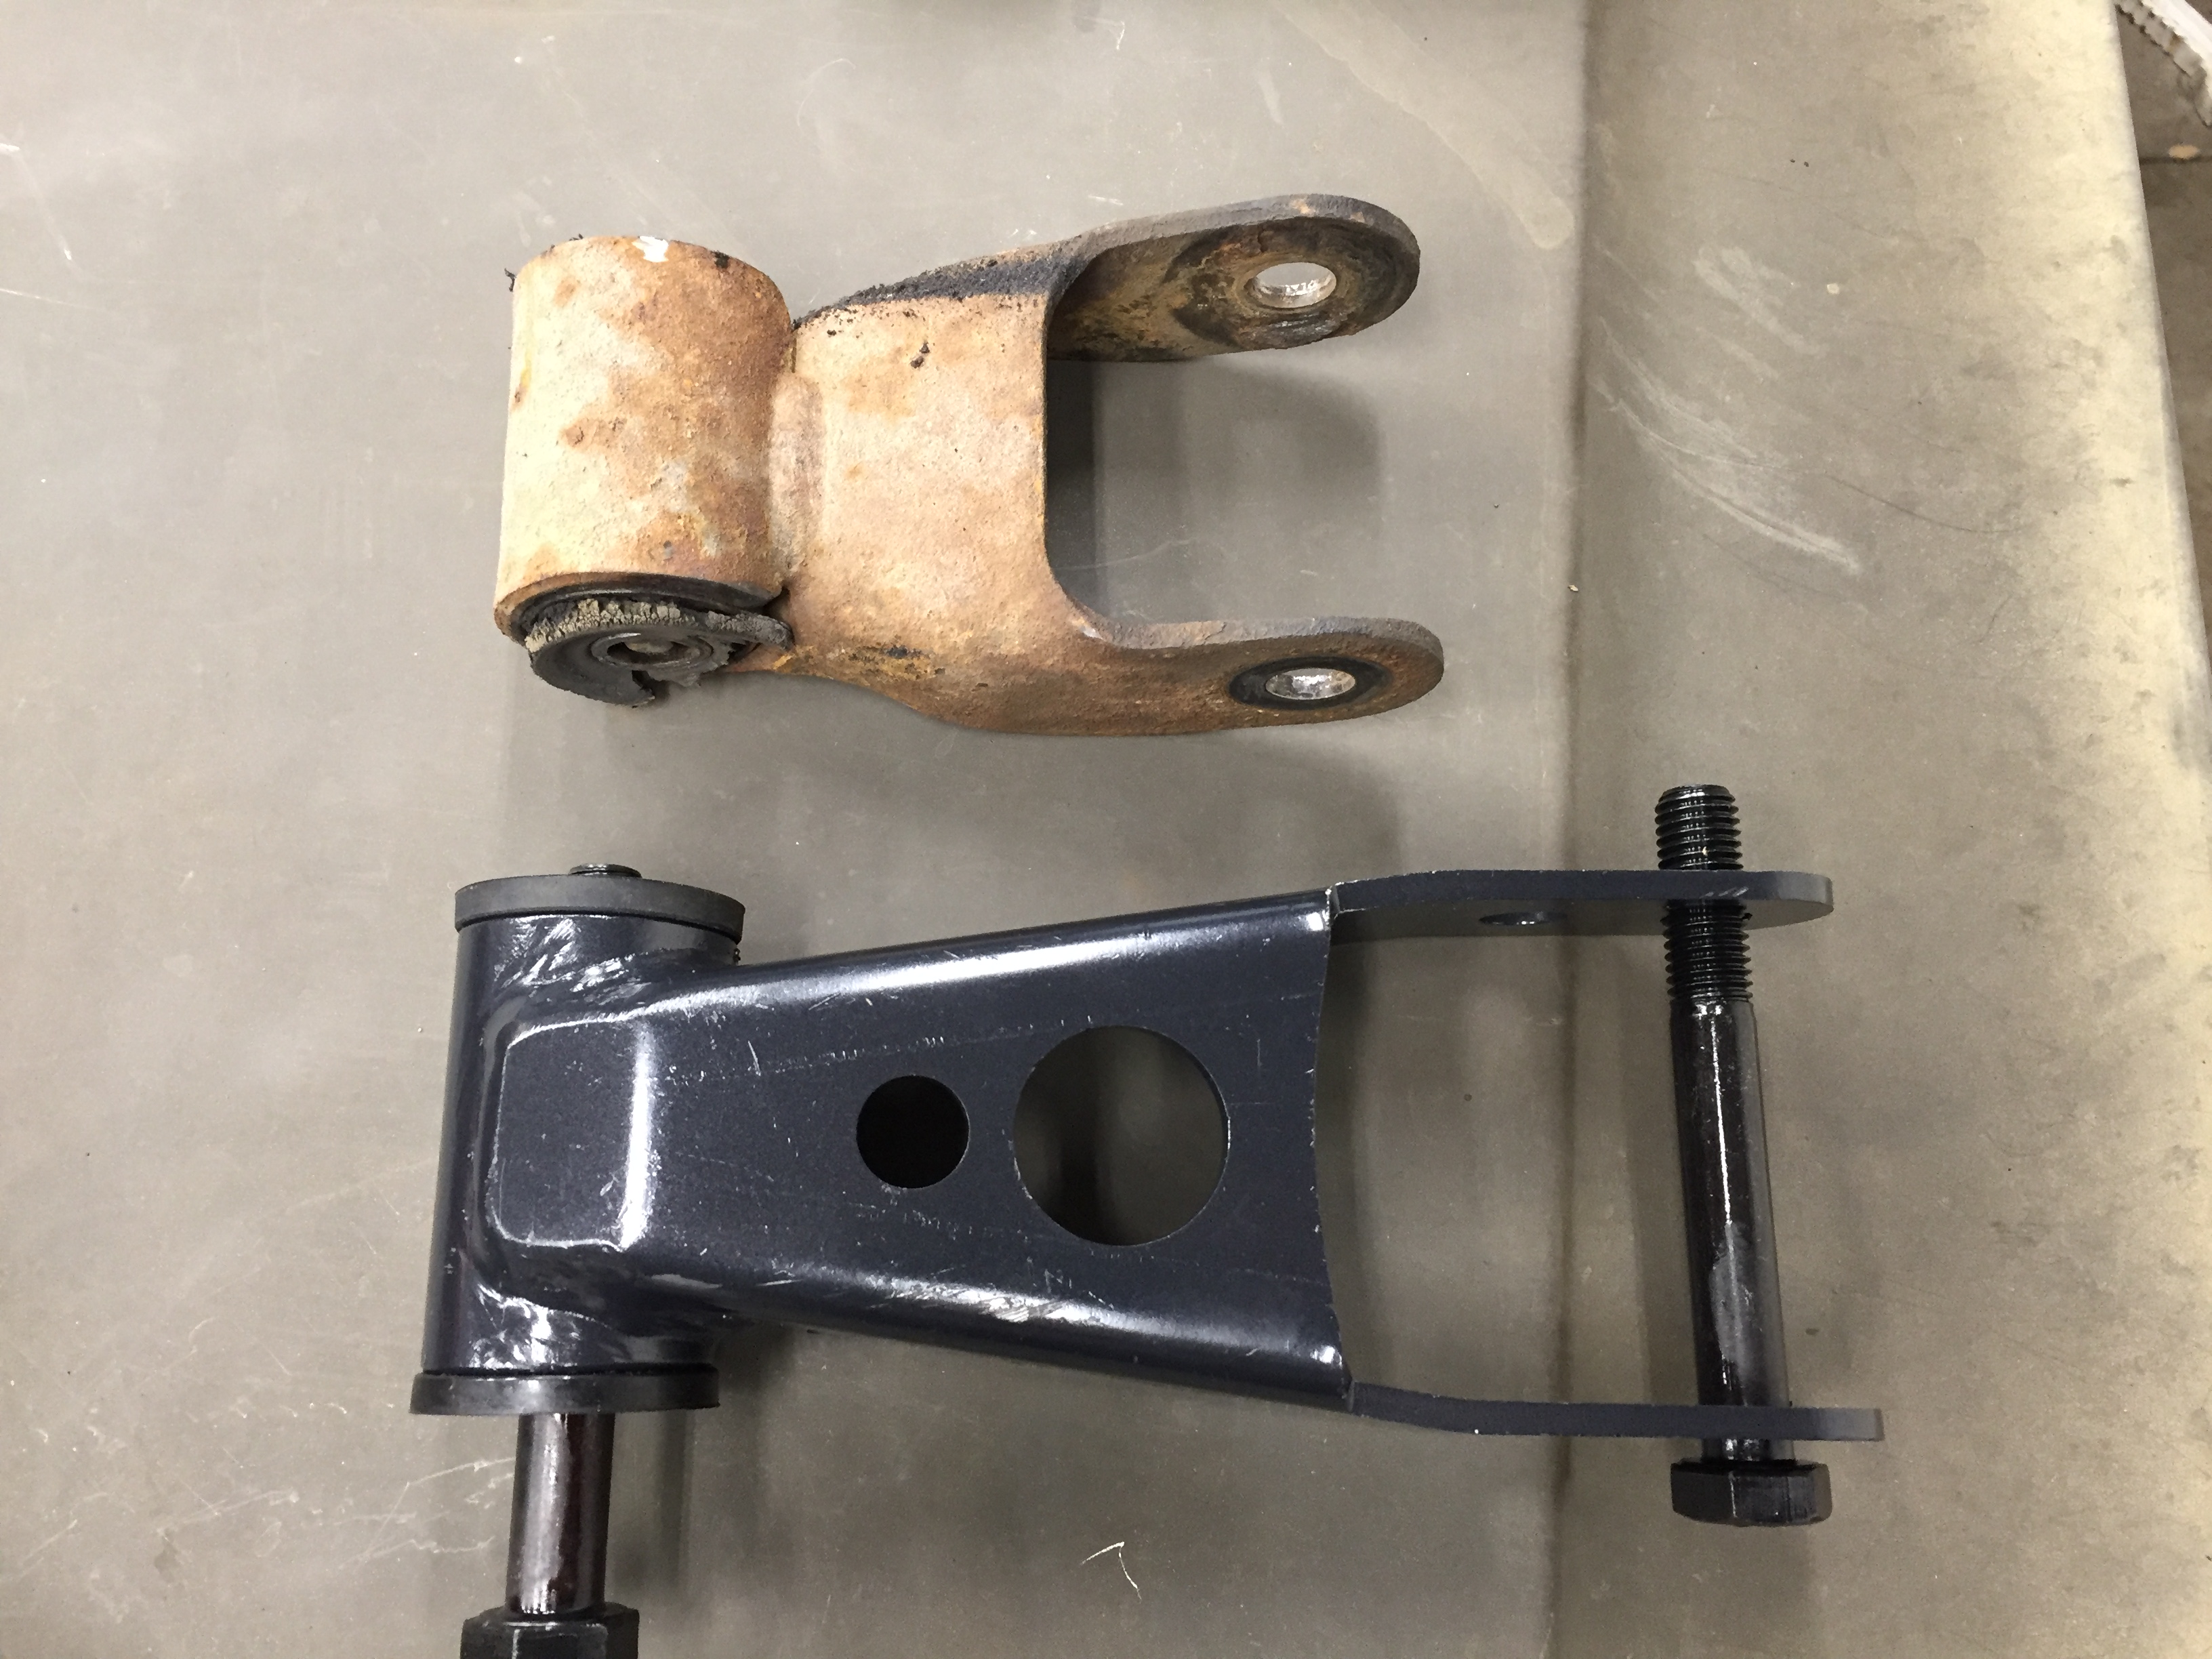 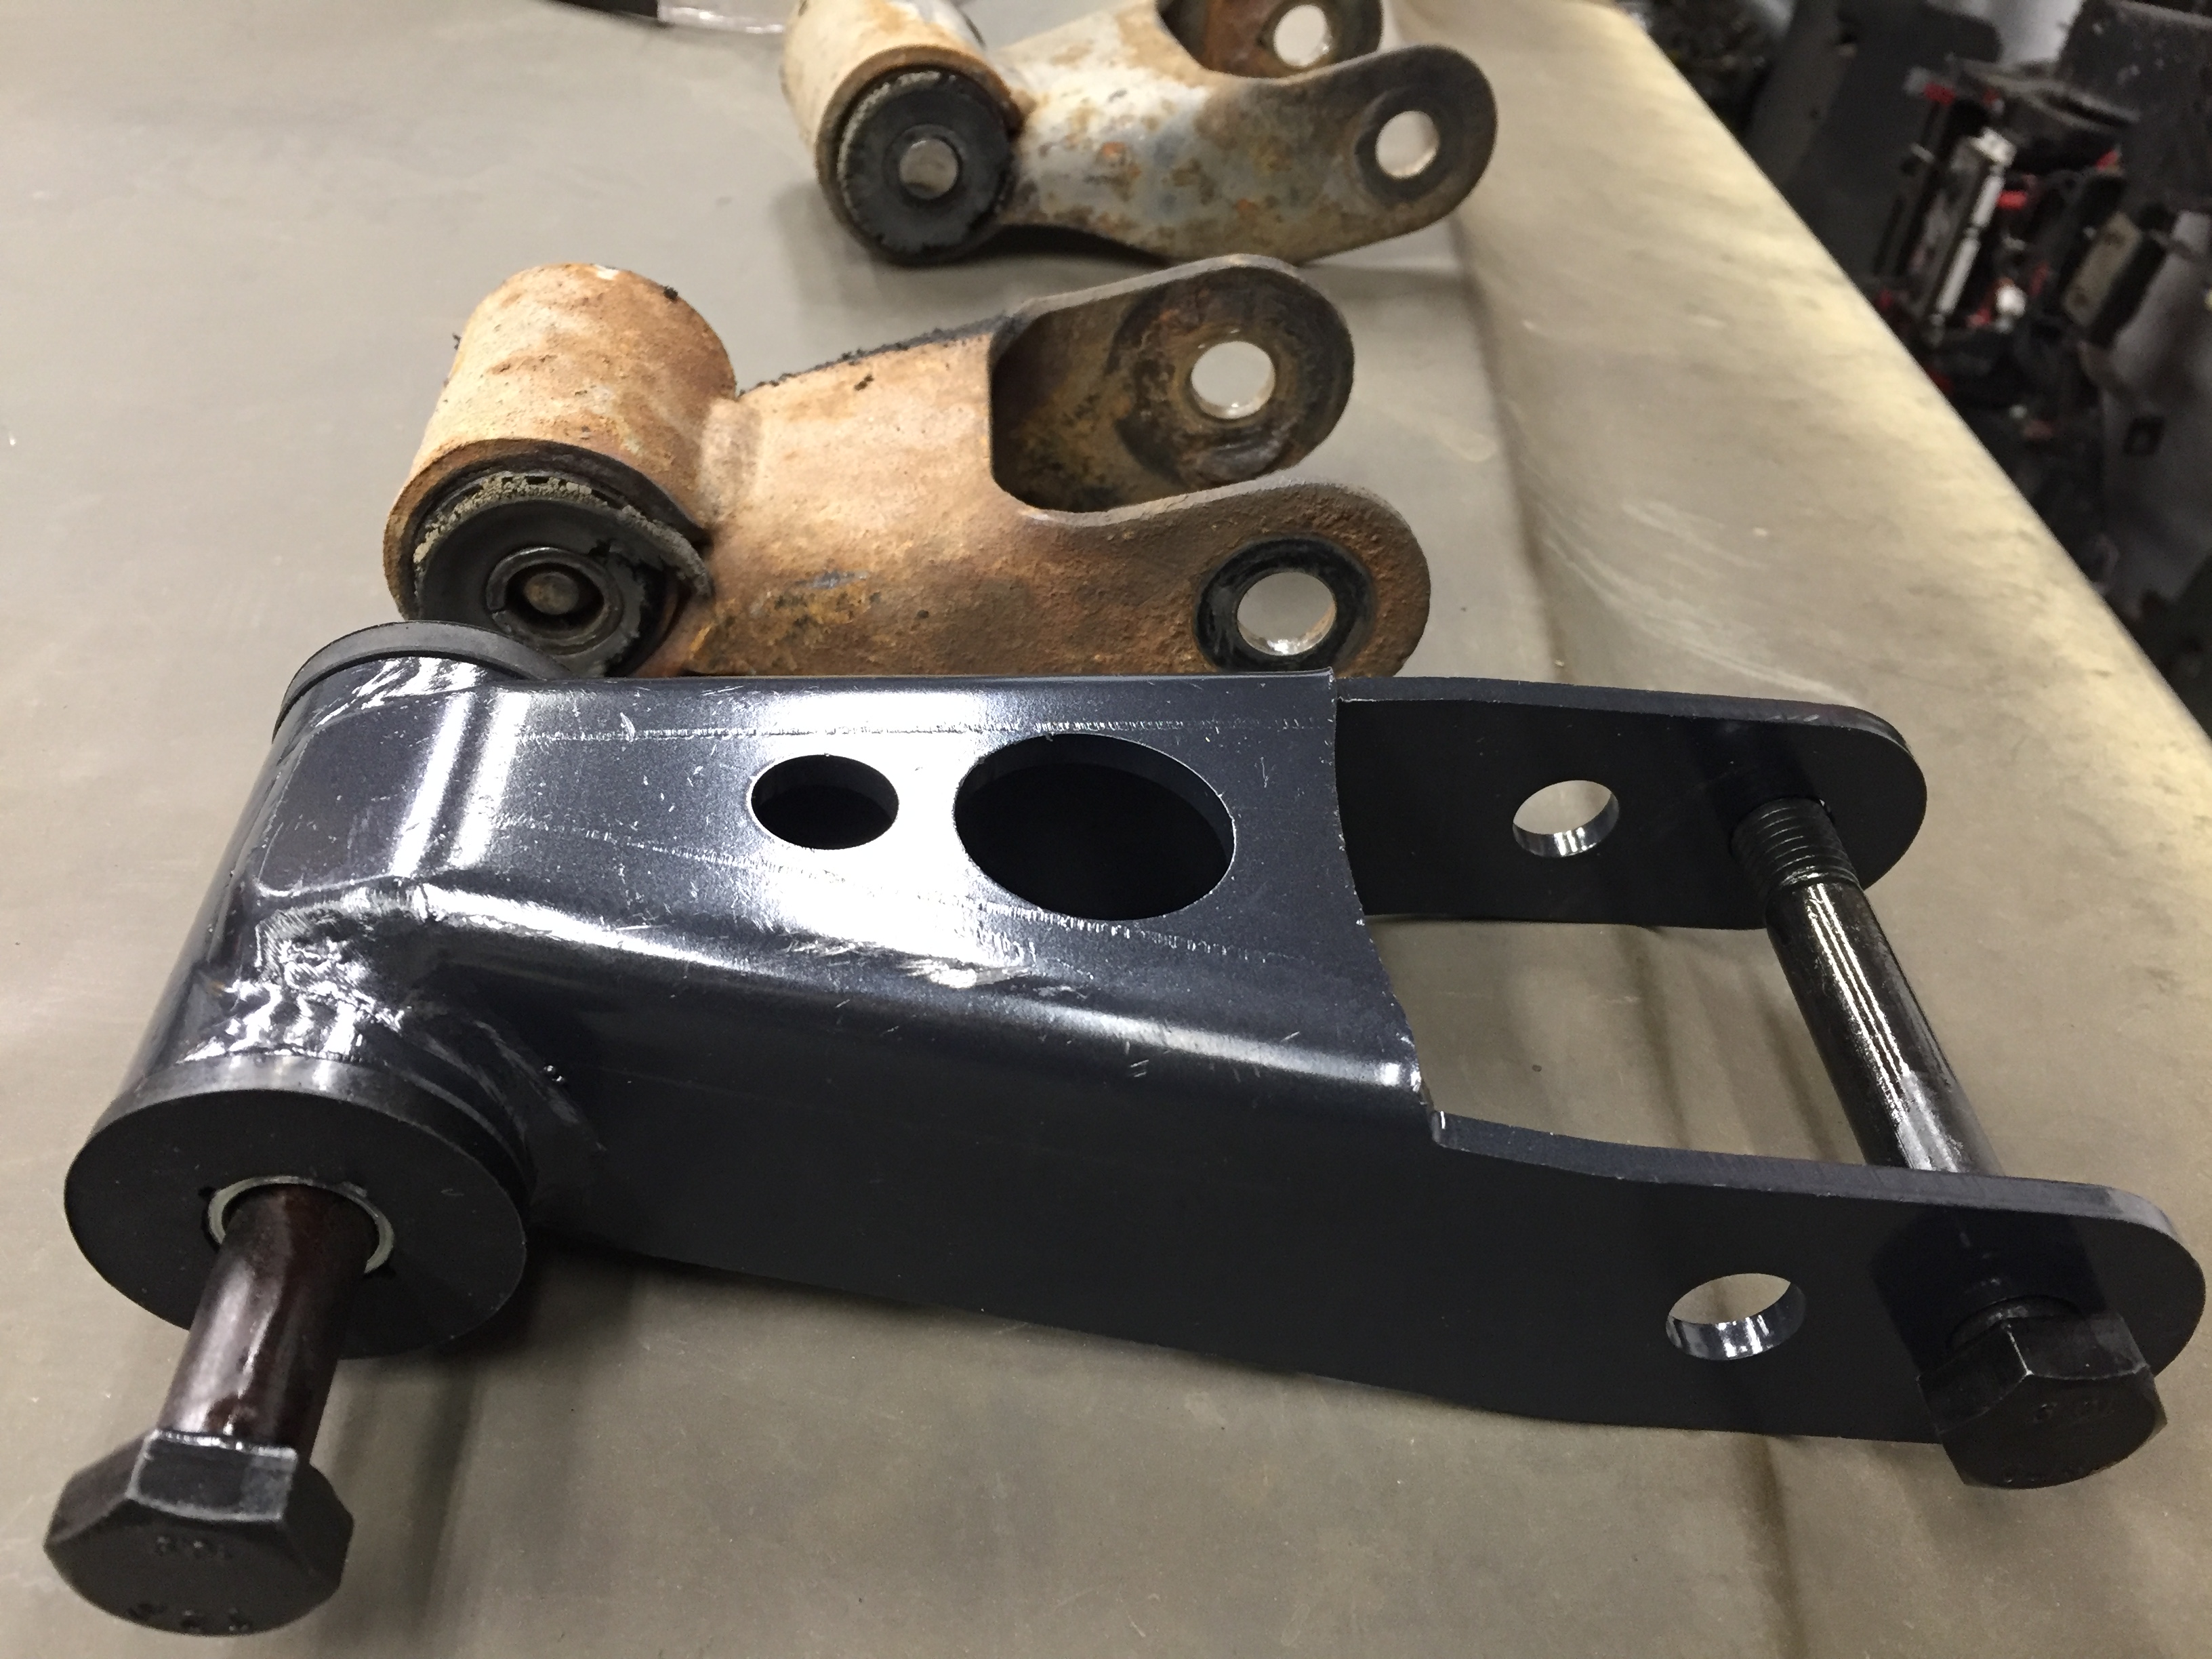 The width is a little different. I used giant cresent wrench to bend open the frame side shackle box, put the shackle in, and then bolted it tight. If I were a more patient man I would have pulled the bushing out, shaved down the width of the metal sleeve, and then bushing to make it the correct size. 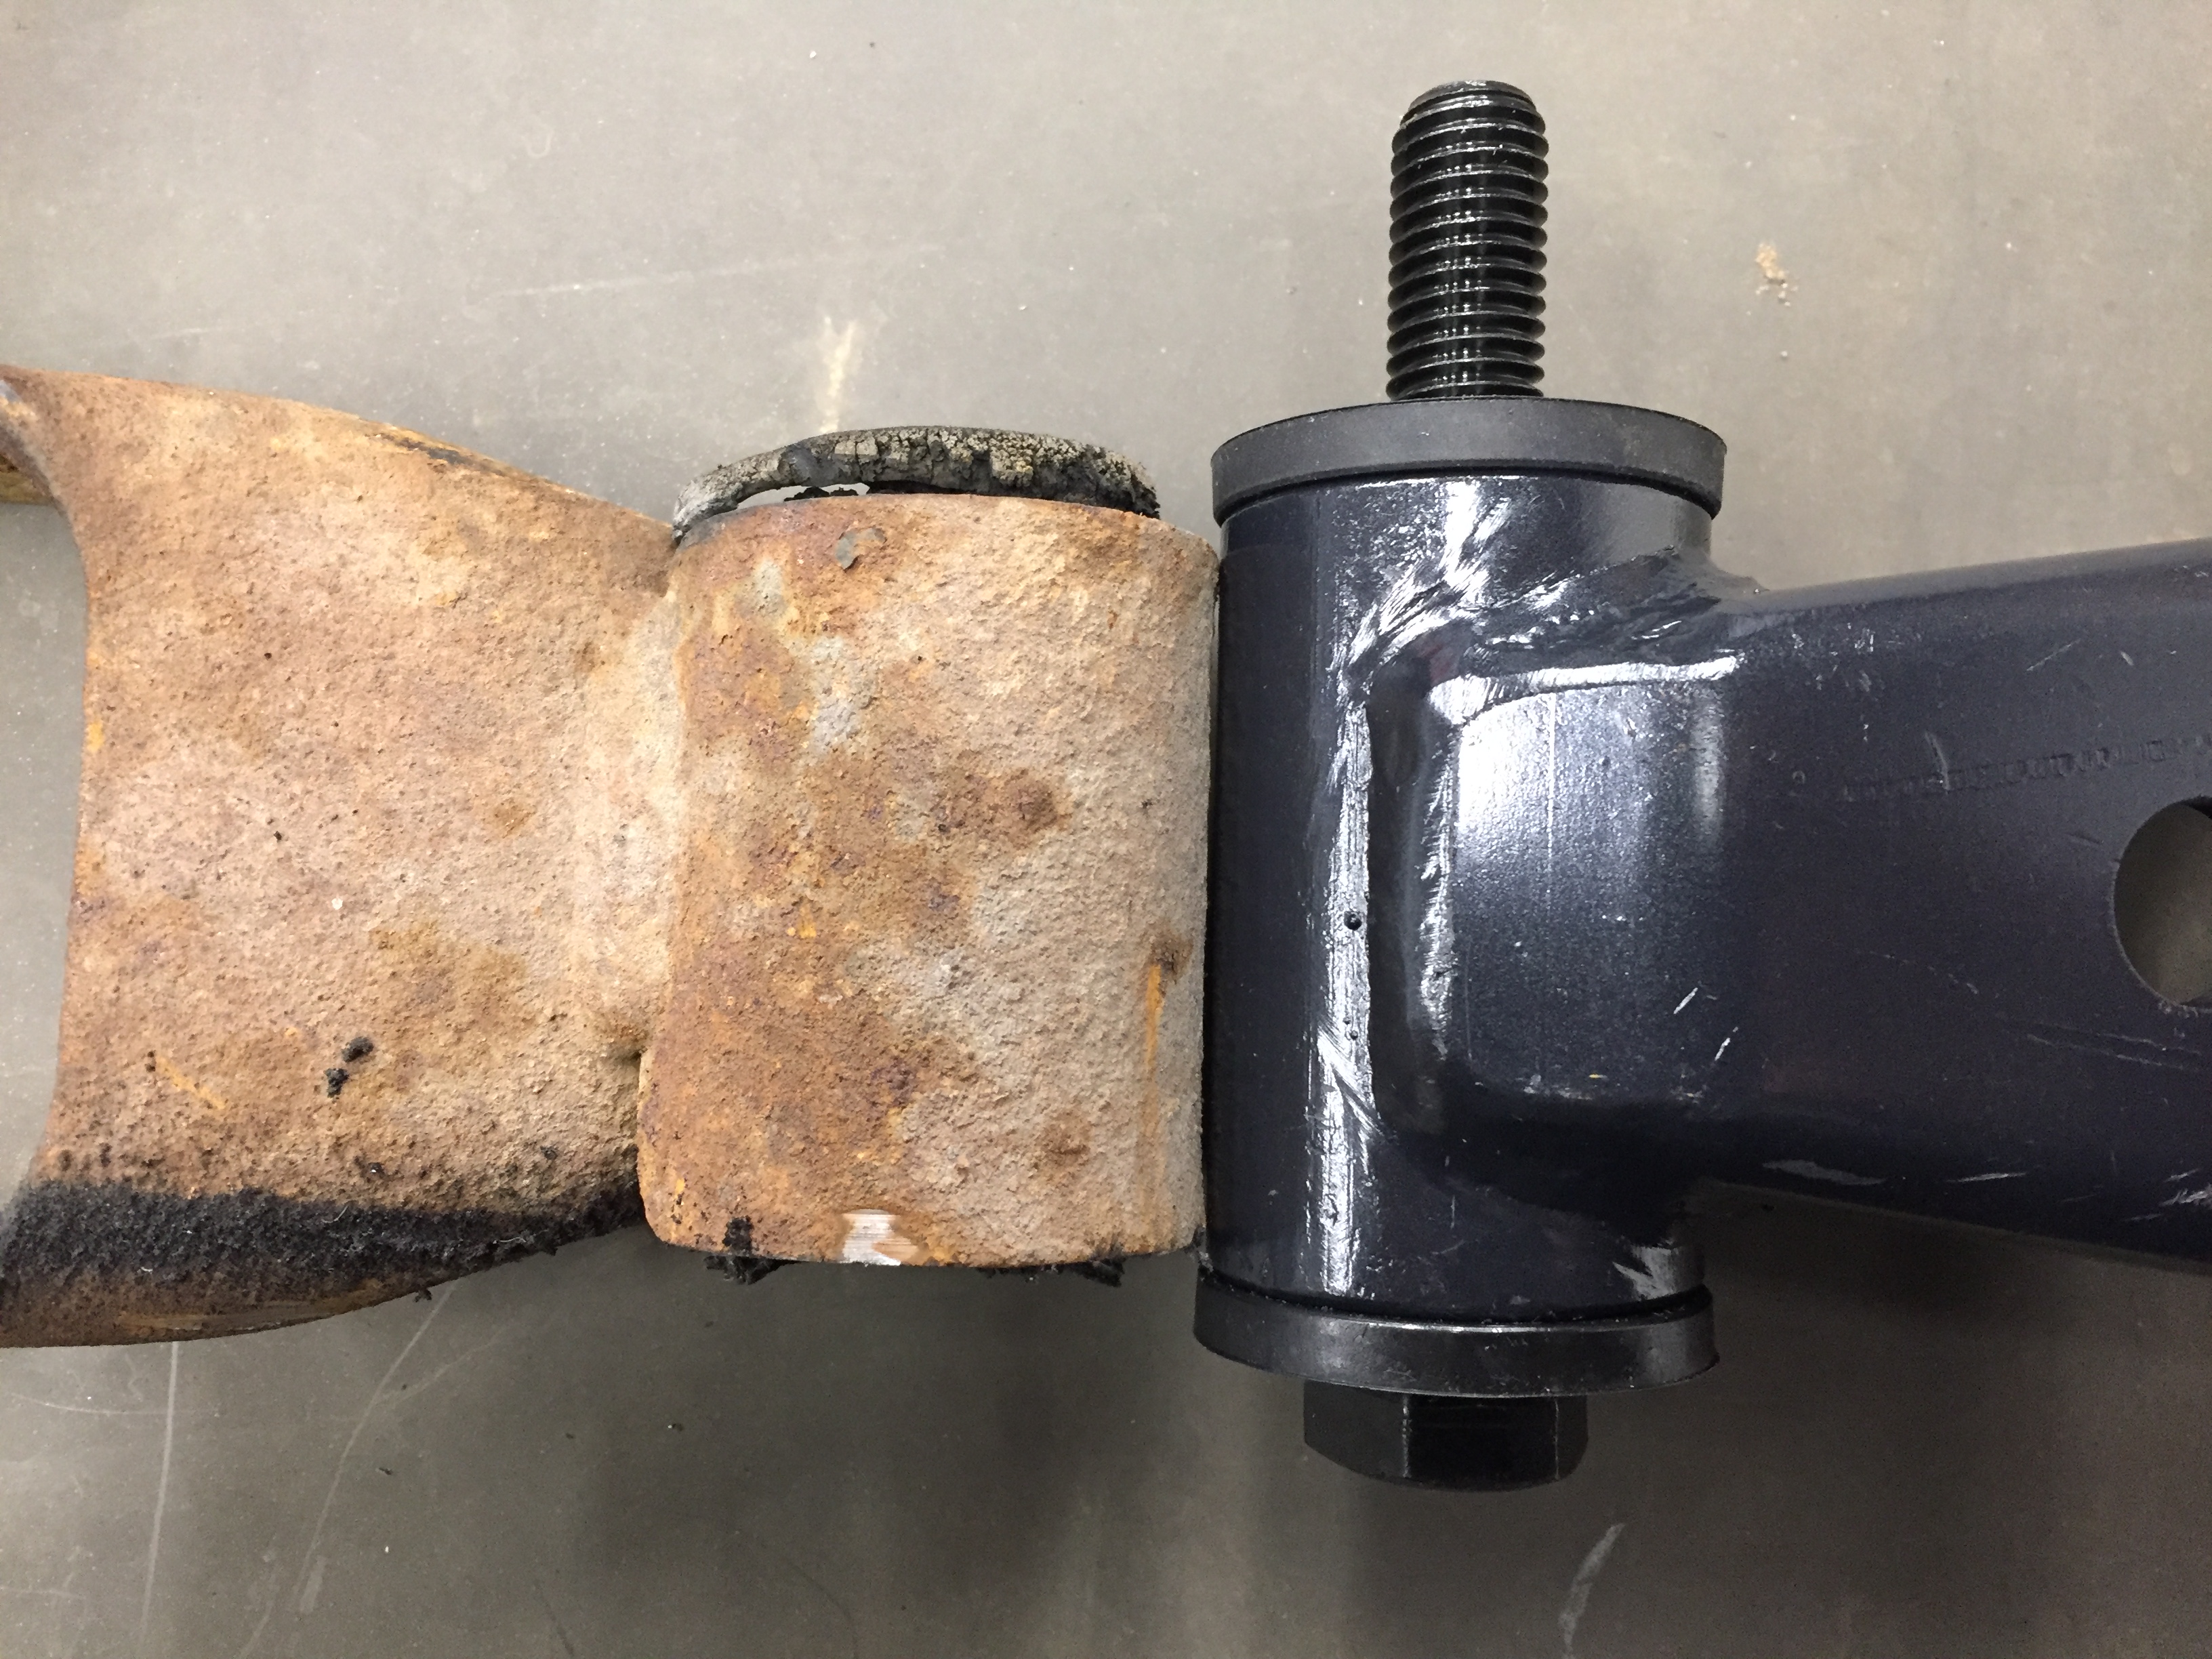 Likewise the other end is a little large, I picked up a couple of fender washers to take up space and then bolted it tight, again the nut and bolt pulled it closed some.  Installed in lower position: 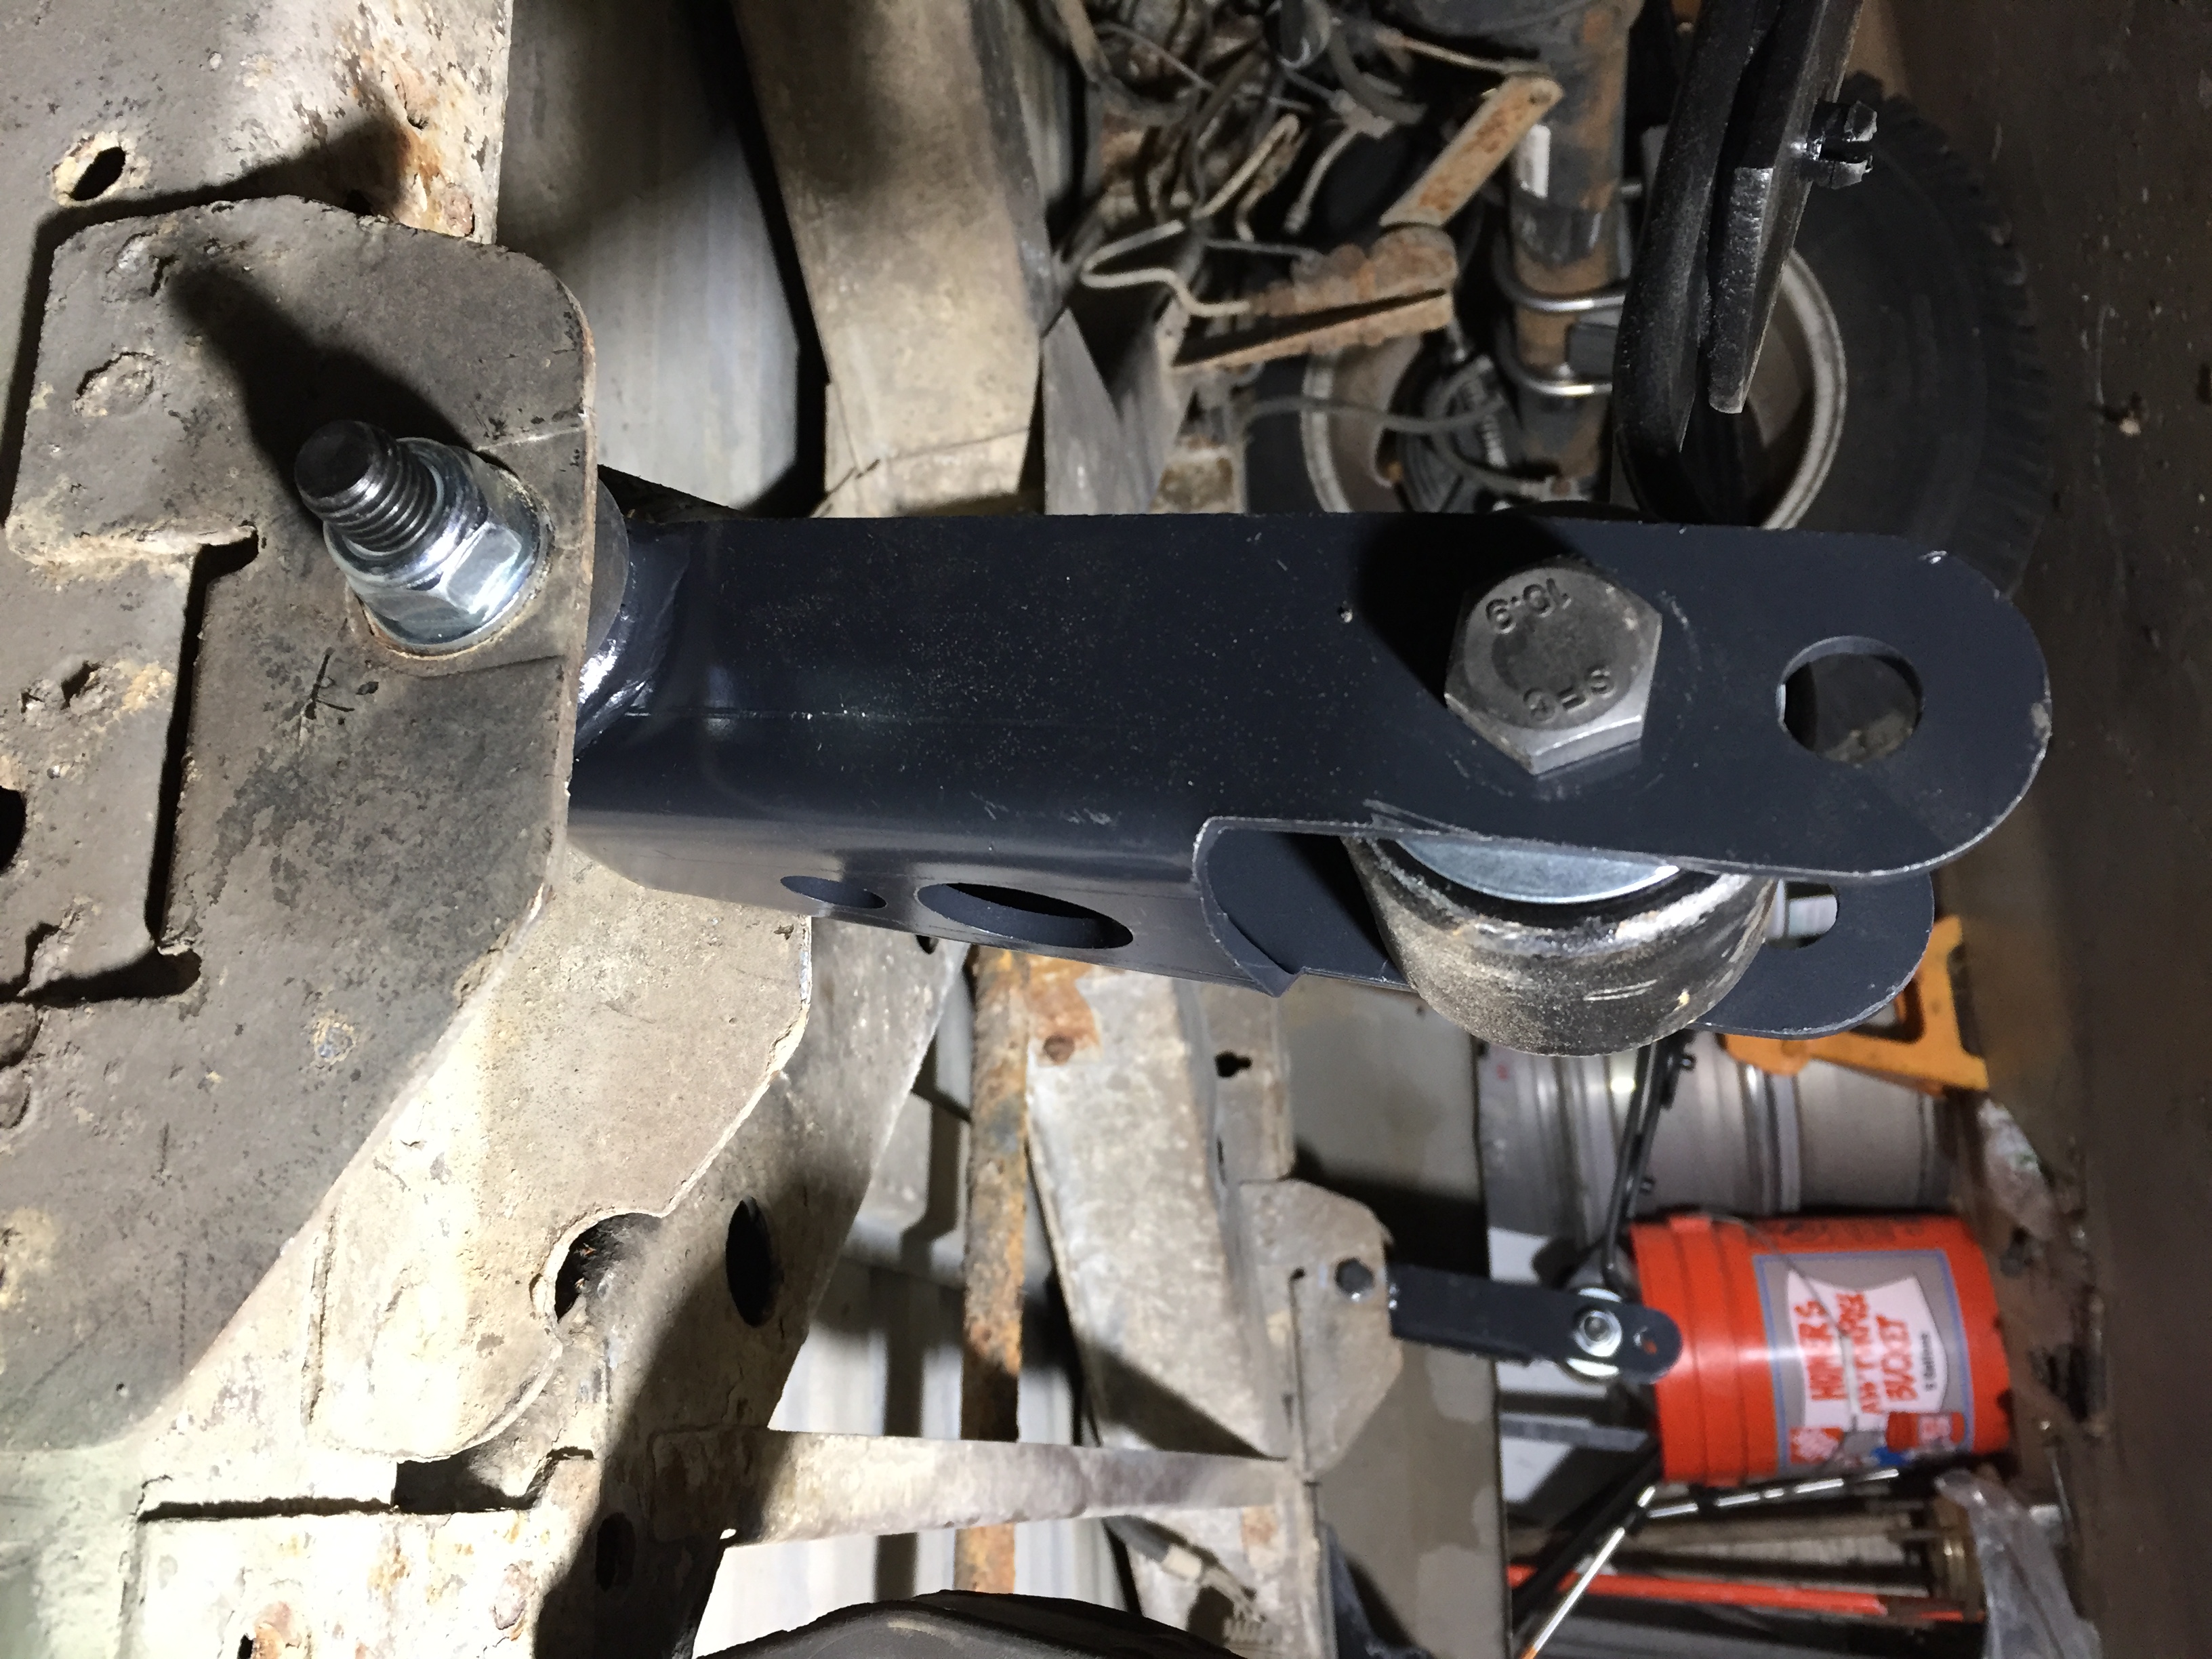 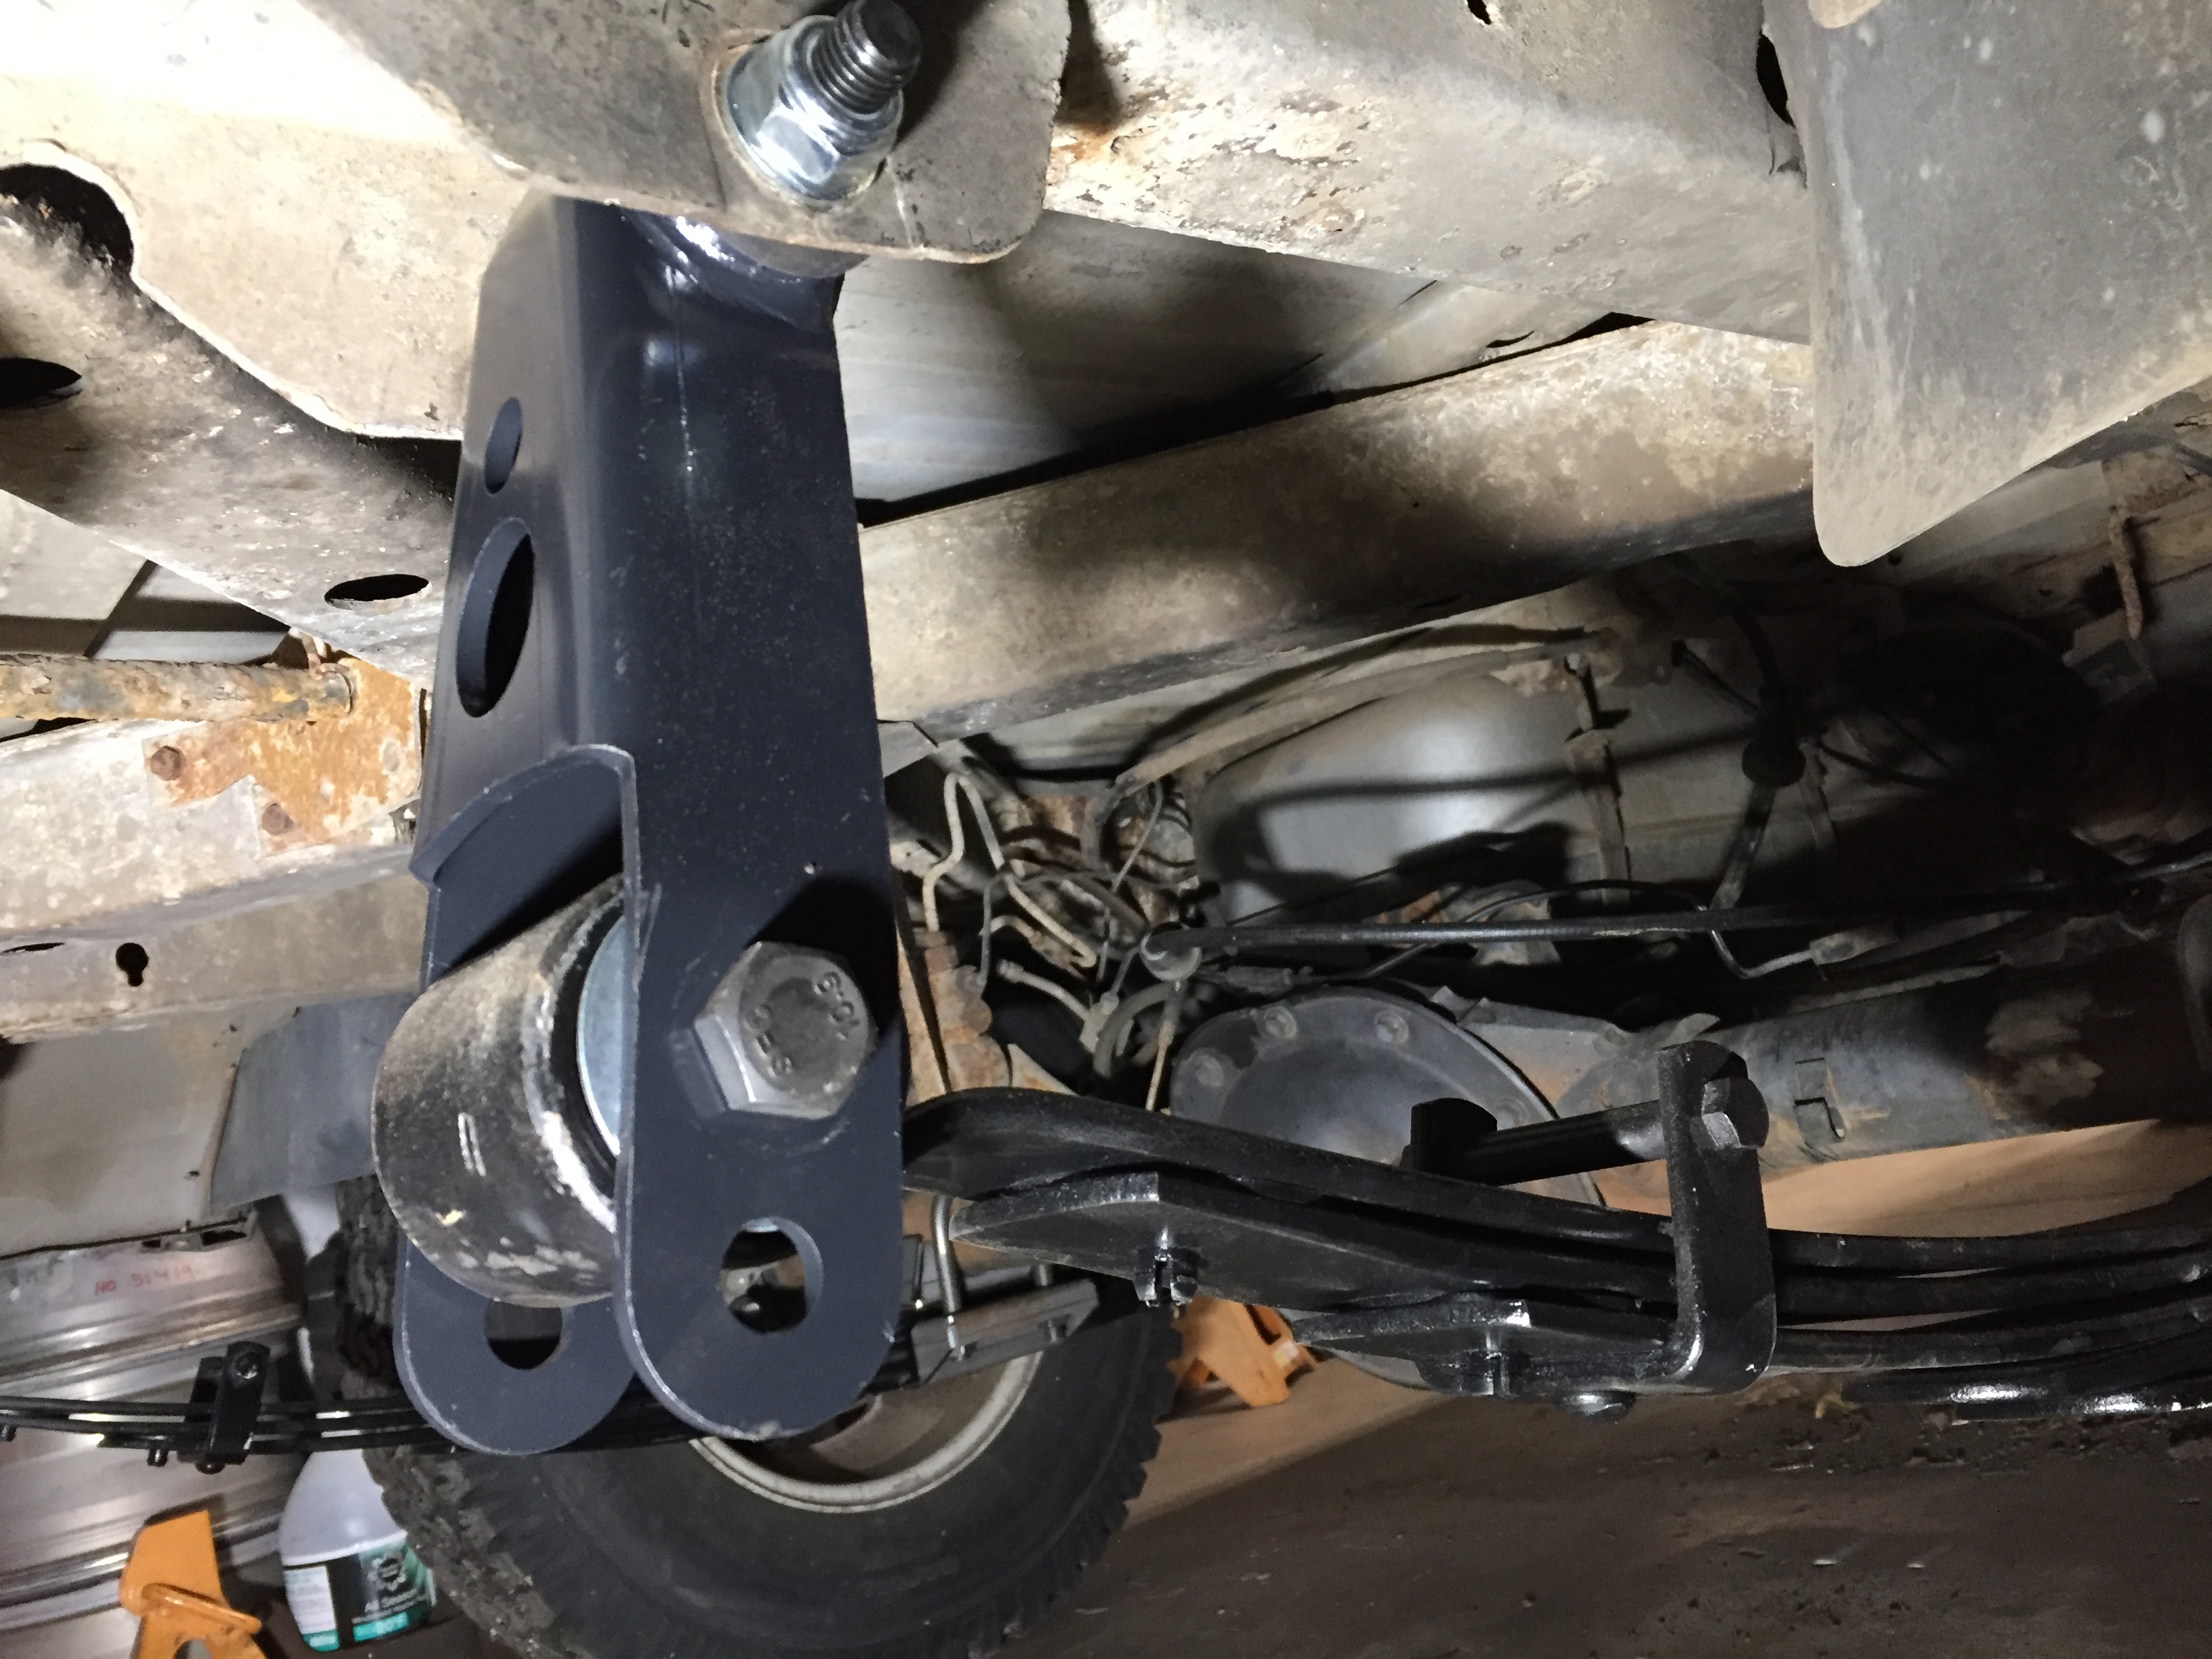 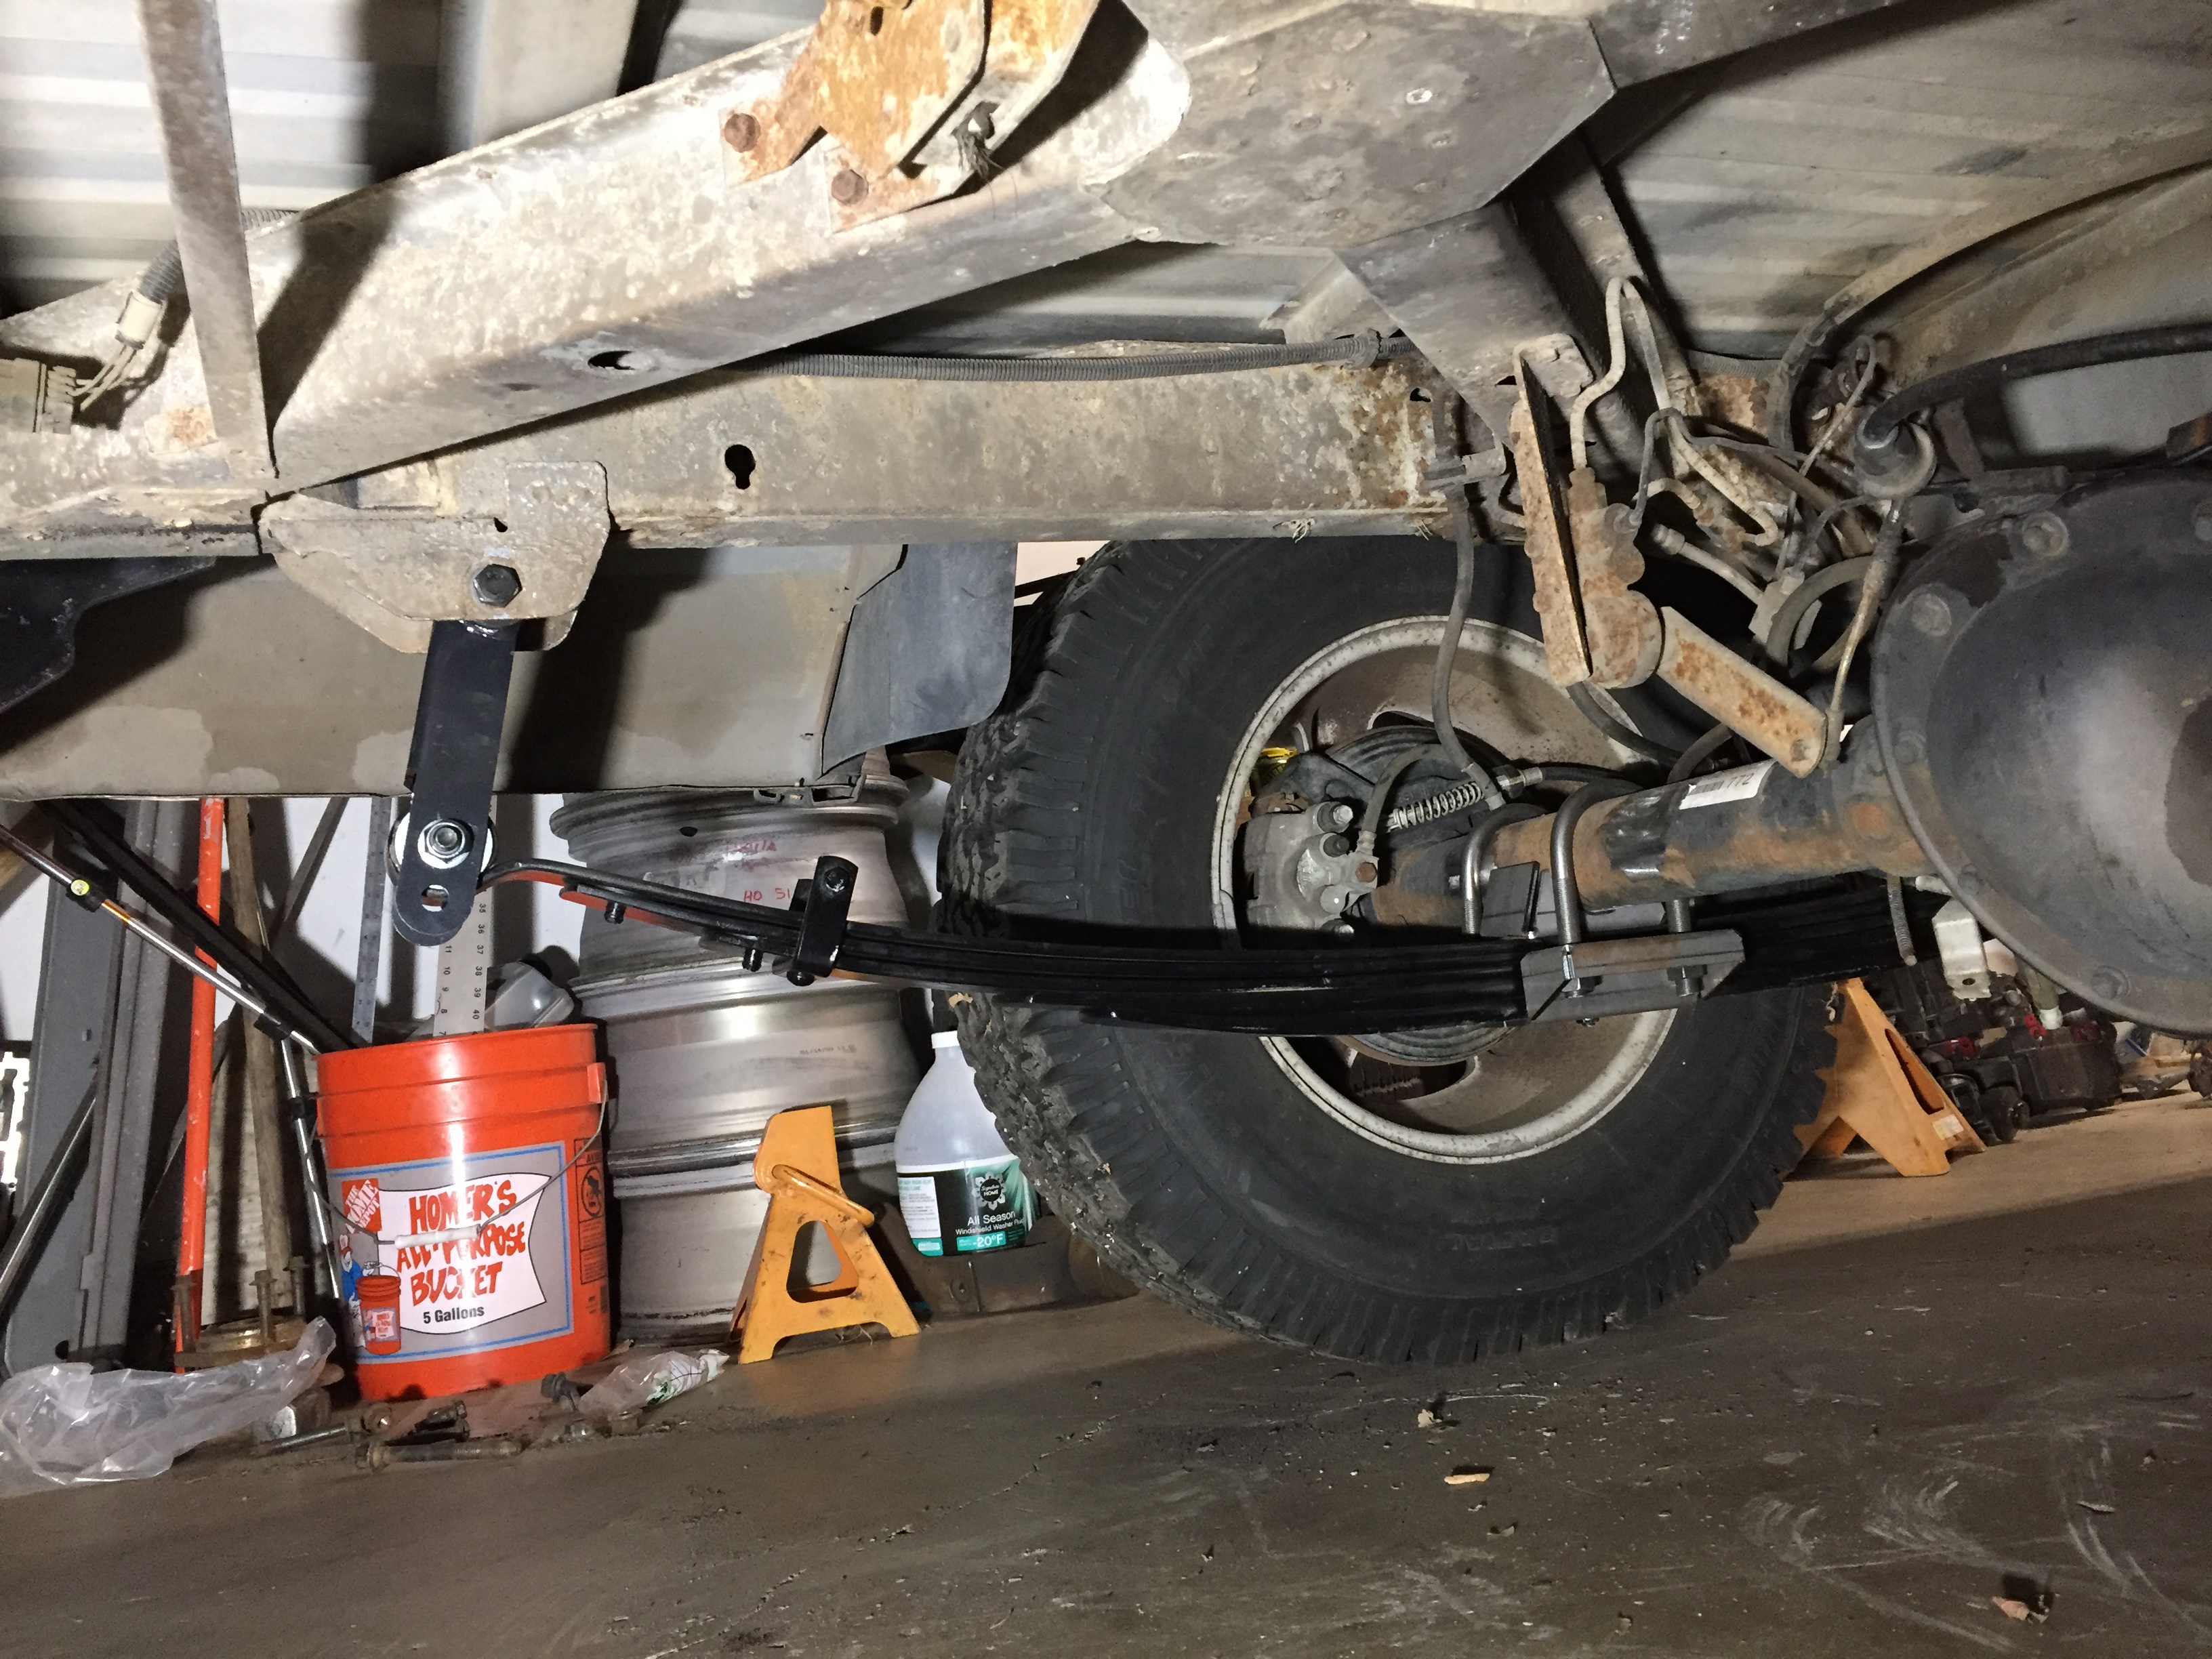 How it sits now: About 20" between flare bottom and wheel center. Height is OK. Might end up moving the shackle up once springs settle some. |
|
|
|
|
02-02-2018, 11:39 PM
|
#74 |
|
- The Don -

Join Date: Sep 2002
Location: MN
Posts: 48,354
|
Dayum...this just keeps getting better!!!
__________________
To each his own. Not all those who wander are lost. The great irony - triggered snowflakes accusing triggered snowflakes of being triggered snowflakes 
|
|
|
|
|
02-03-2018, 12:30 AM
|
#75 | |
|
Working Mother
Join Date: Mar 2004
Posts: 19,874
|
Quote:
I was thinking if things went ok I would be ready for welding sunday afternoon. I was going to ask freerider to come over and help welding on the thin stuff, but he informed me has plans that afternoon (superbowel apparently) so I'm not sure I'll be ready before he is occupied. Messed up the last part of that update. Here is where it sits now:  Before, with old springs, stock shackles, and SUA d35, and a heavy wildernest on it. 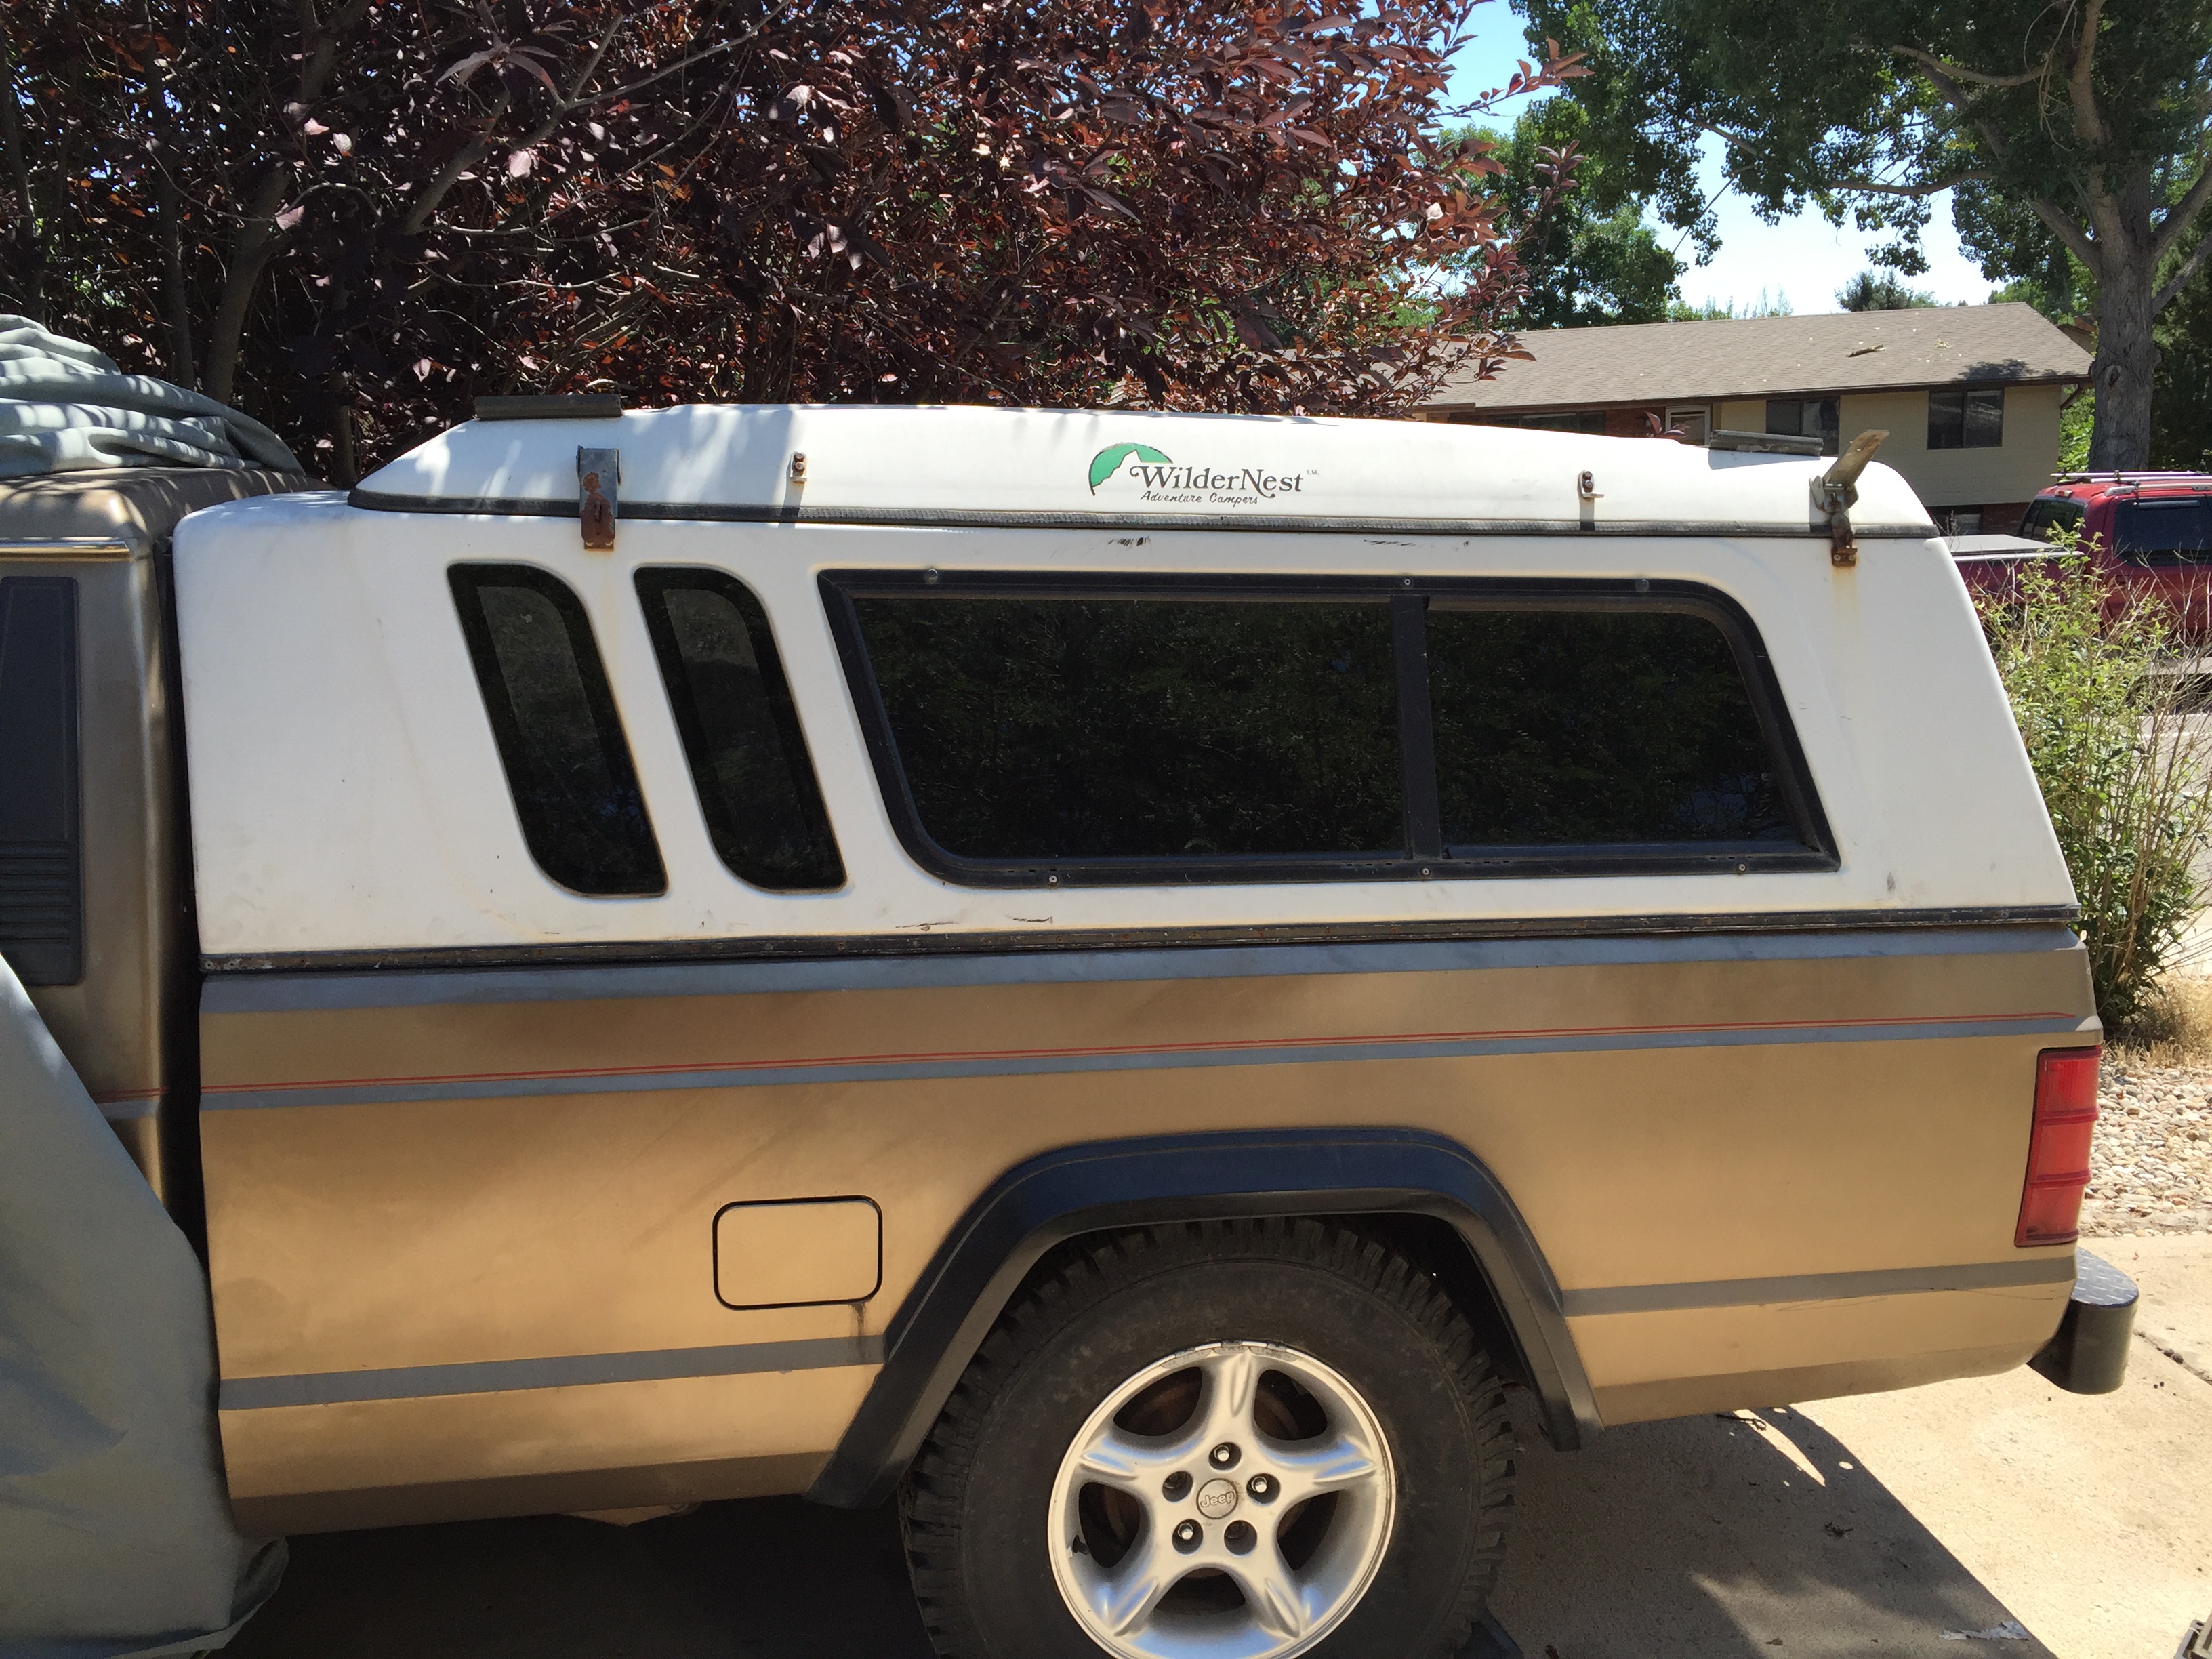
|
|
|
|
|
|
02-06-2018, 10:28 PM
|
#76 |
|
Working Mother
Join Date: Mar 2004
Posts: 19,874
|
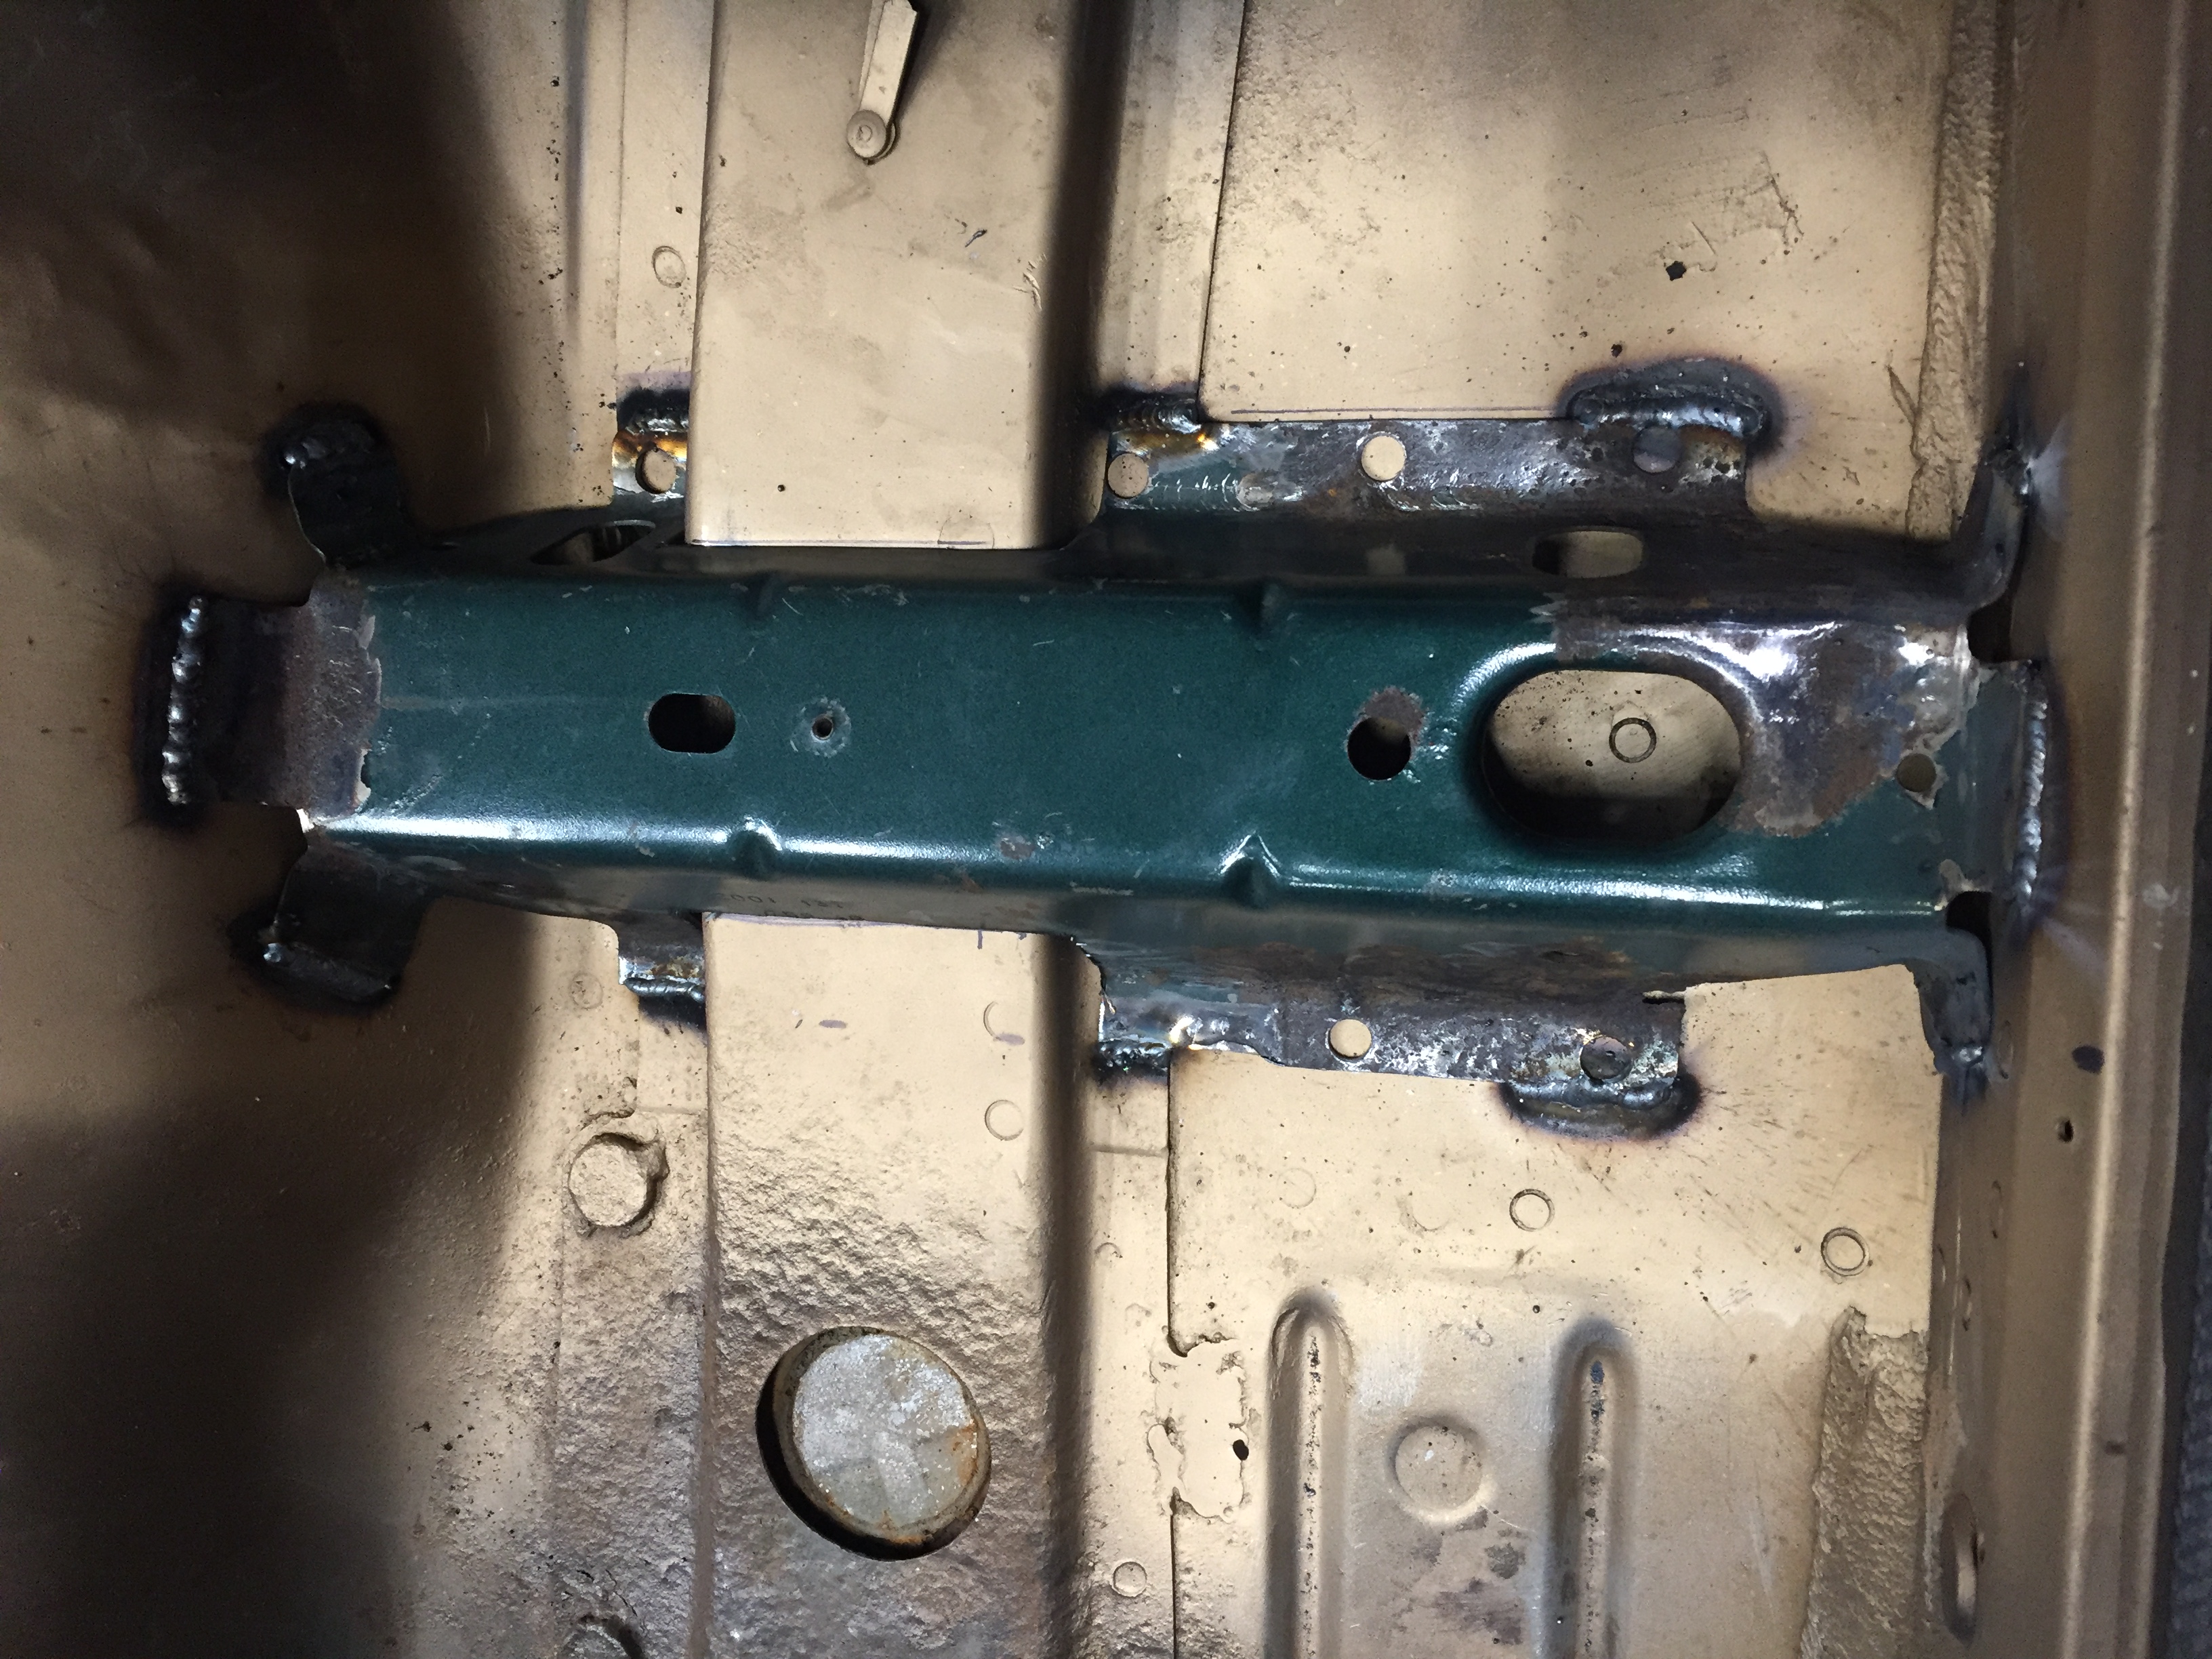
I finished cutting off the old bracket and I got the new one trimmed to fit.
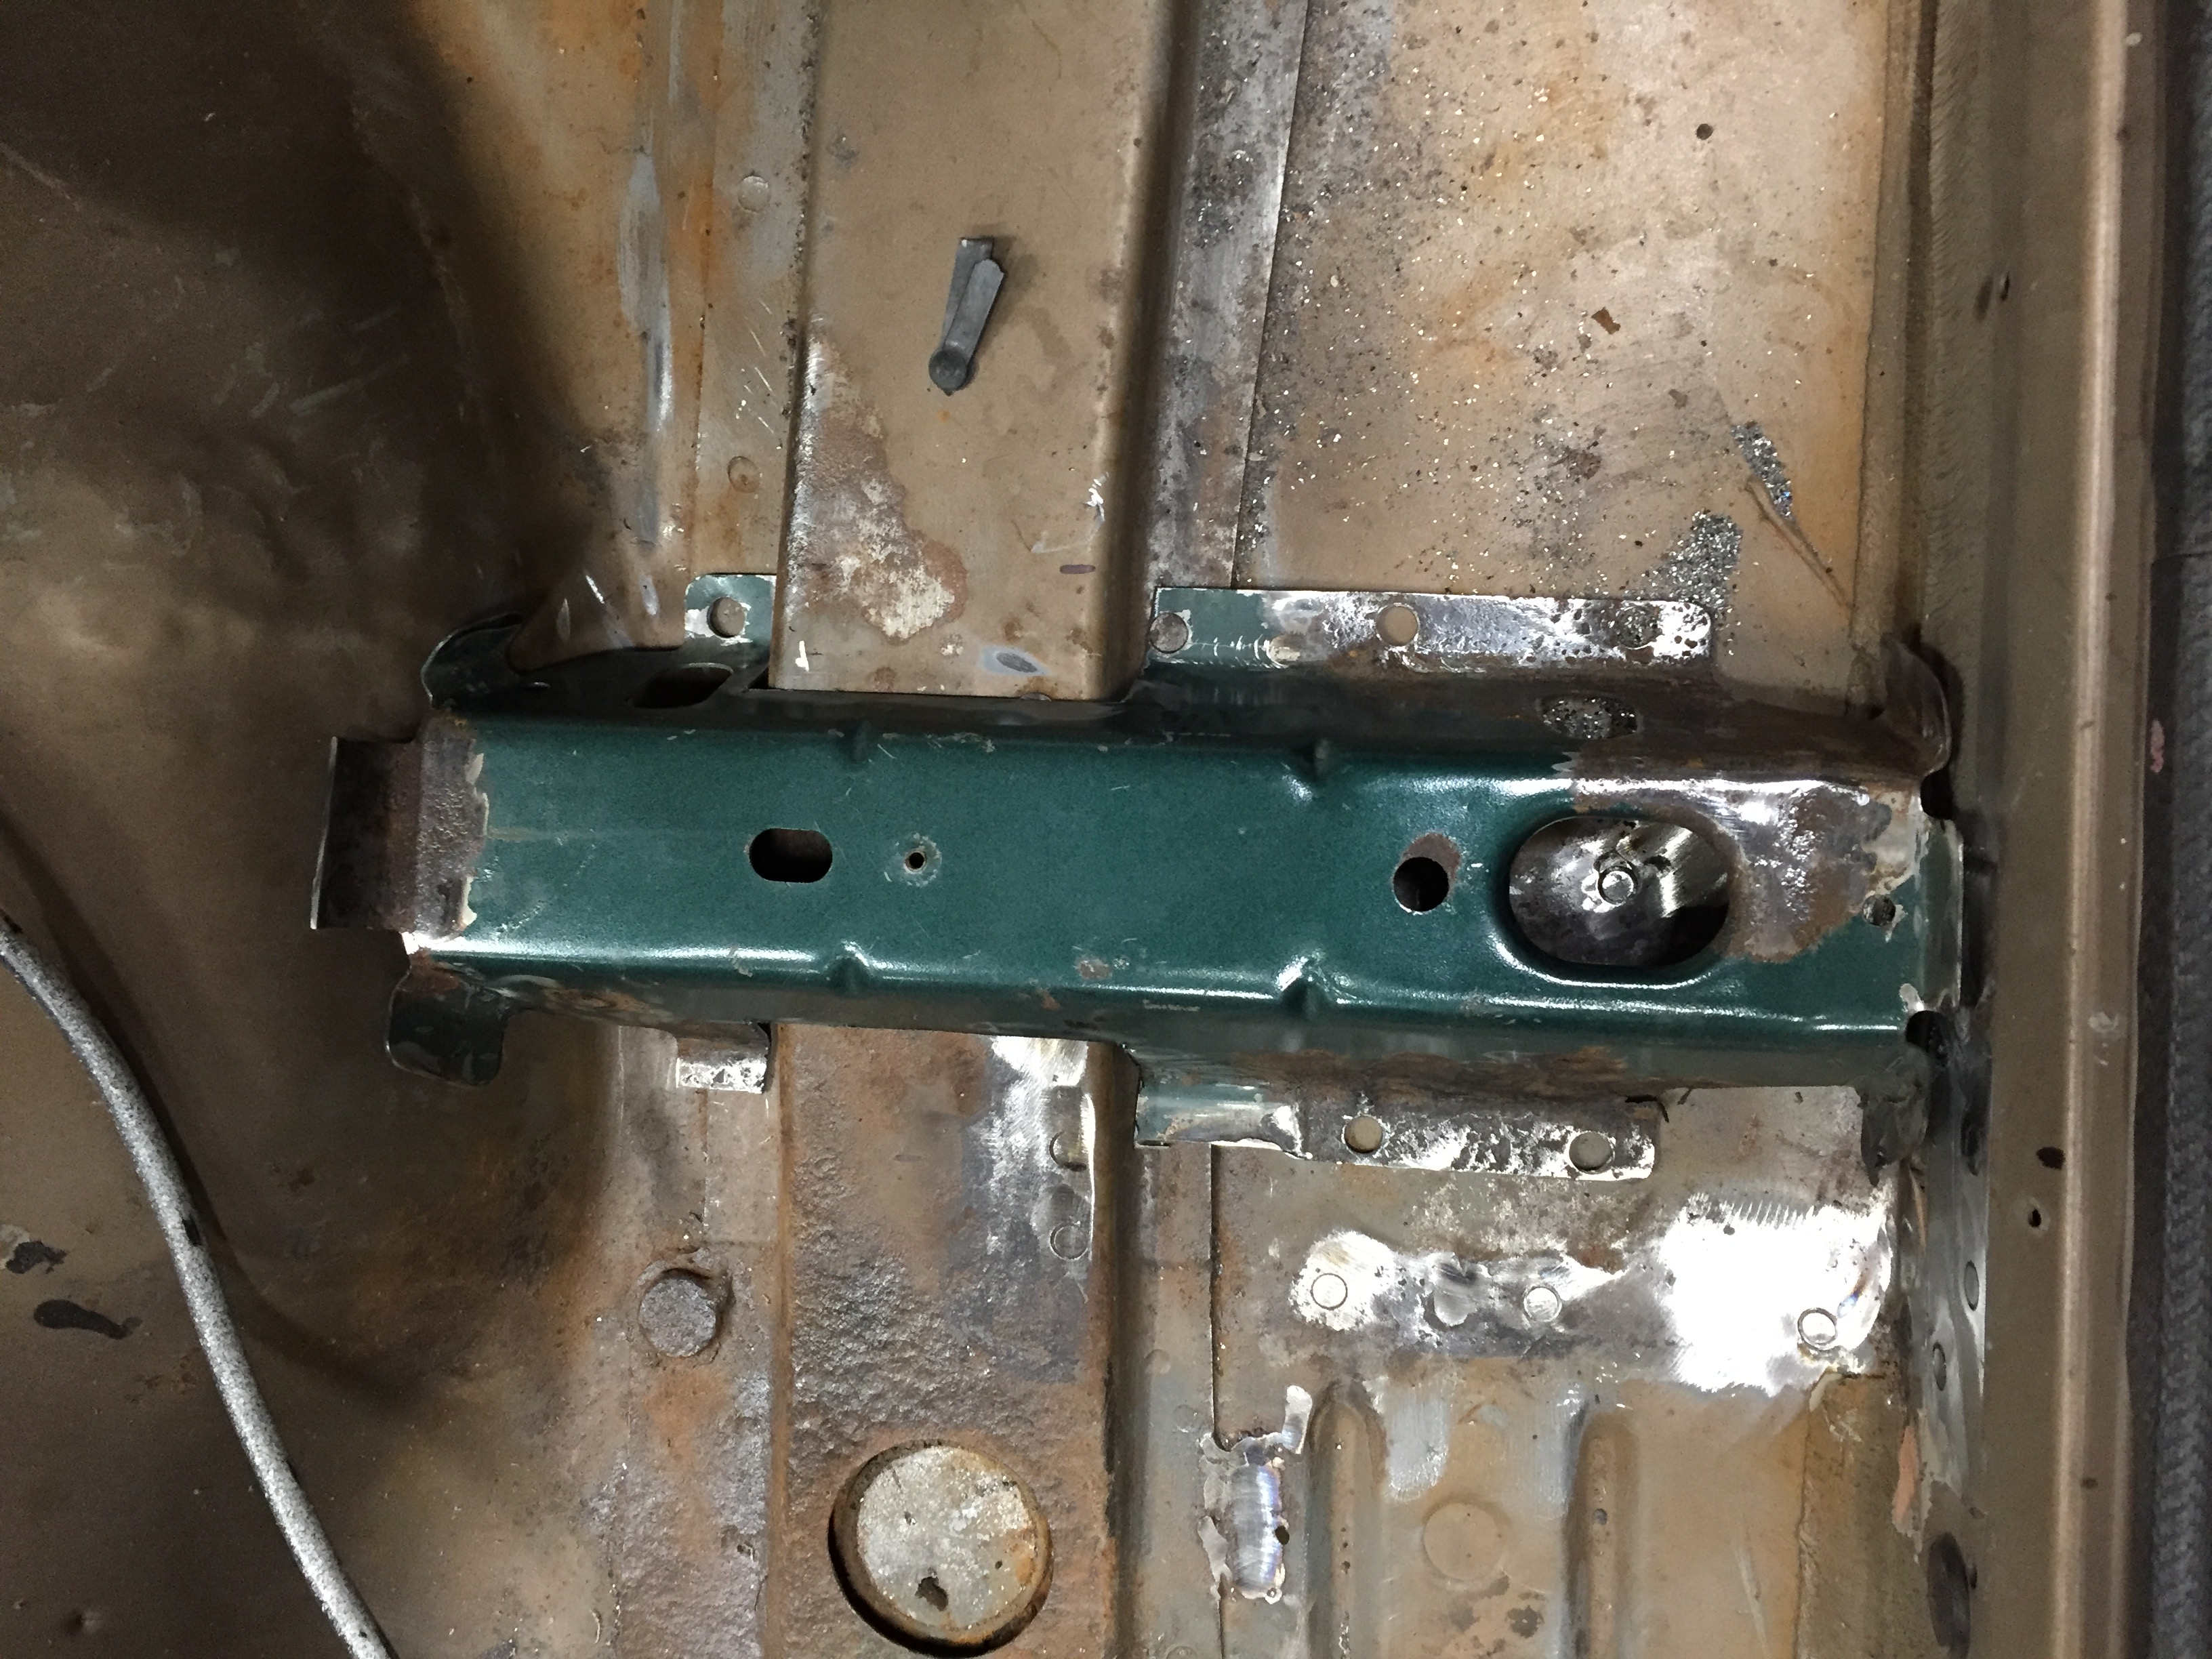 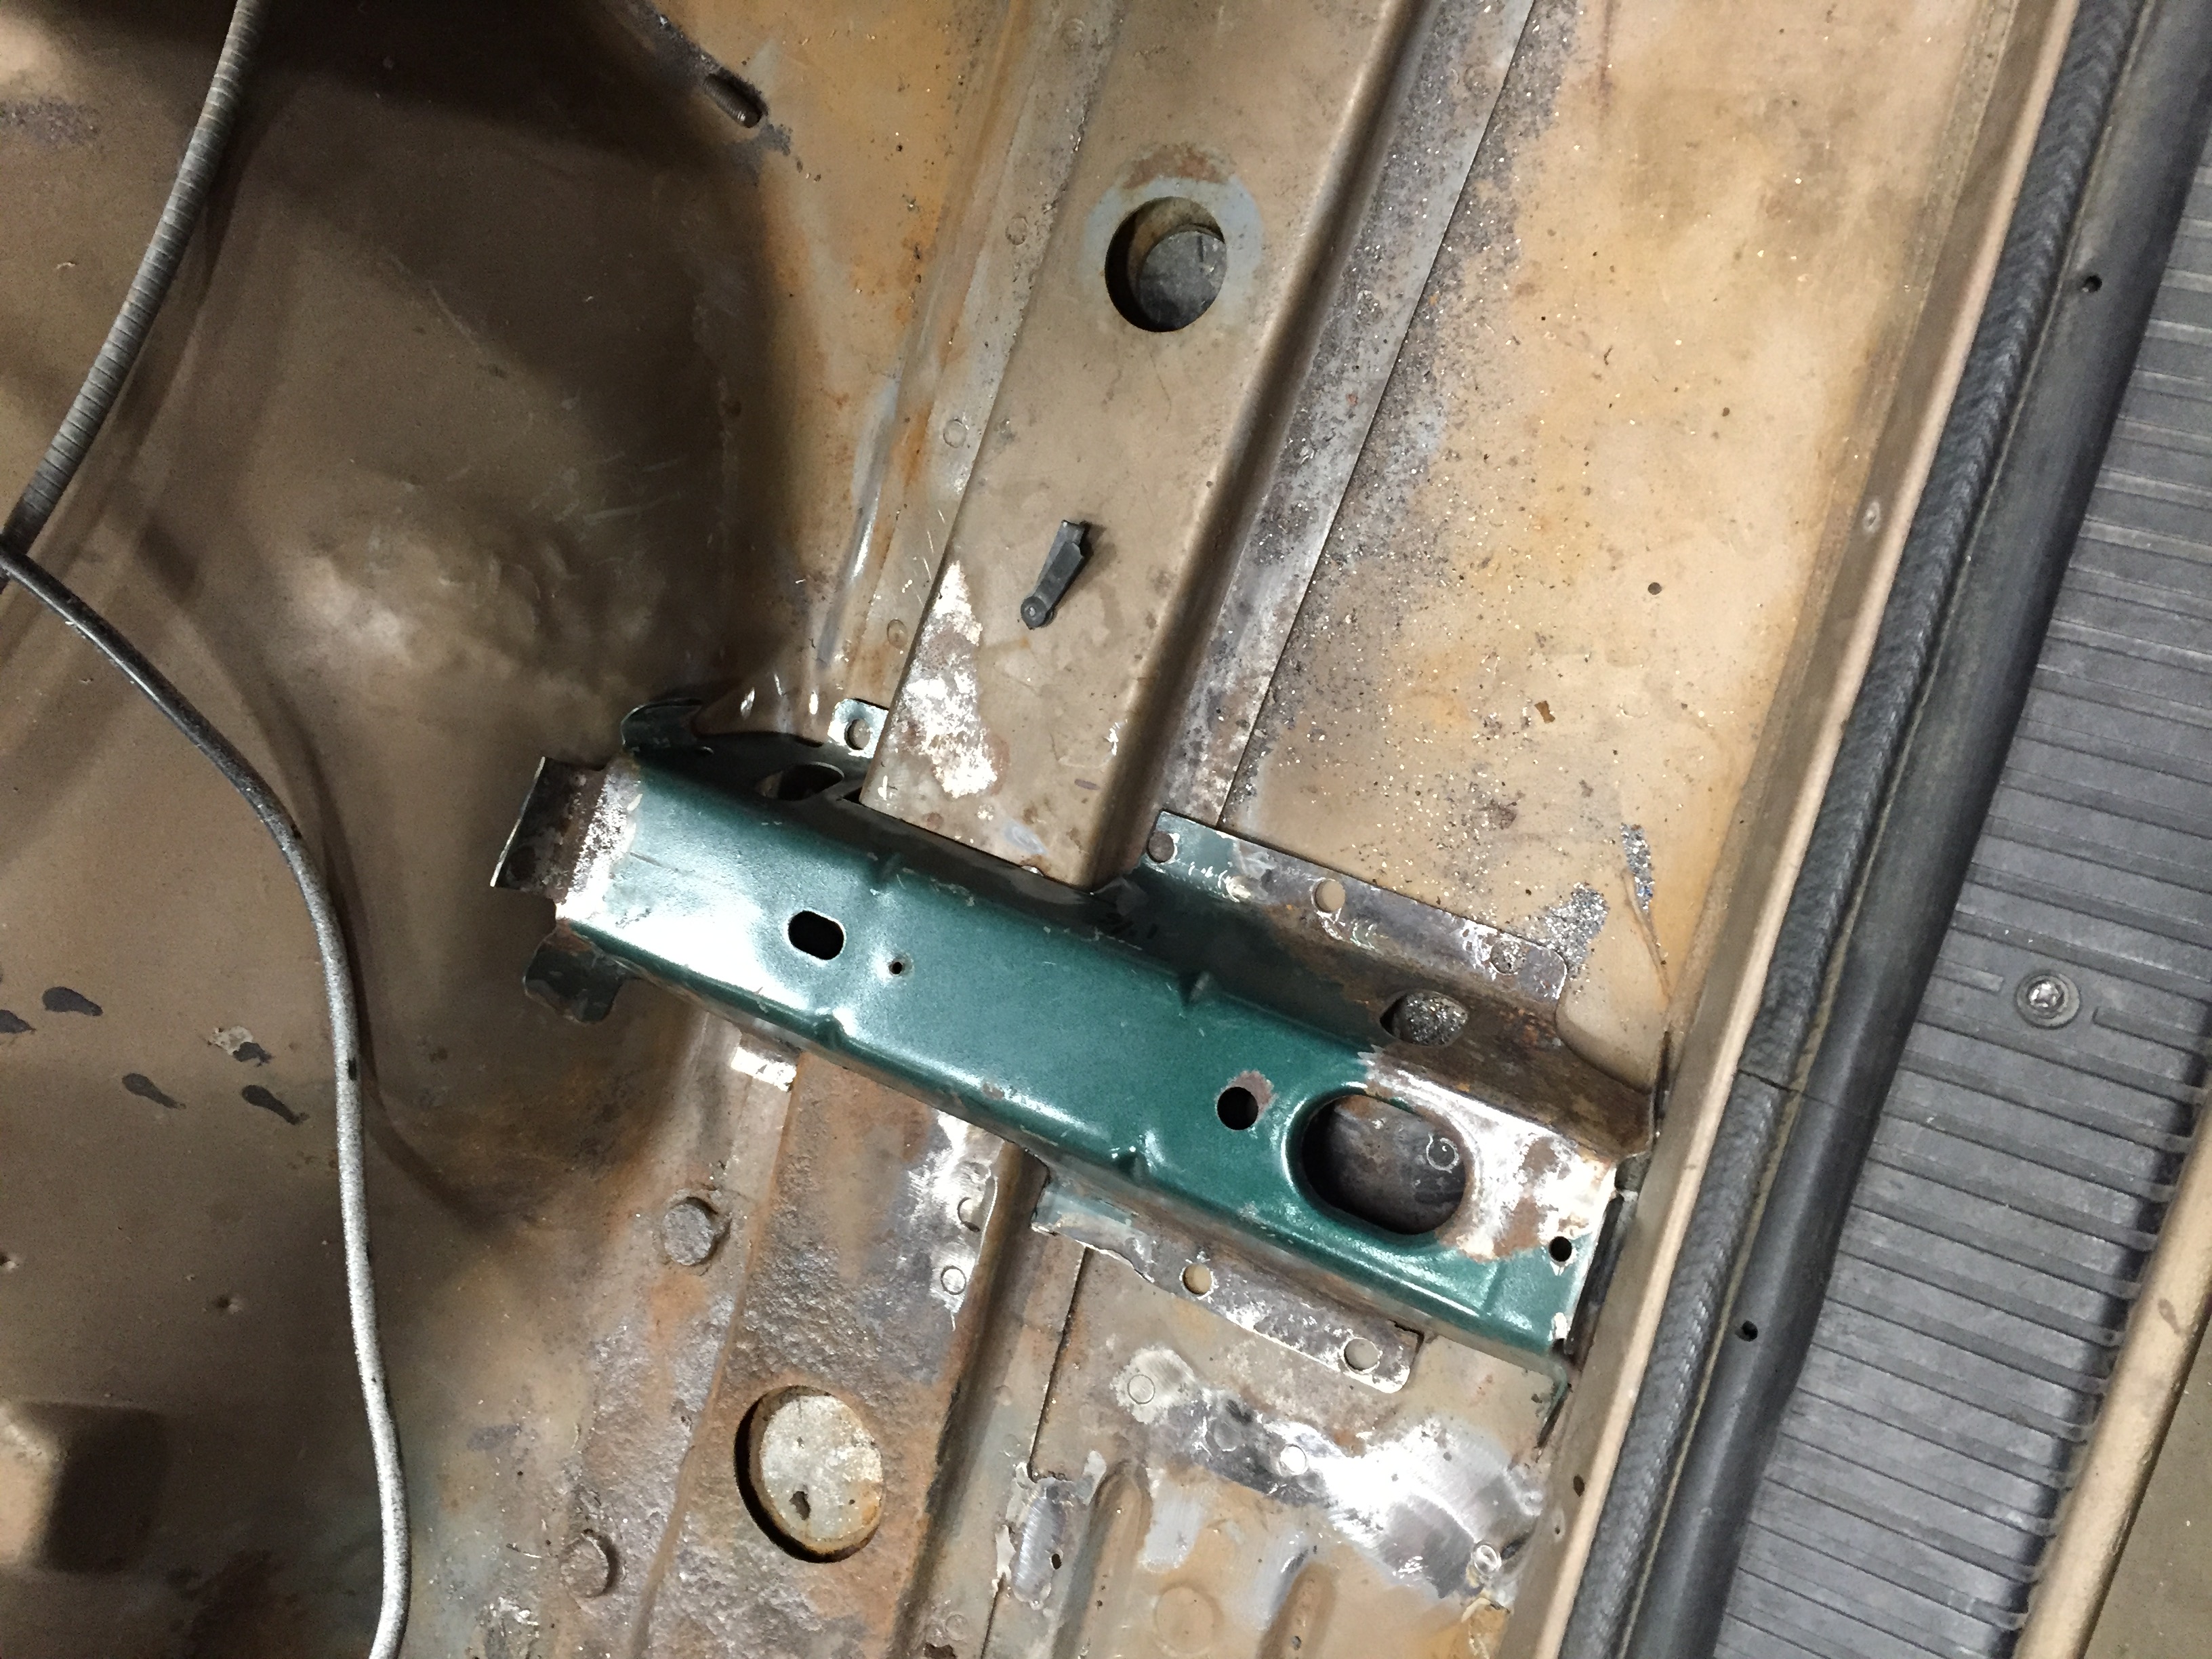 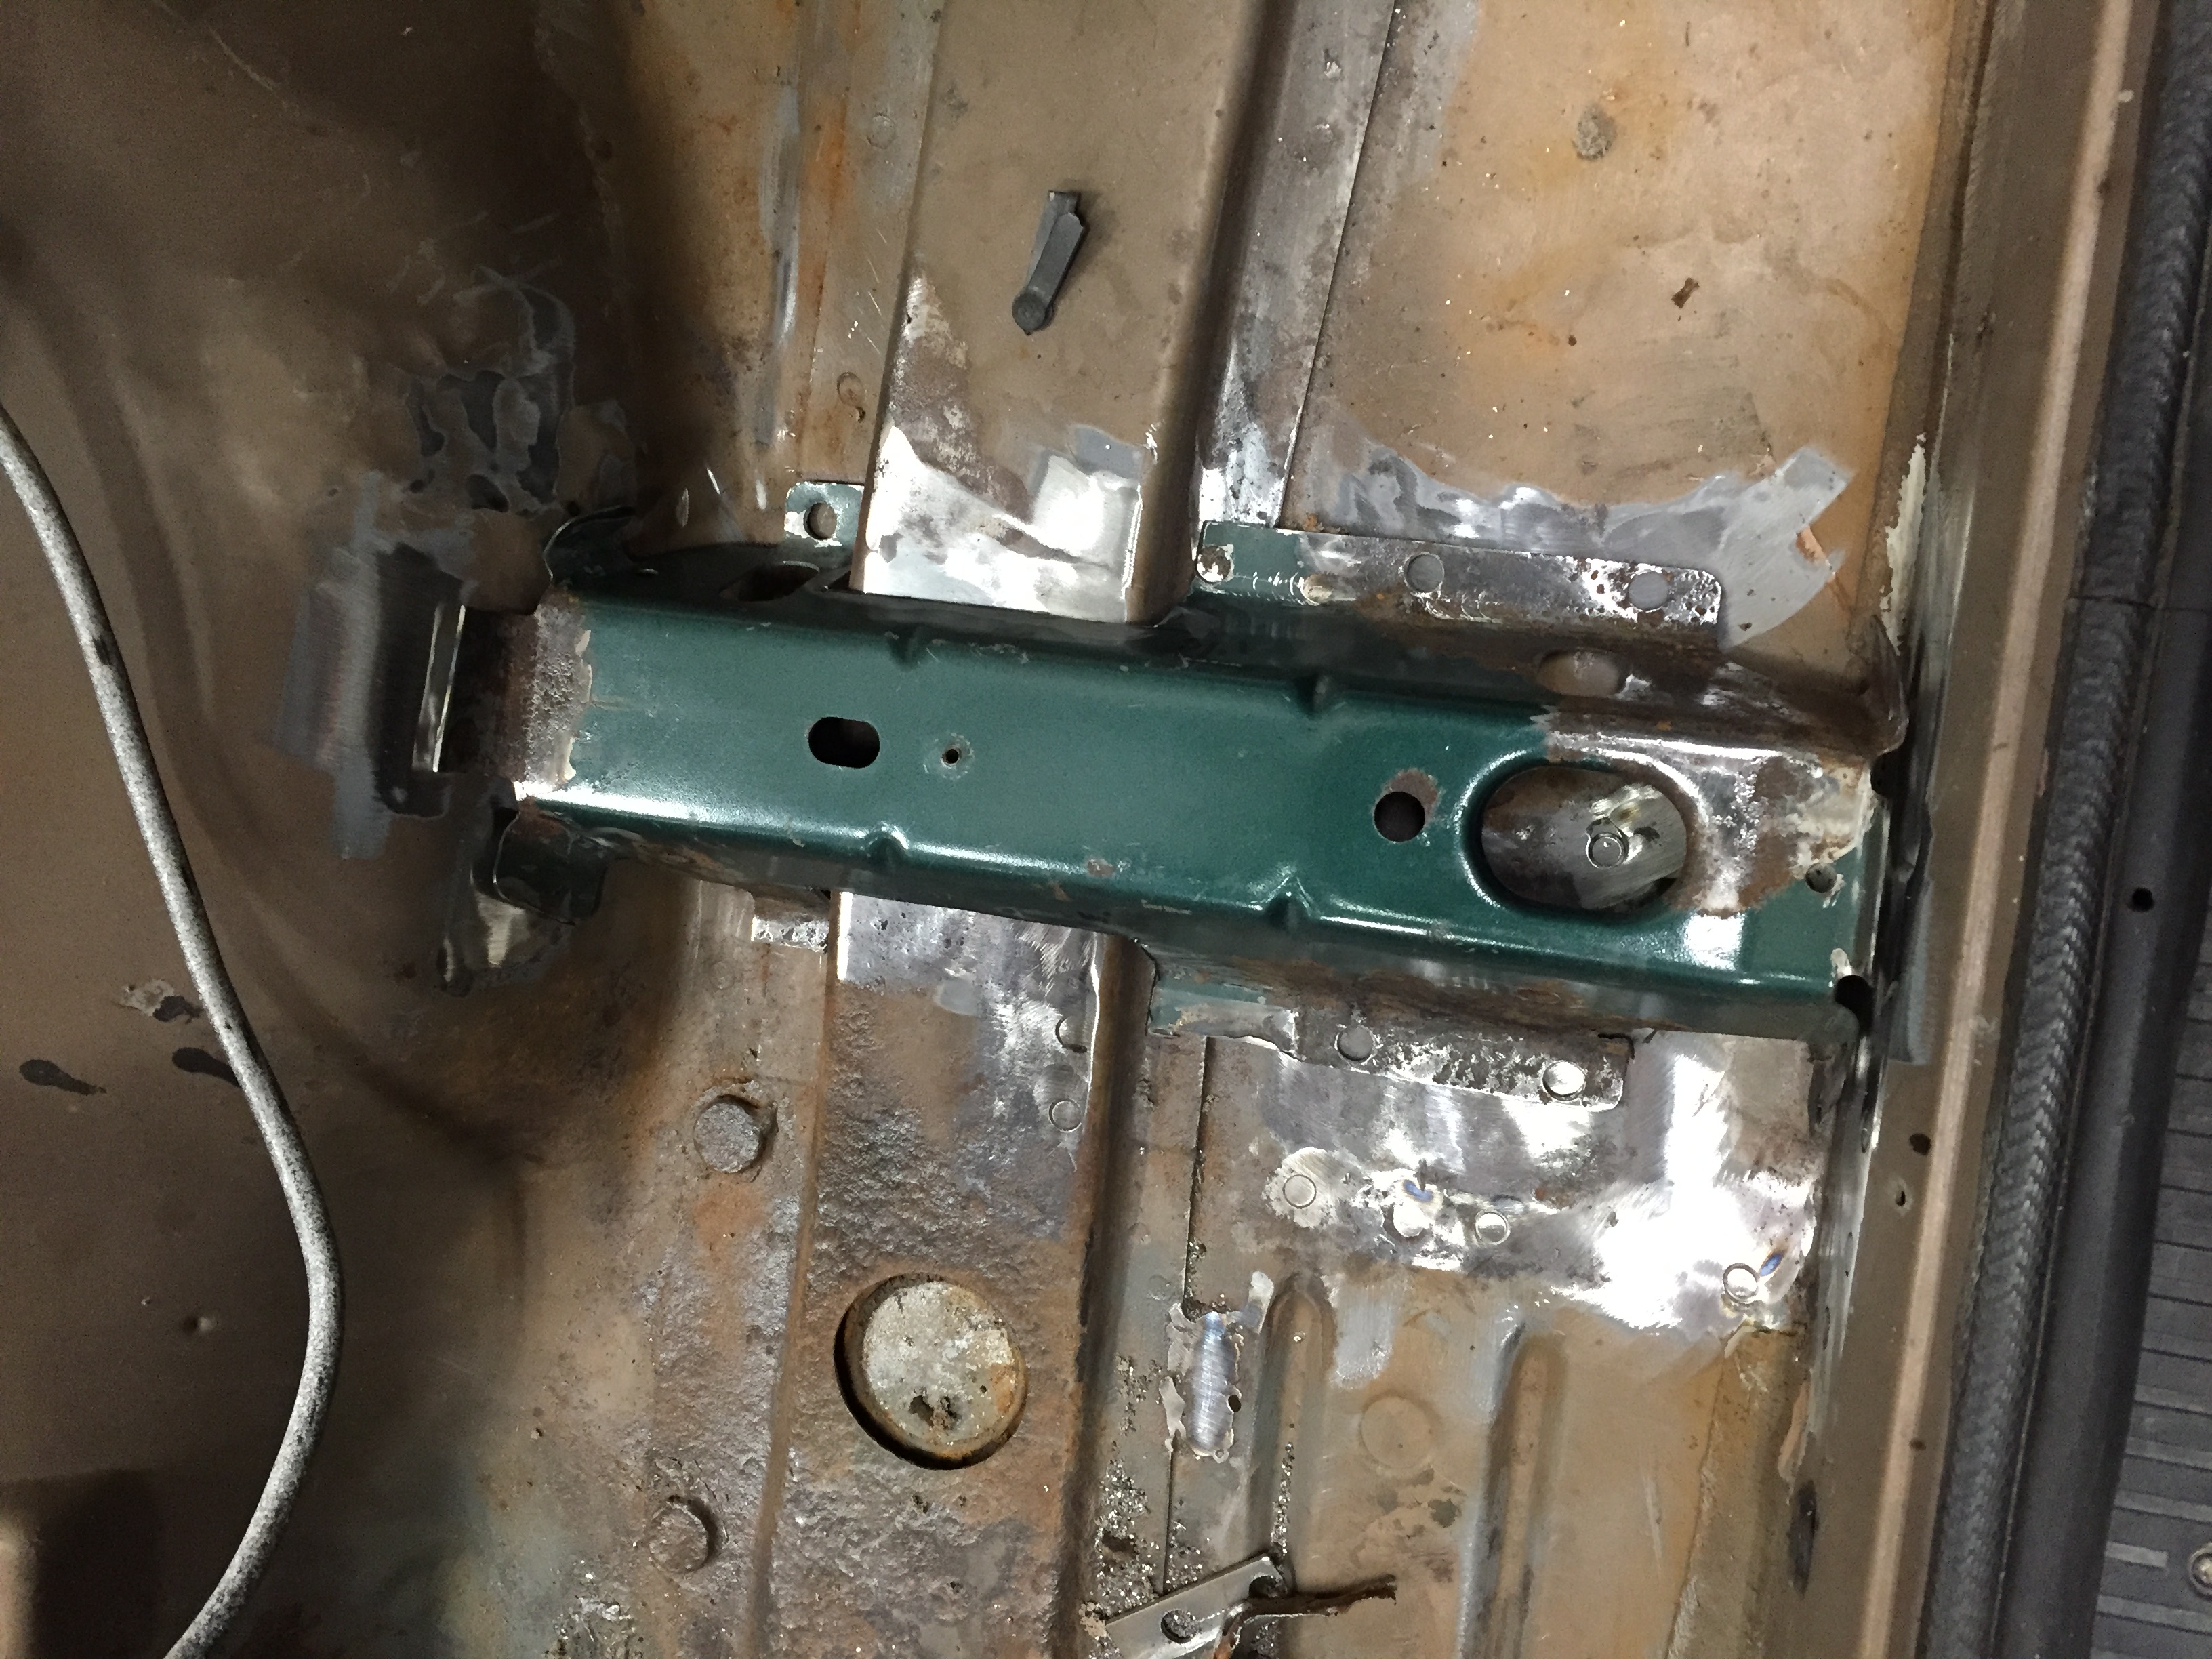 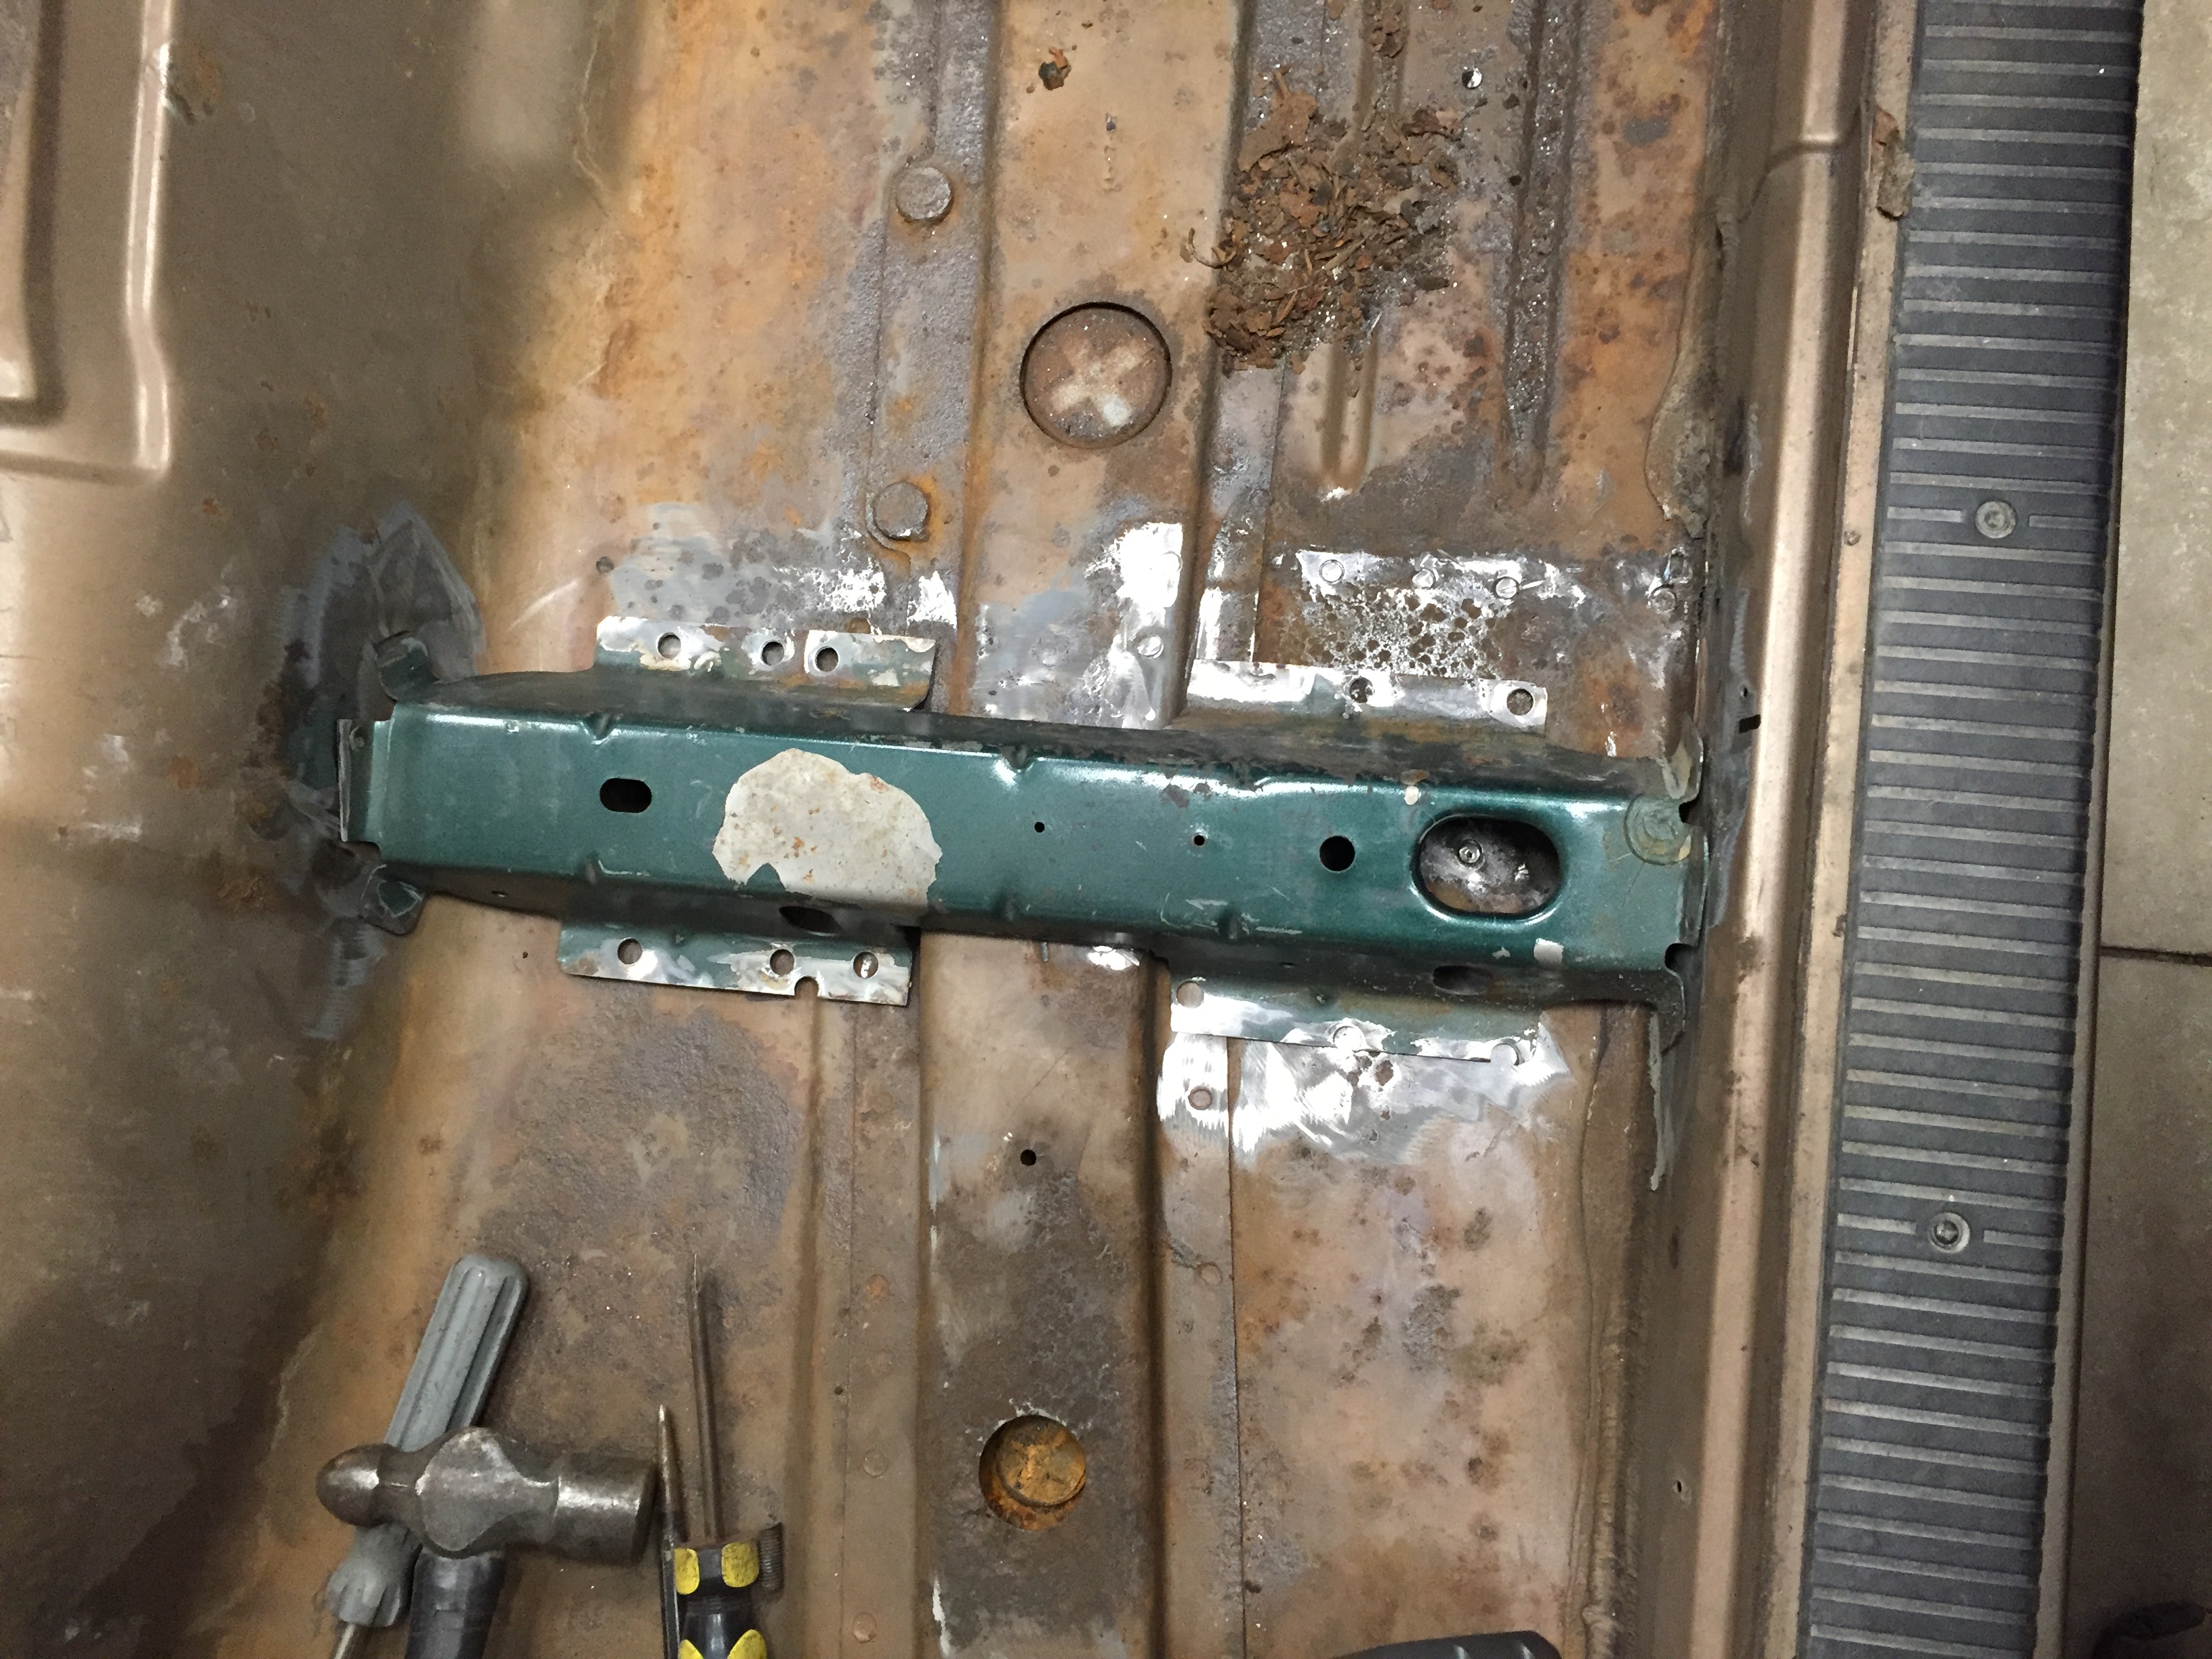 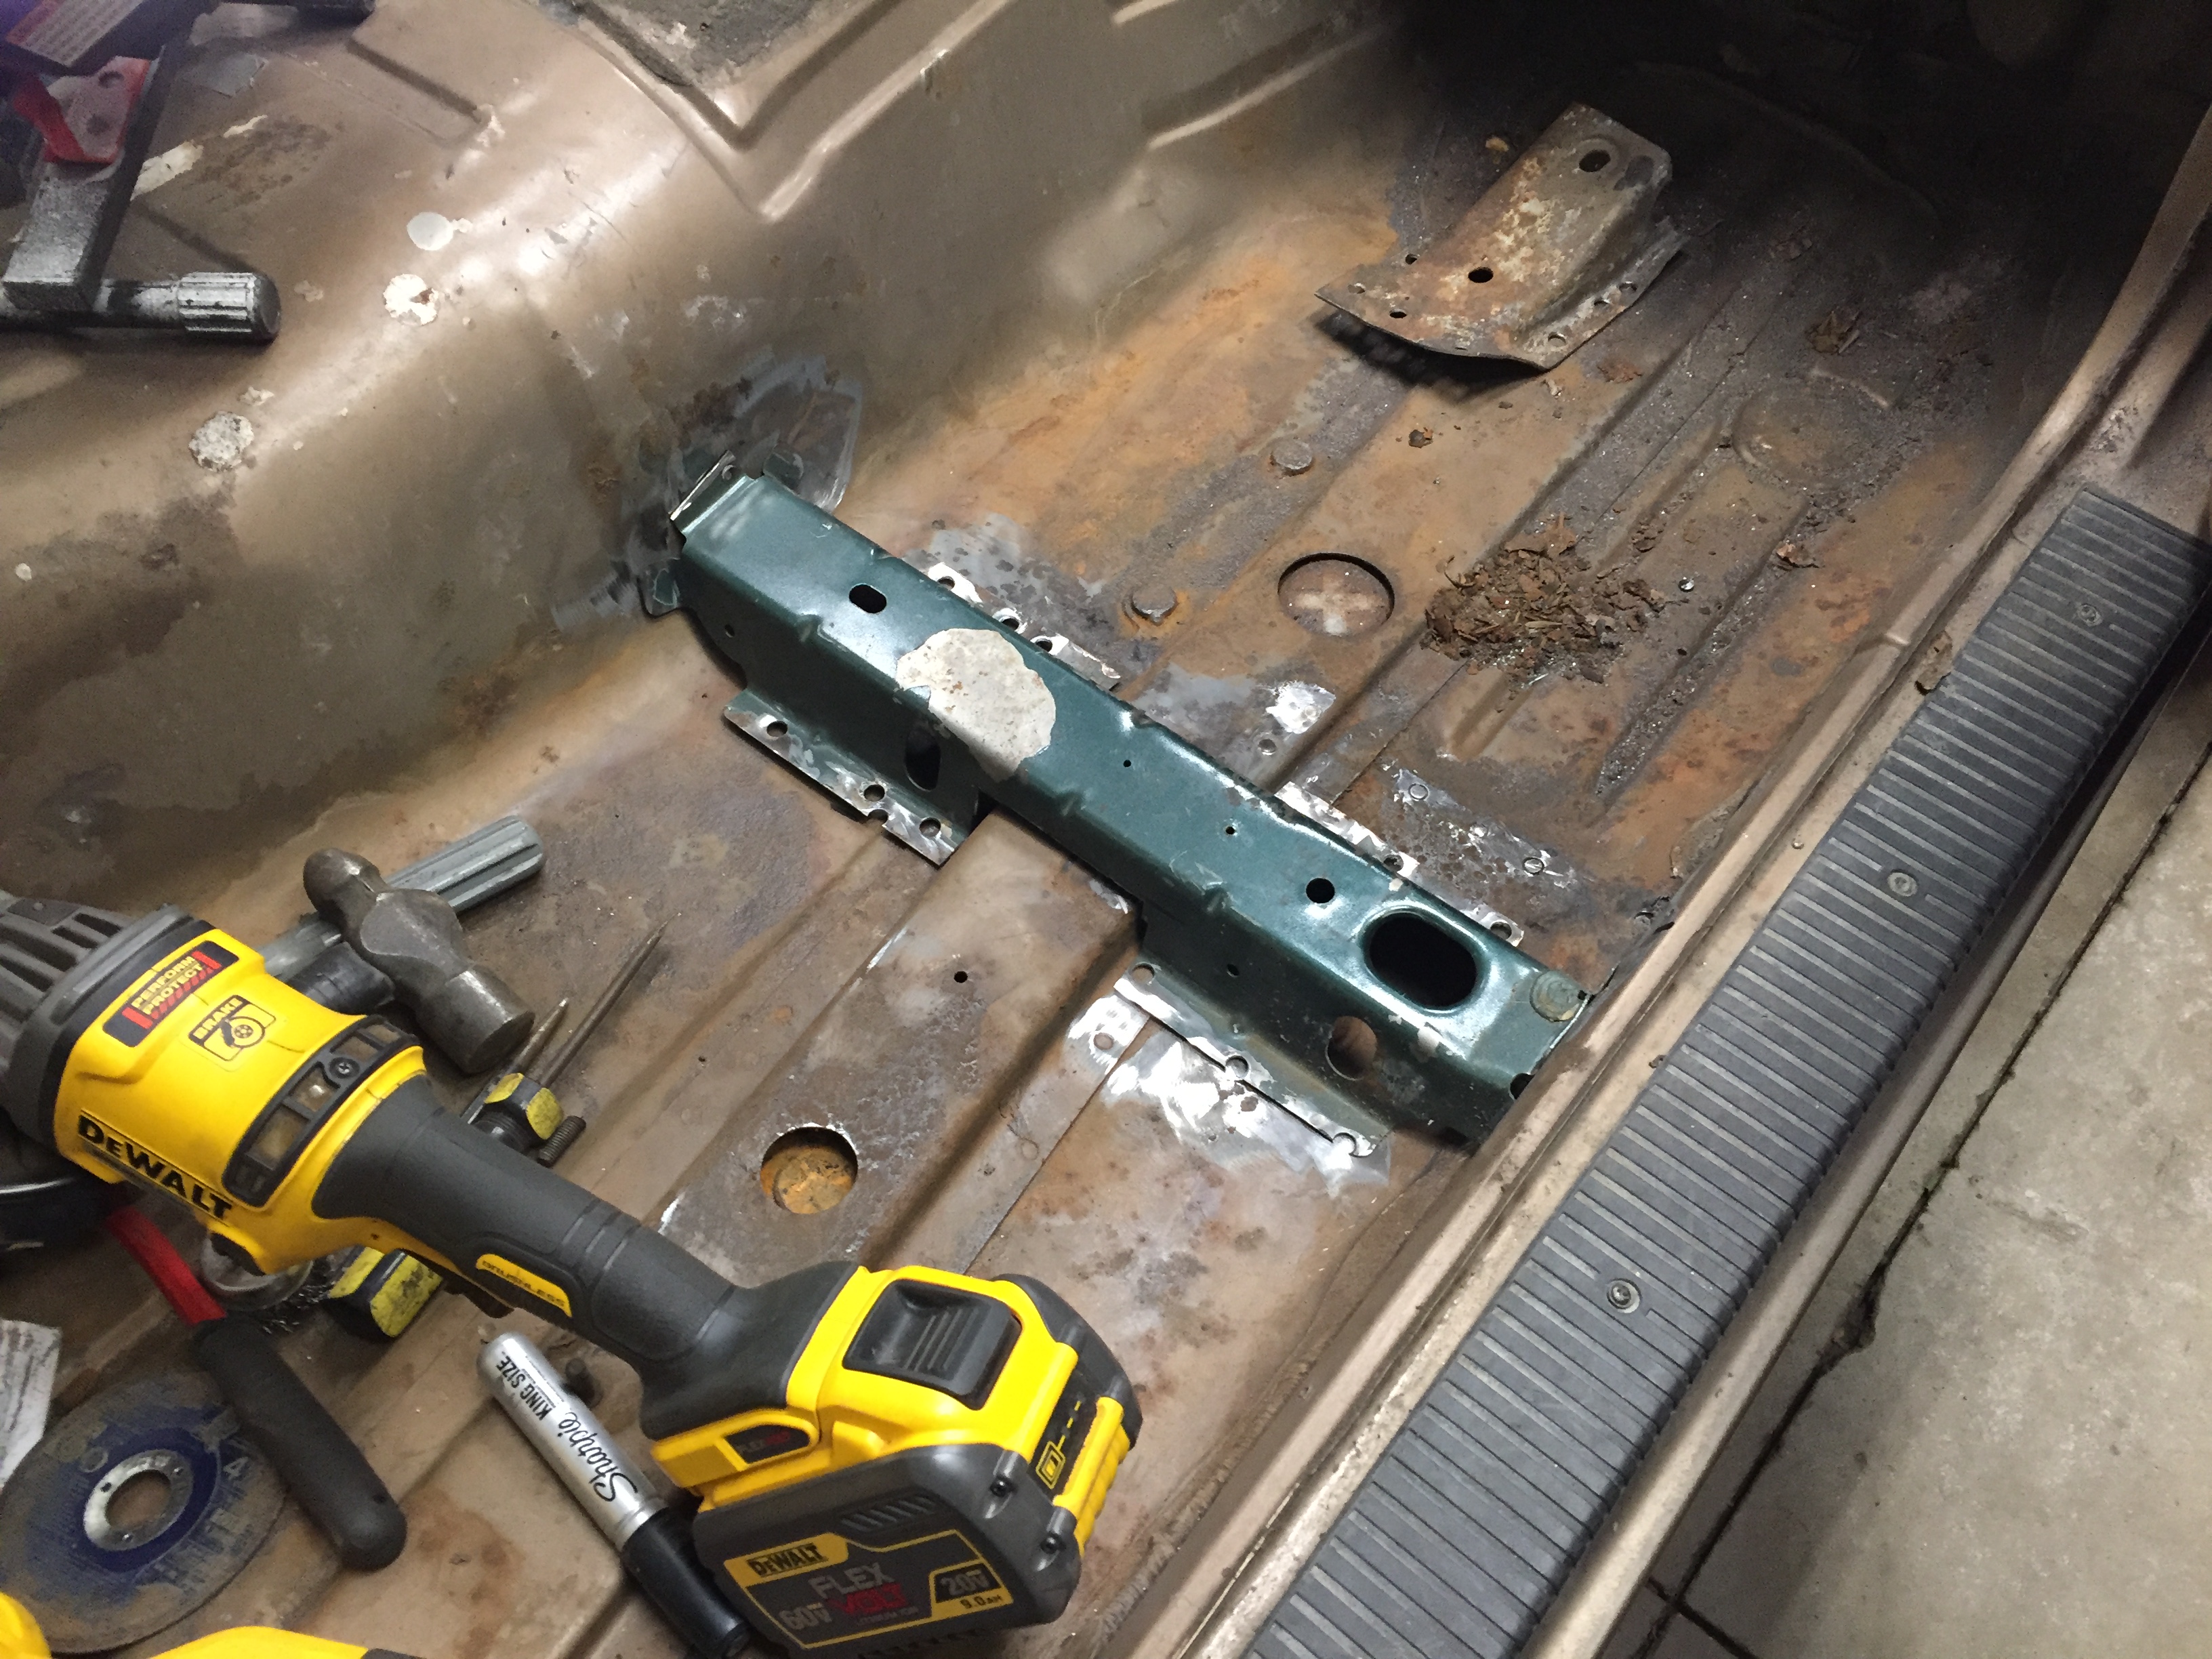 I finished cleaning up the floor with the wire wheel and flap disked the area where the bracket needs to be welded down. I'll hit them with some copper weld through primer before welding, then follow up with seam sealer and POR15. |
|
|
|
|
02-08-2018, 11:35 PM
|
#77 |
|
Working Mother
Join Date: Mar 2004
Posts: 19,874
|
I opened up a tube of seam sealer, I had the option to buy brush on or caulk tube, so I went with the black caulk tube. I think I might order some of the brush on and see how it works, I'm nut sure the caulk gun method is always the best for what I need to do.
This image has black seam sealer on black por15, so its a little hard to make out, the short is there is a patch panel, por 15 over the area top and bottom, and then seam sealer over the weld area. The seam sealer came out in in long strands from the tube, so I spread it around evenly with a wood paddle to flatten and smooth. It seems to cover pretty well and the consistency and rubber pliability look good long term. Its a urethane product so it should hold up well long term. 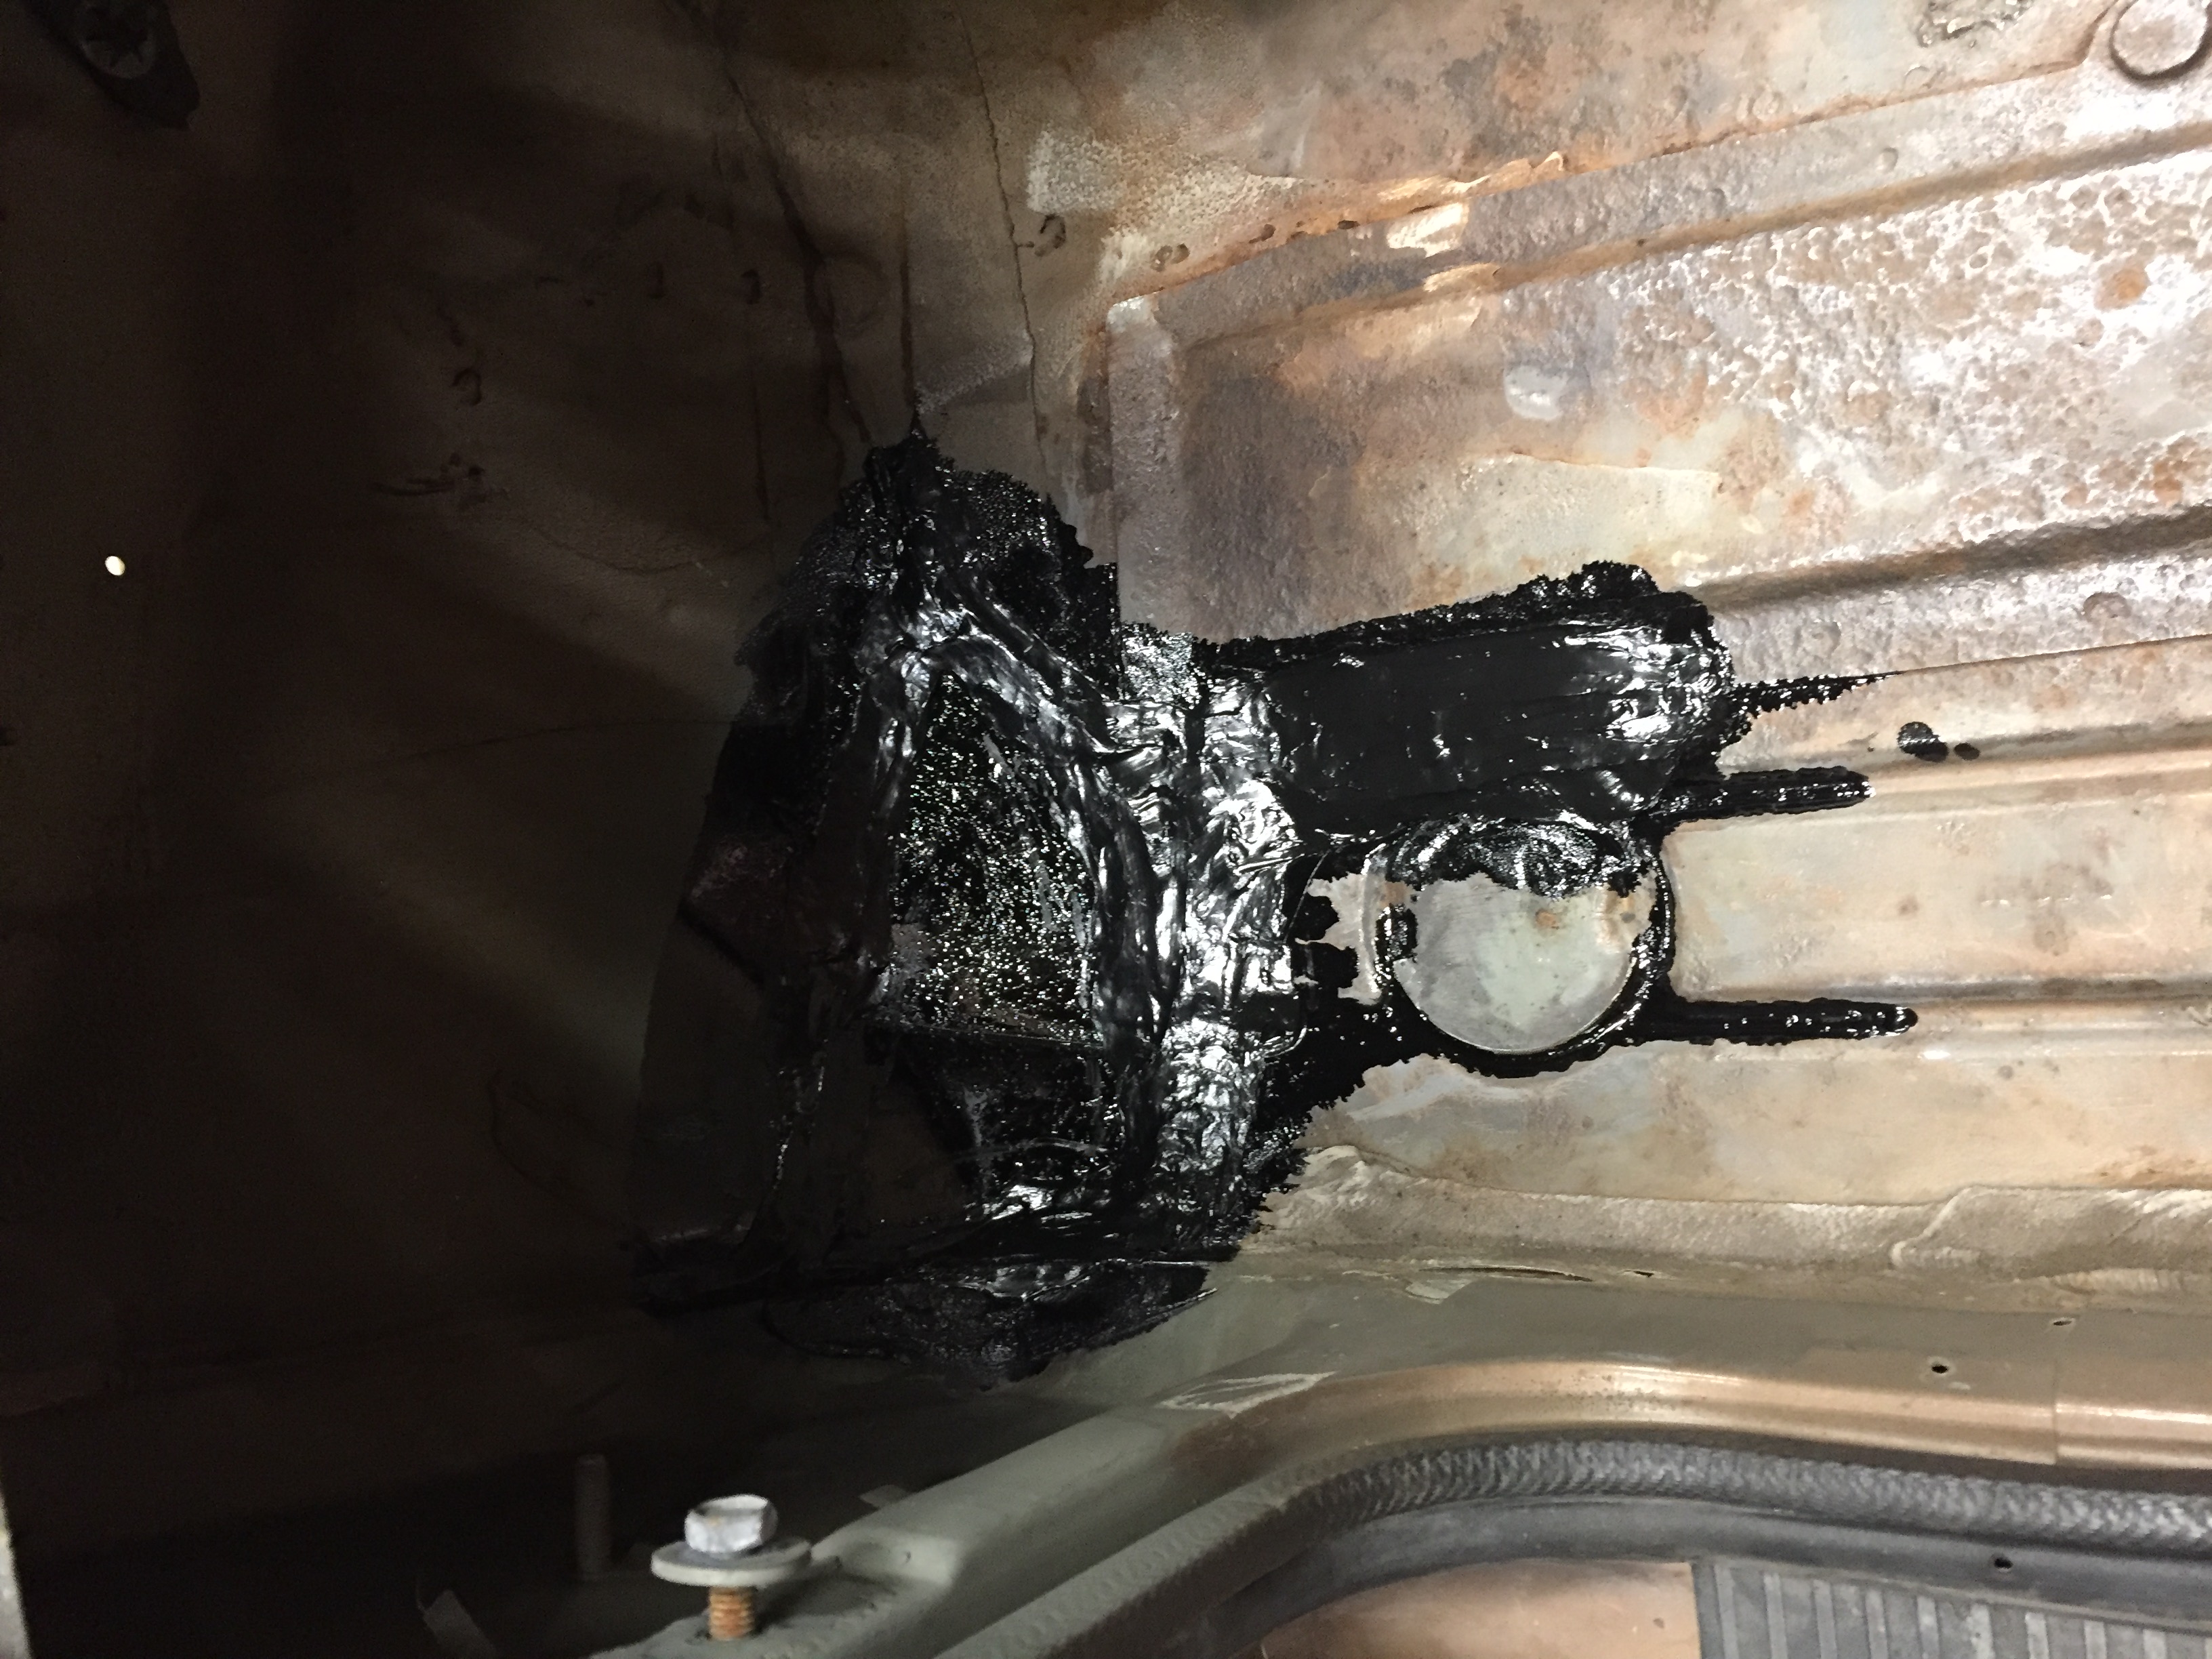 I dug the body harness out of the mess of stuff in the bed, I need to make some modifications in the rear section. The white plugs in the lower right of the image are usually behind the plastic which is under the spare tire carrier. These plug into the turn signals and factory wiring harness for trailer lights. The MJ uses a different tail light setup than the XJ - its the same as what the XJ wagoneers had. This is more what trailer lights are like, or older vehicles. So the brake and turn are combined into one bulb. I need to do some rewire work, including what I will do for trailer lights, and shorten the wiring to sit in the cab as those connectors are not weather rated. Right now I am planning to put them in the drivers rear void space behind where the stock rear speaker sits. Then I will tie that in with the factory plugs to the MJ rear harness that exits through a rubber grommet in the floor. 
|
|
|
|
|
02-12-2018, 01:09 AM
|
#78 |
|
Working Mother
Join Date: Mar 2004
Posts: 19,874
|
Freerider came over and helped me burn on the seat brackets. Note the copper weld through primer I put down. It's a conductive primer so that you don't leave something as bare steel once you weld over it.
 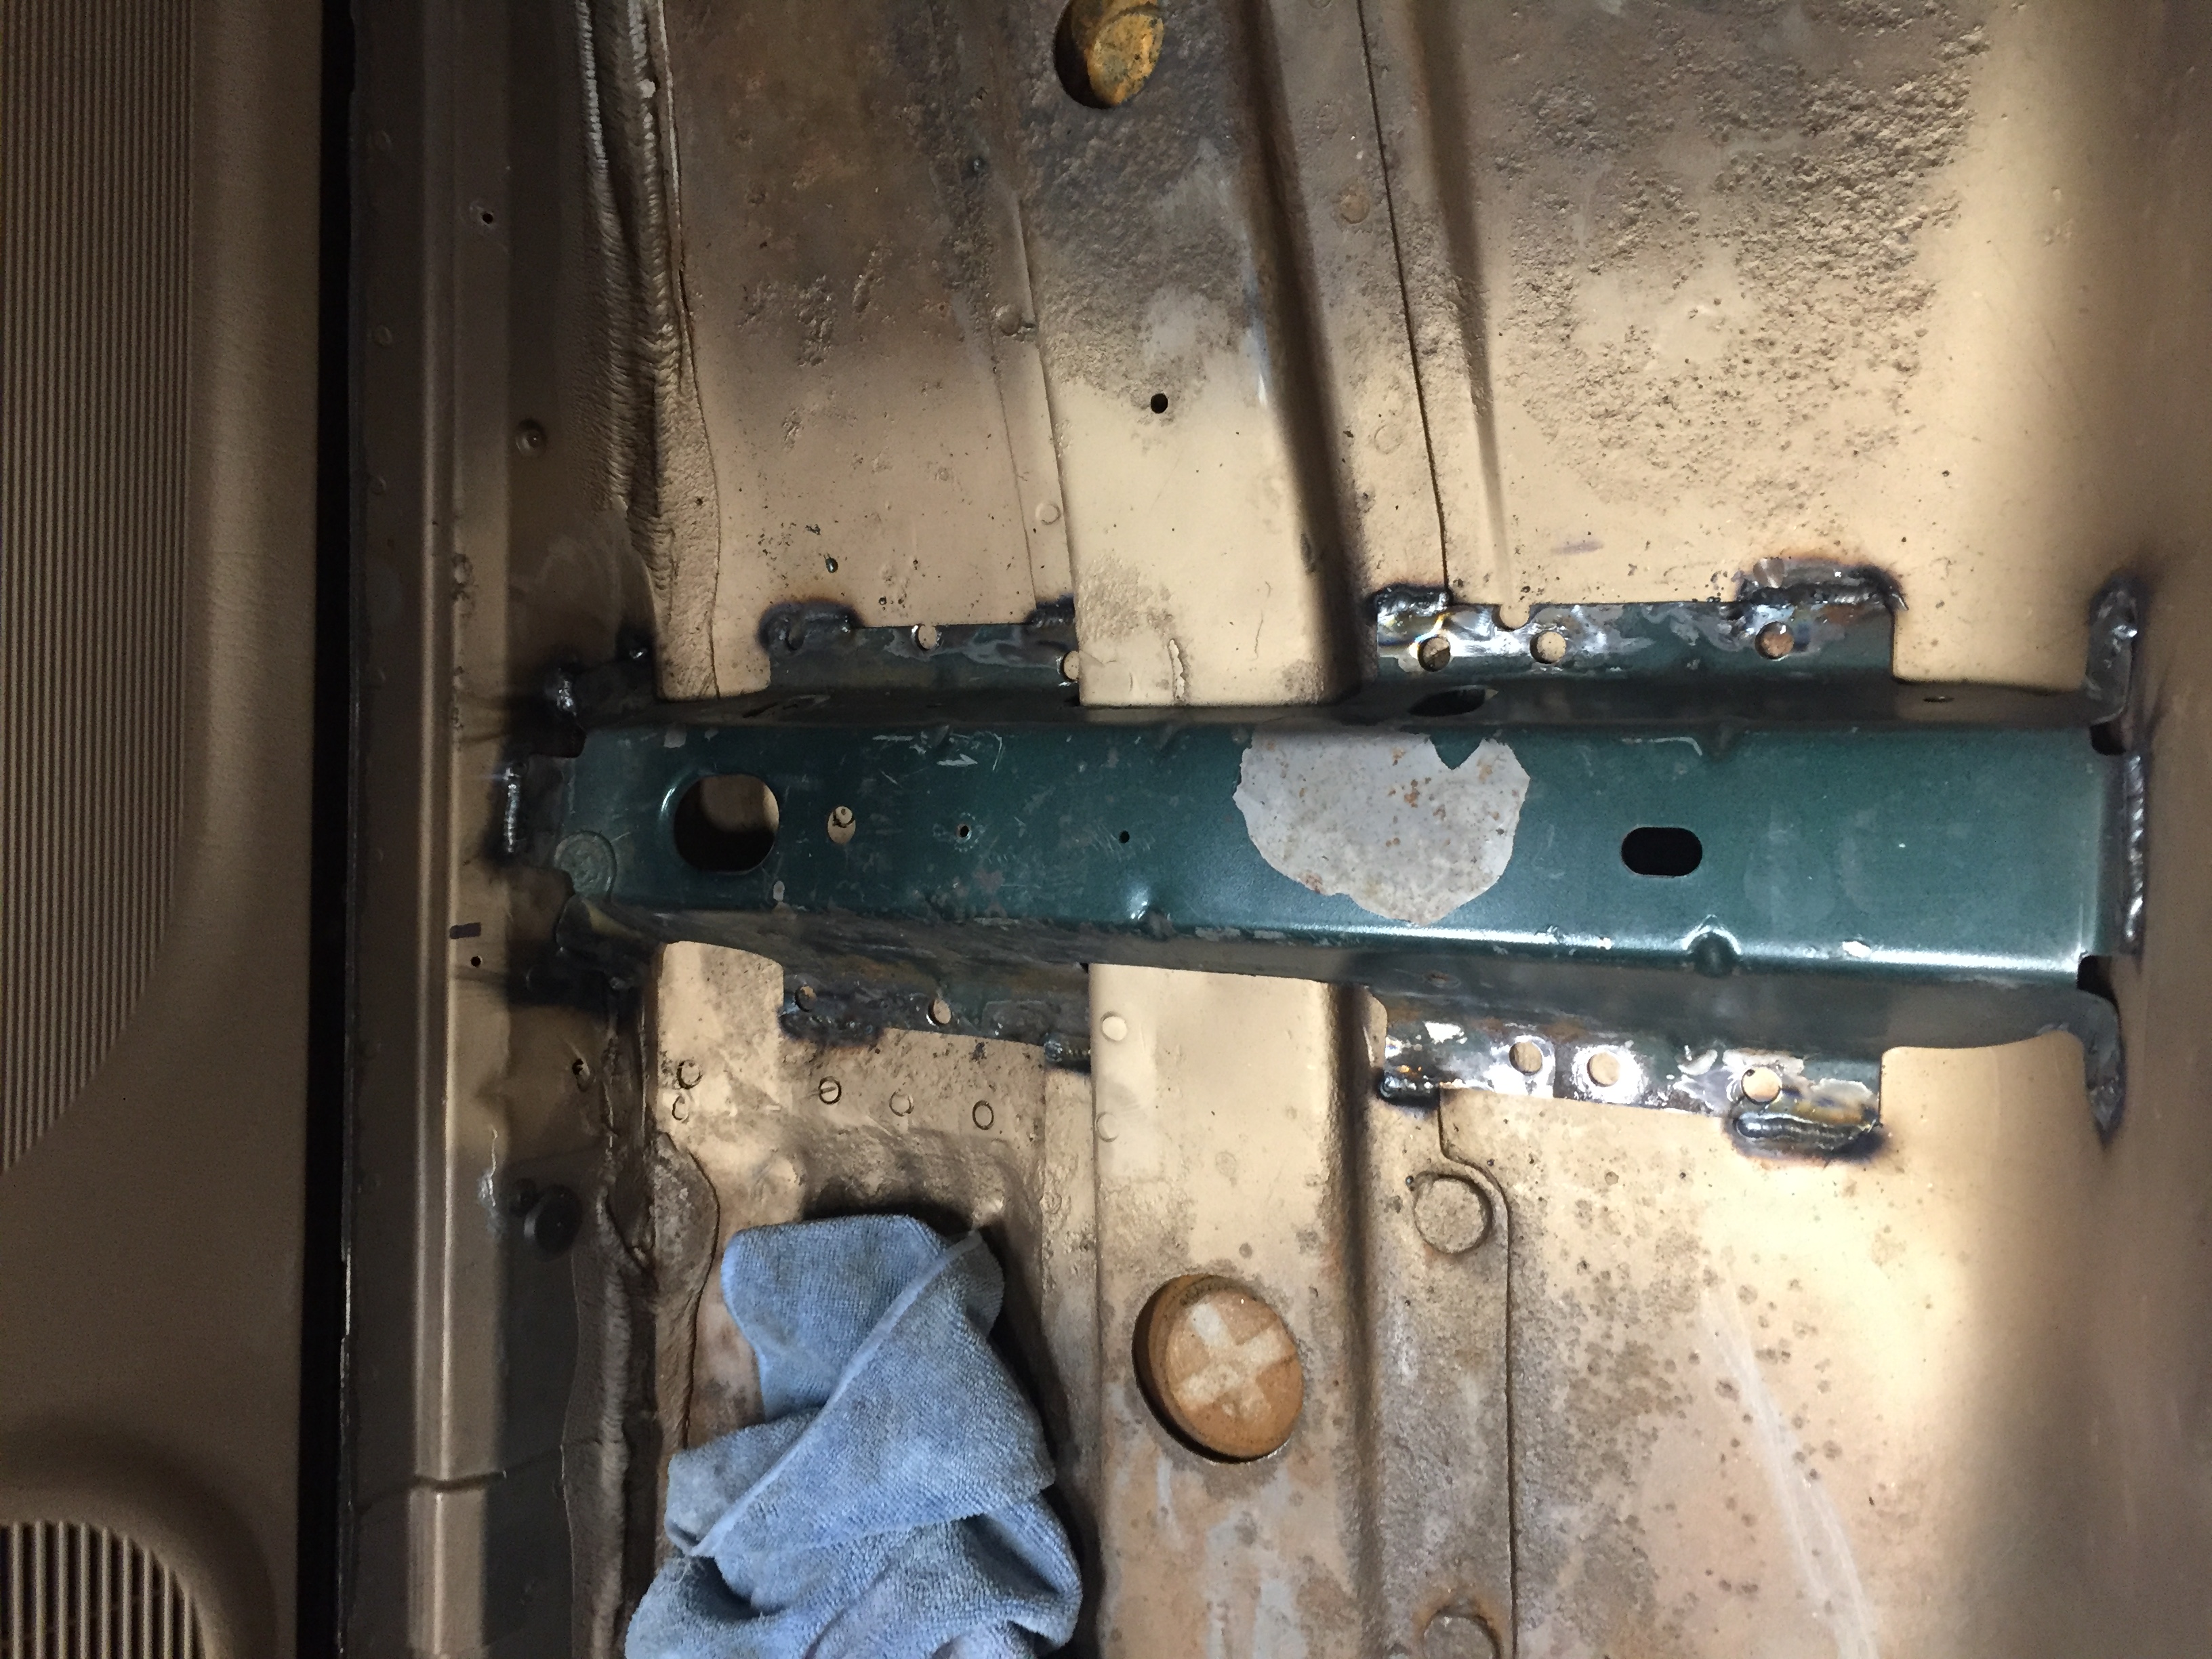 After that I cleaned the floor with Acetone and got to work with the POR15: 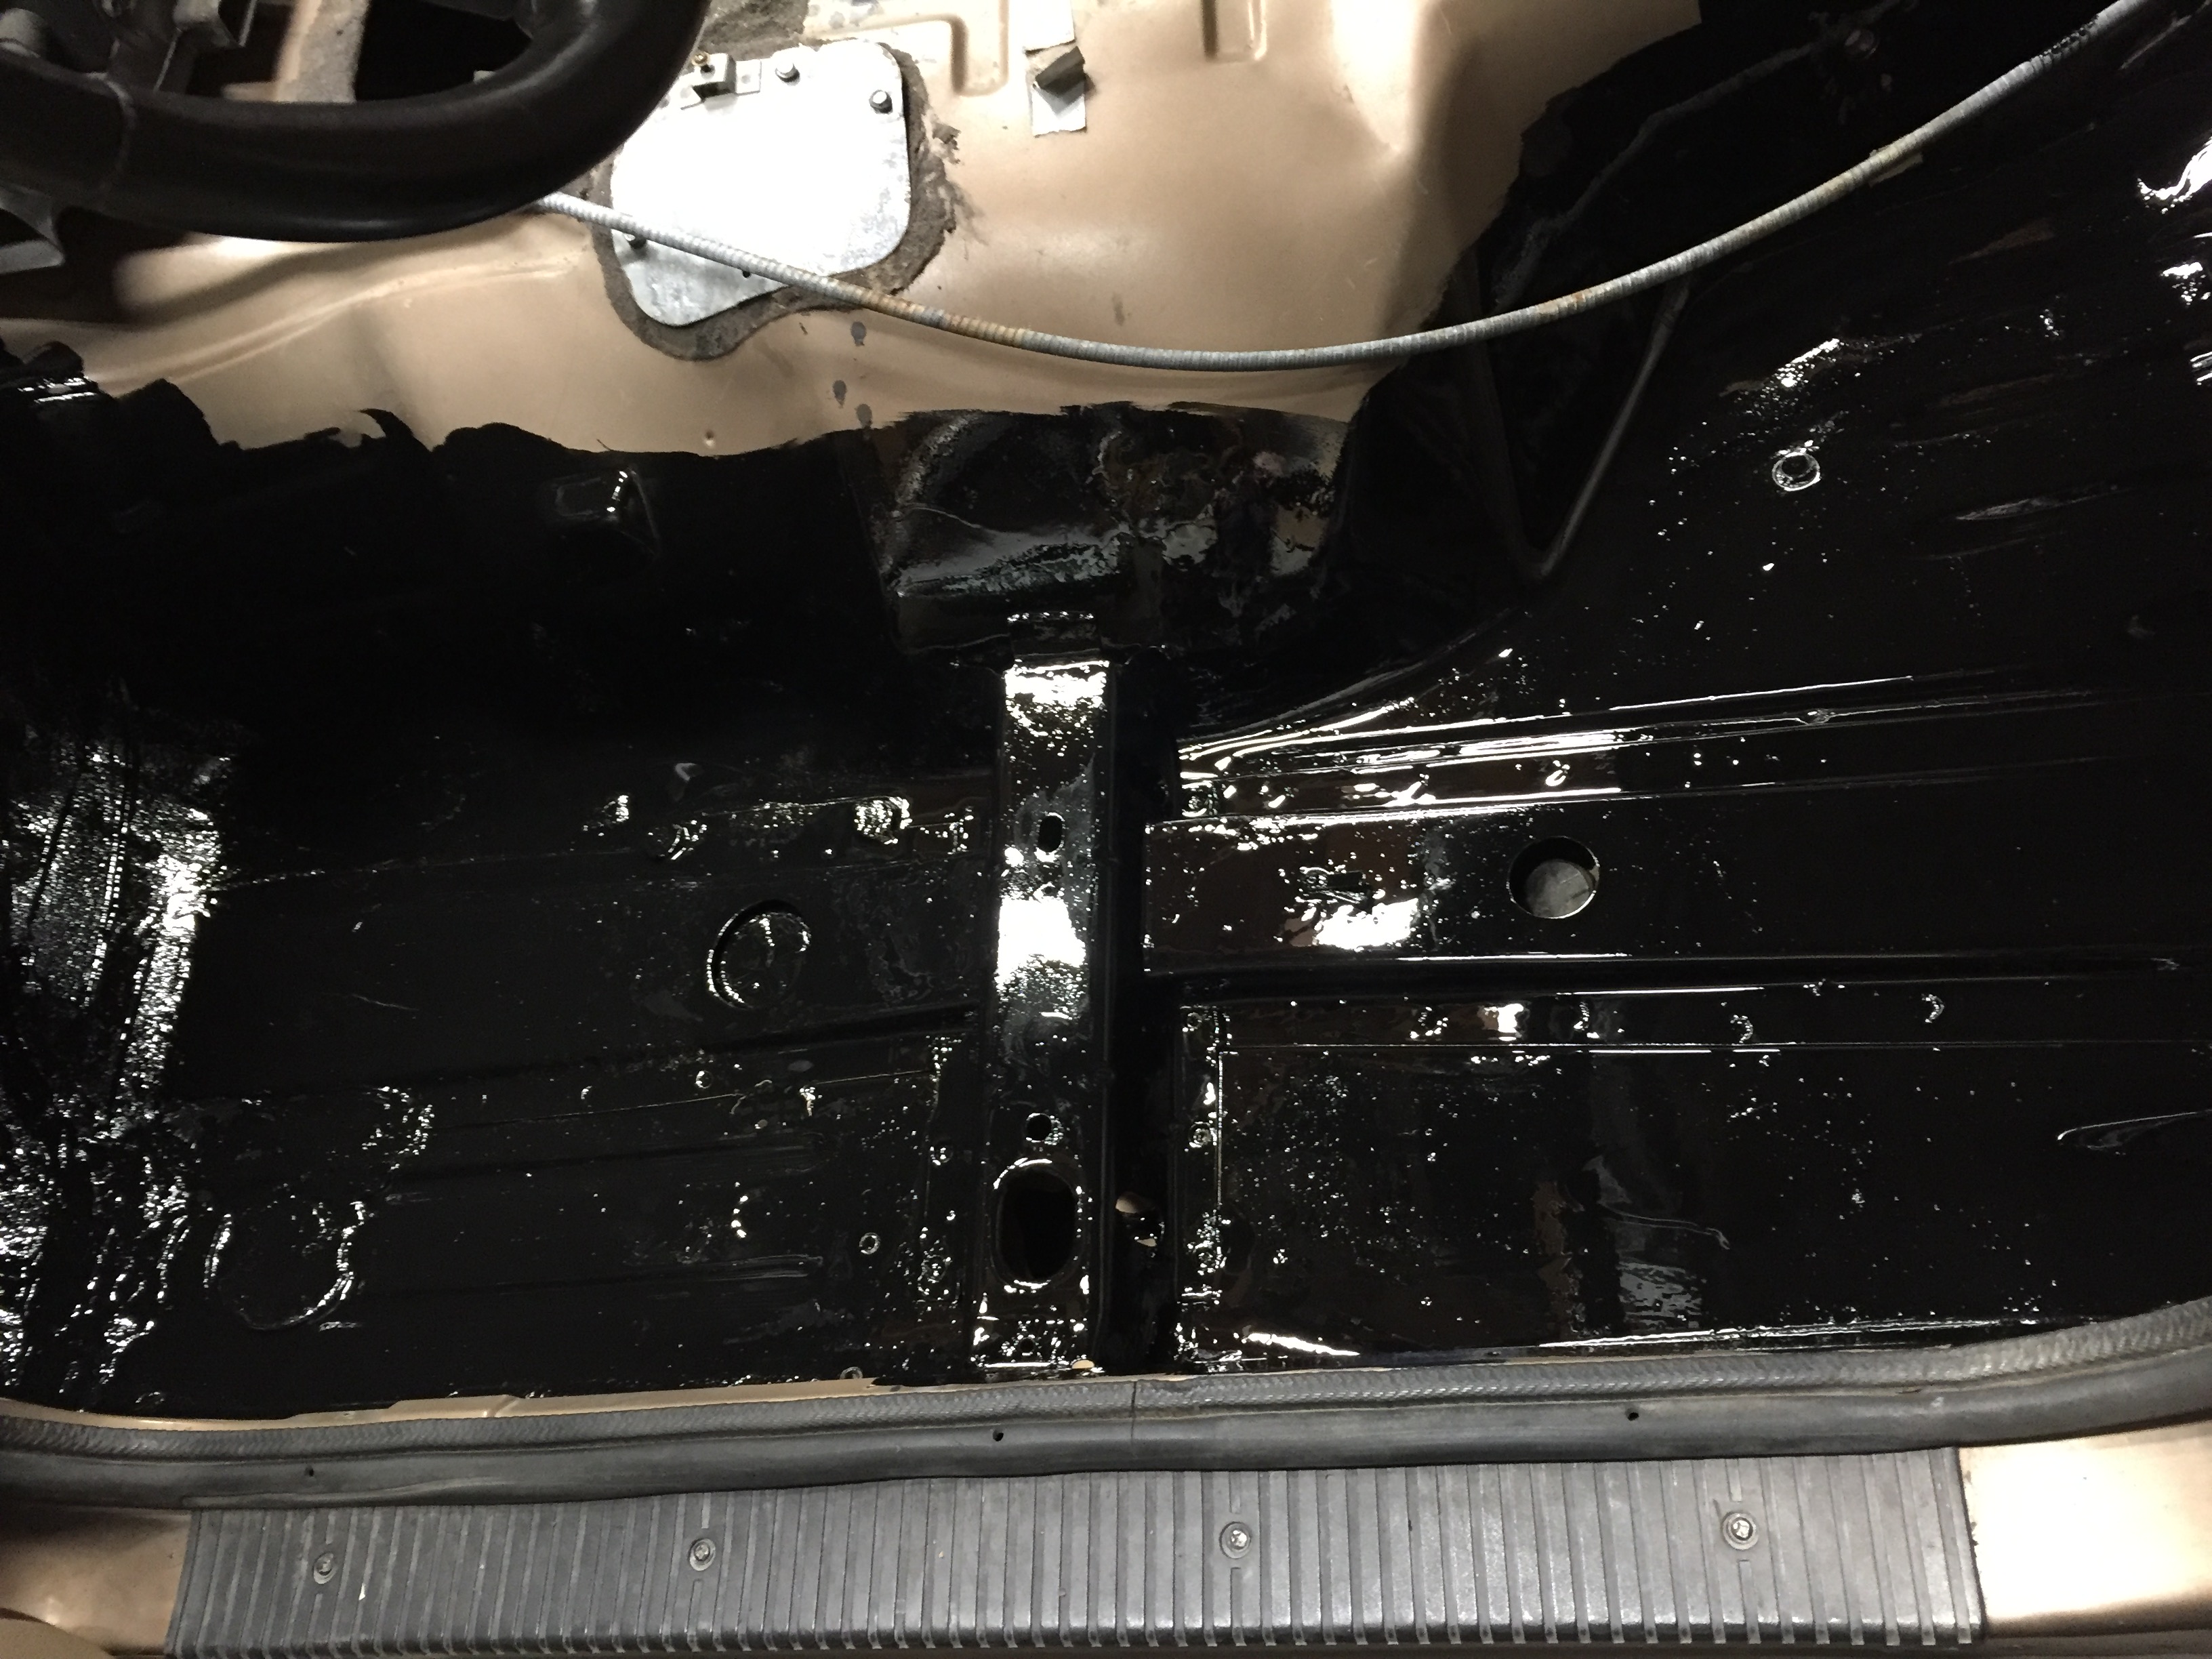  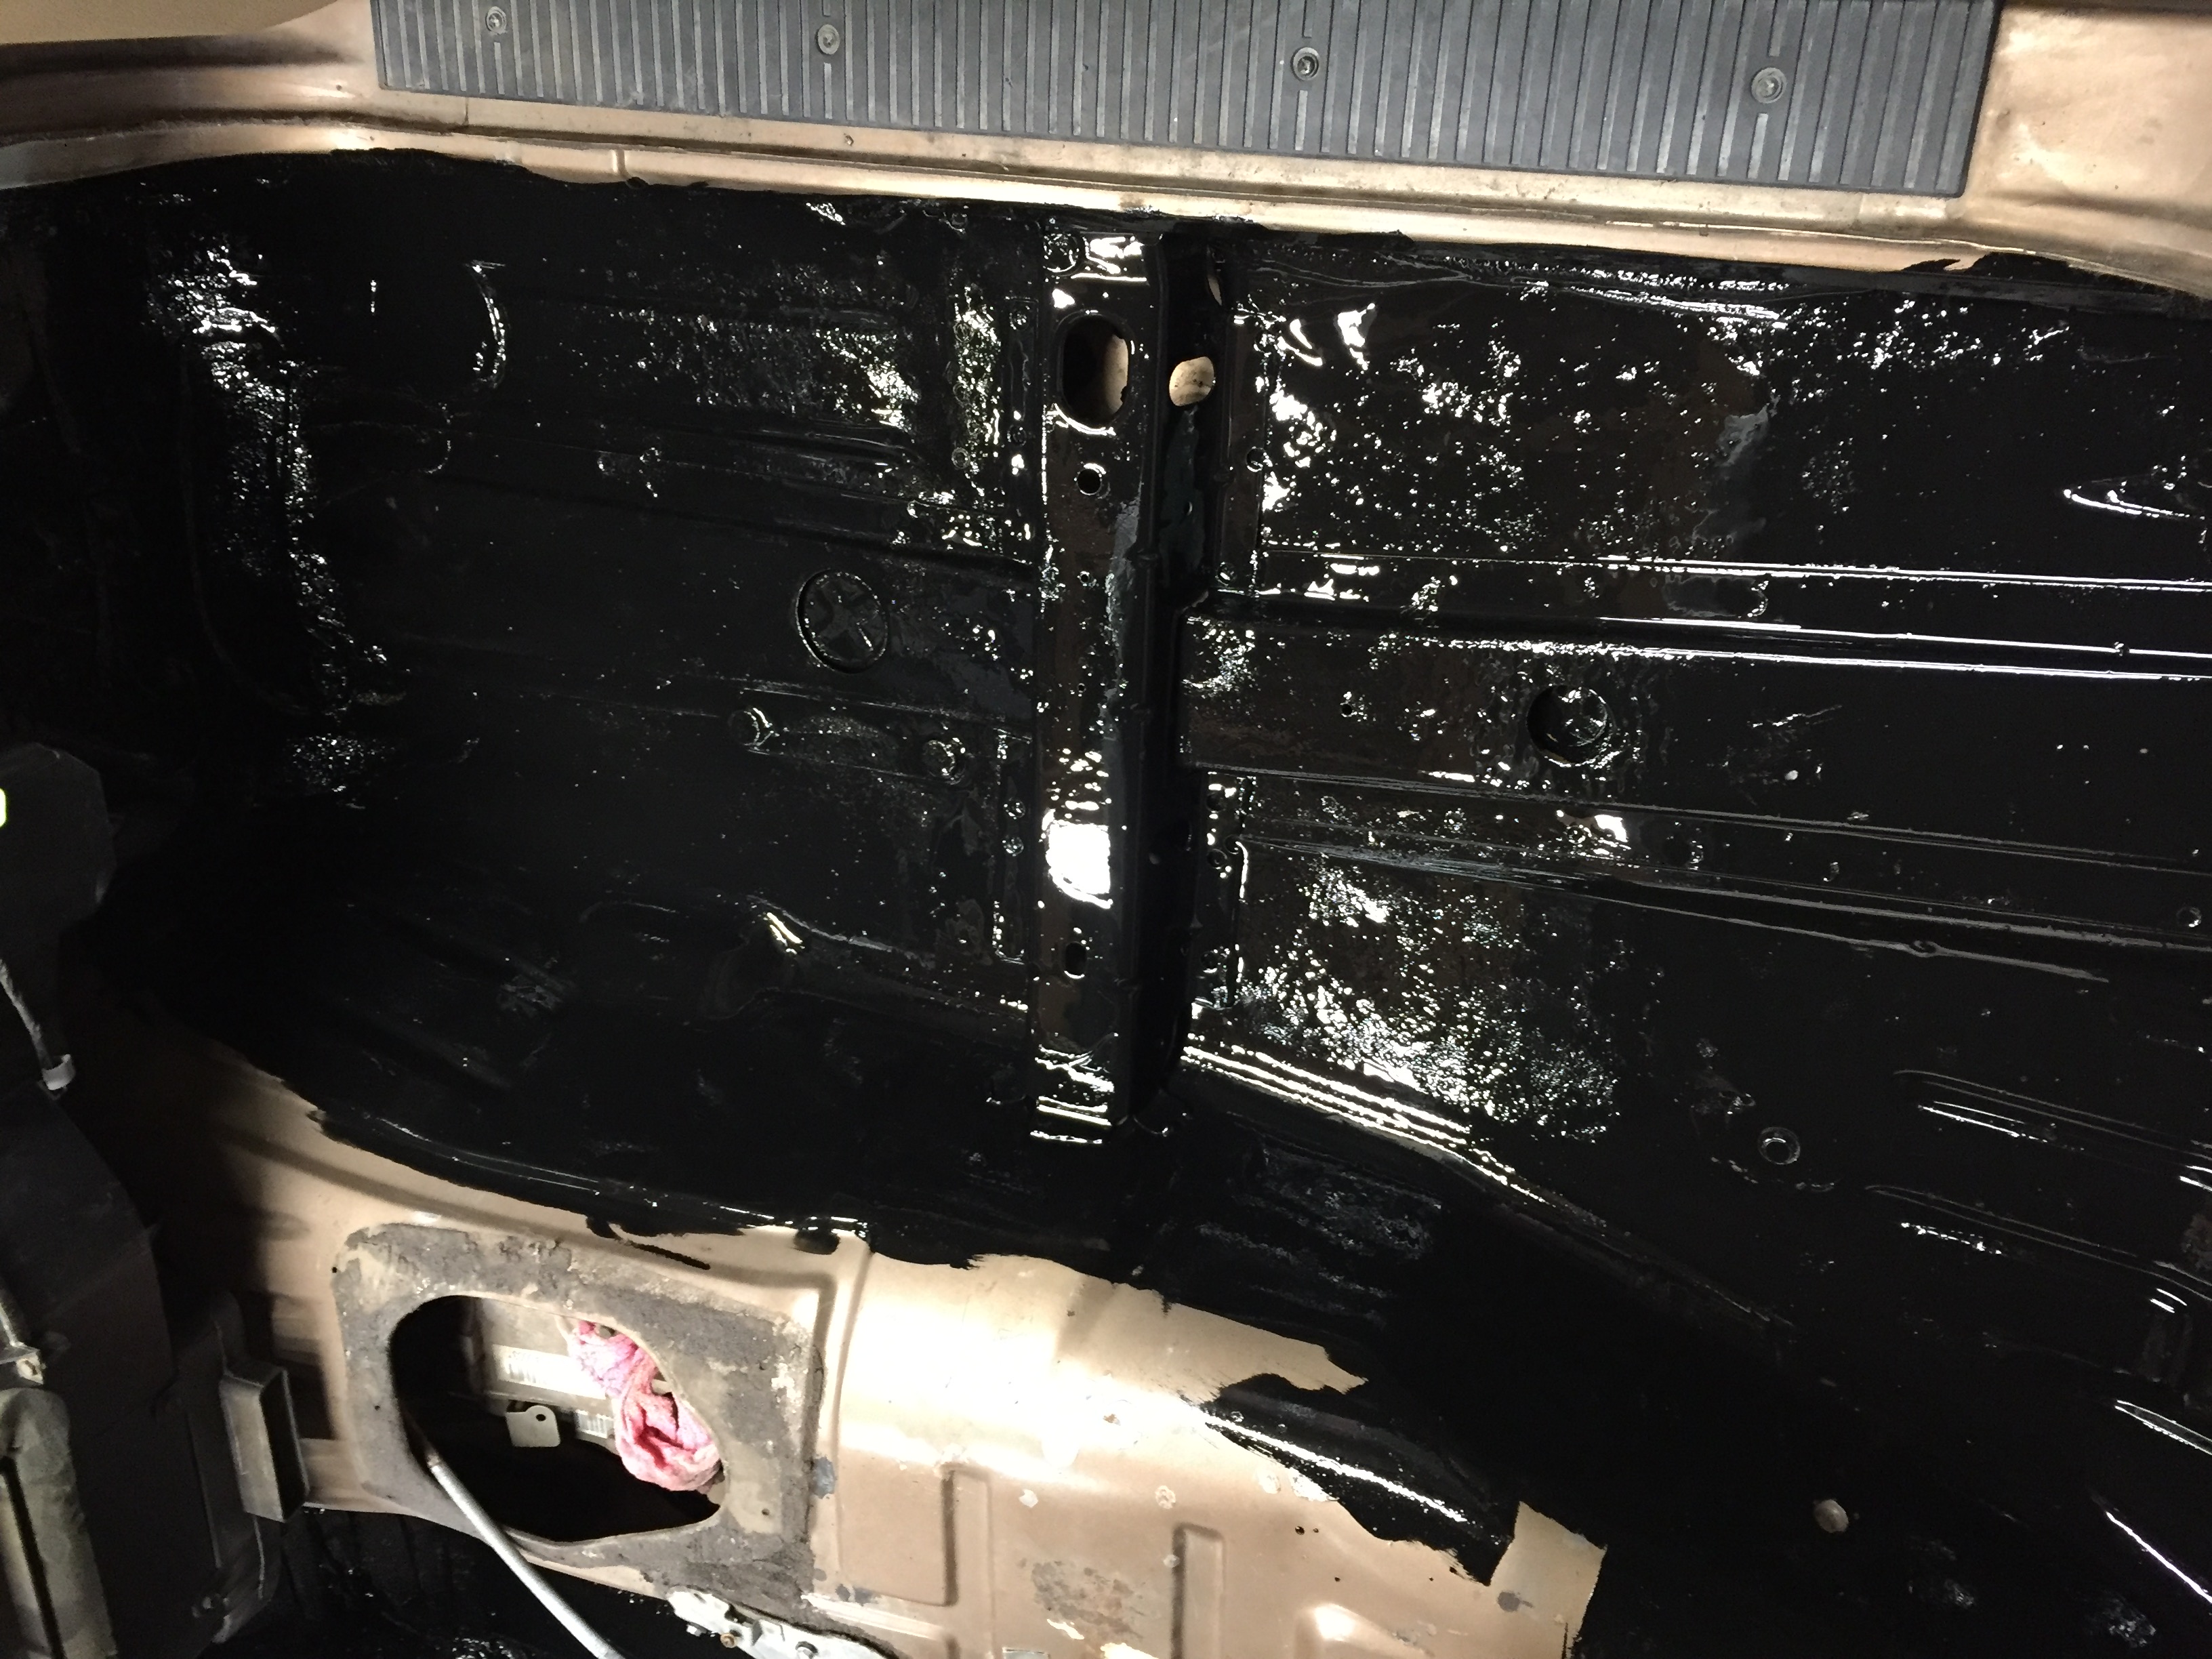
|
|
|
|
|
02-12-2018, 08:11 AM
|
#79 |
|
Working Mother
Join Date: Mar 2004
Posts: 19,874
|
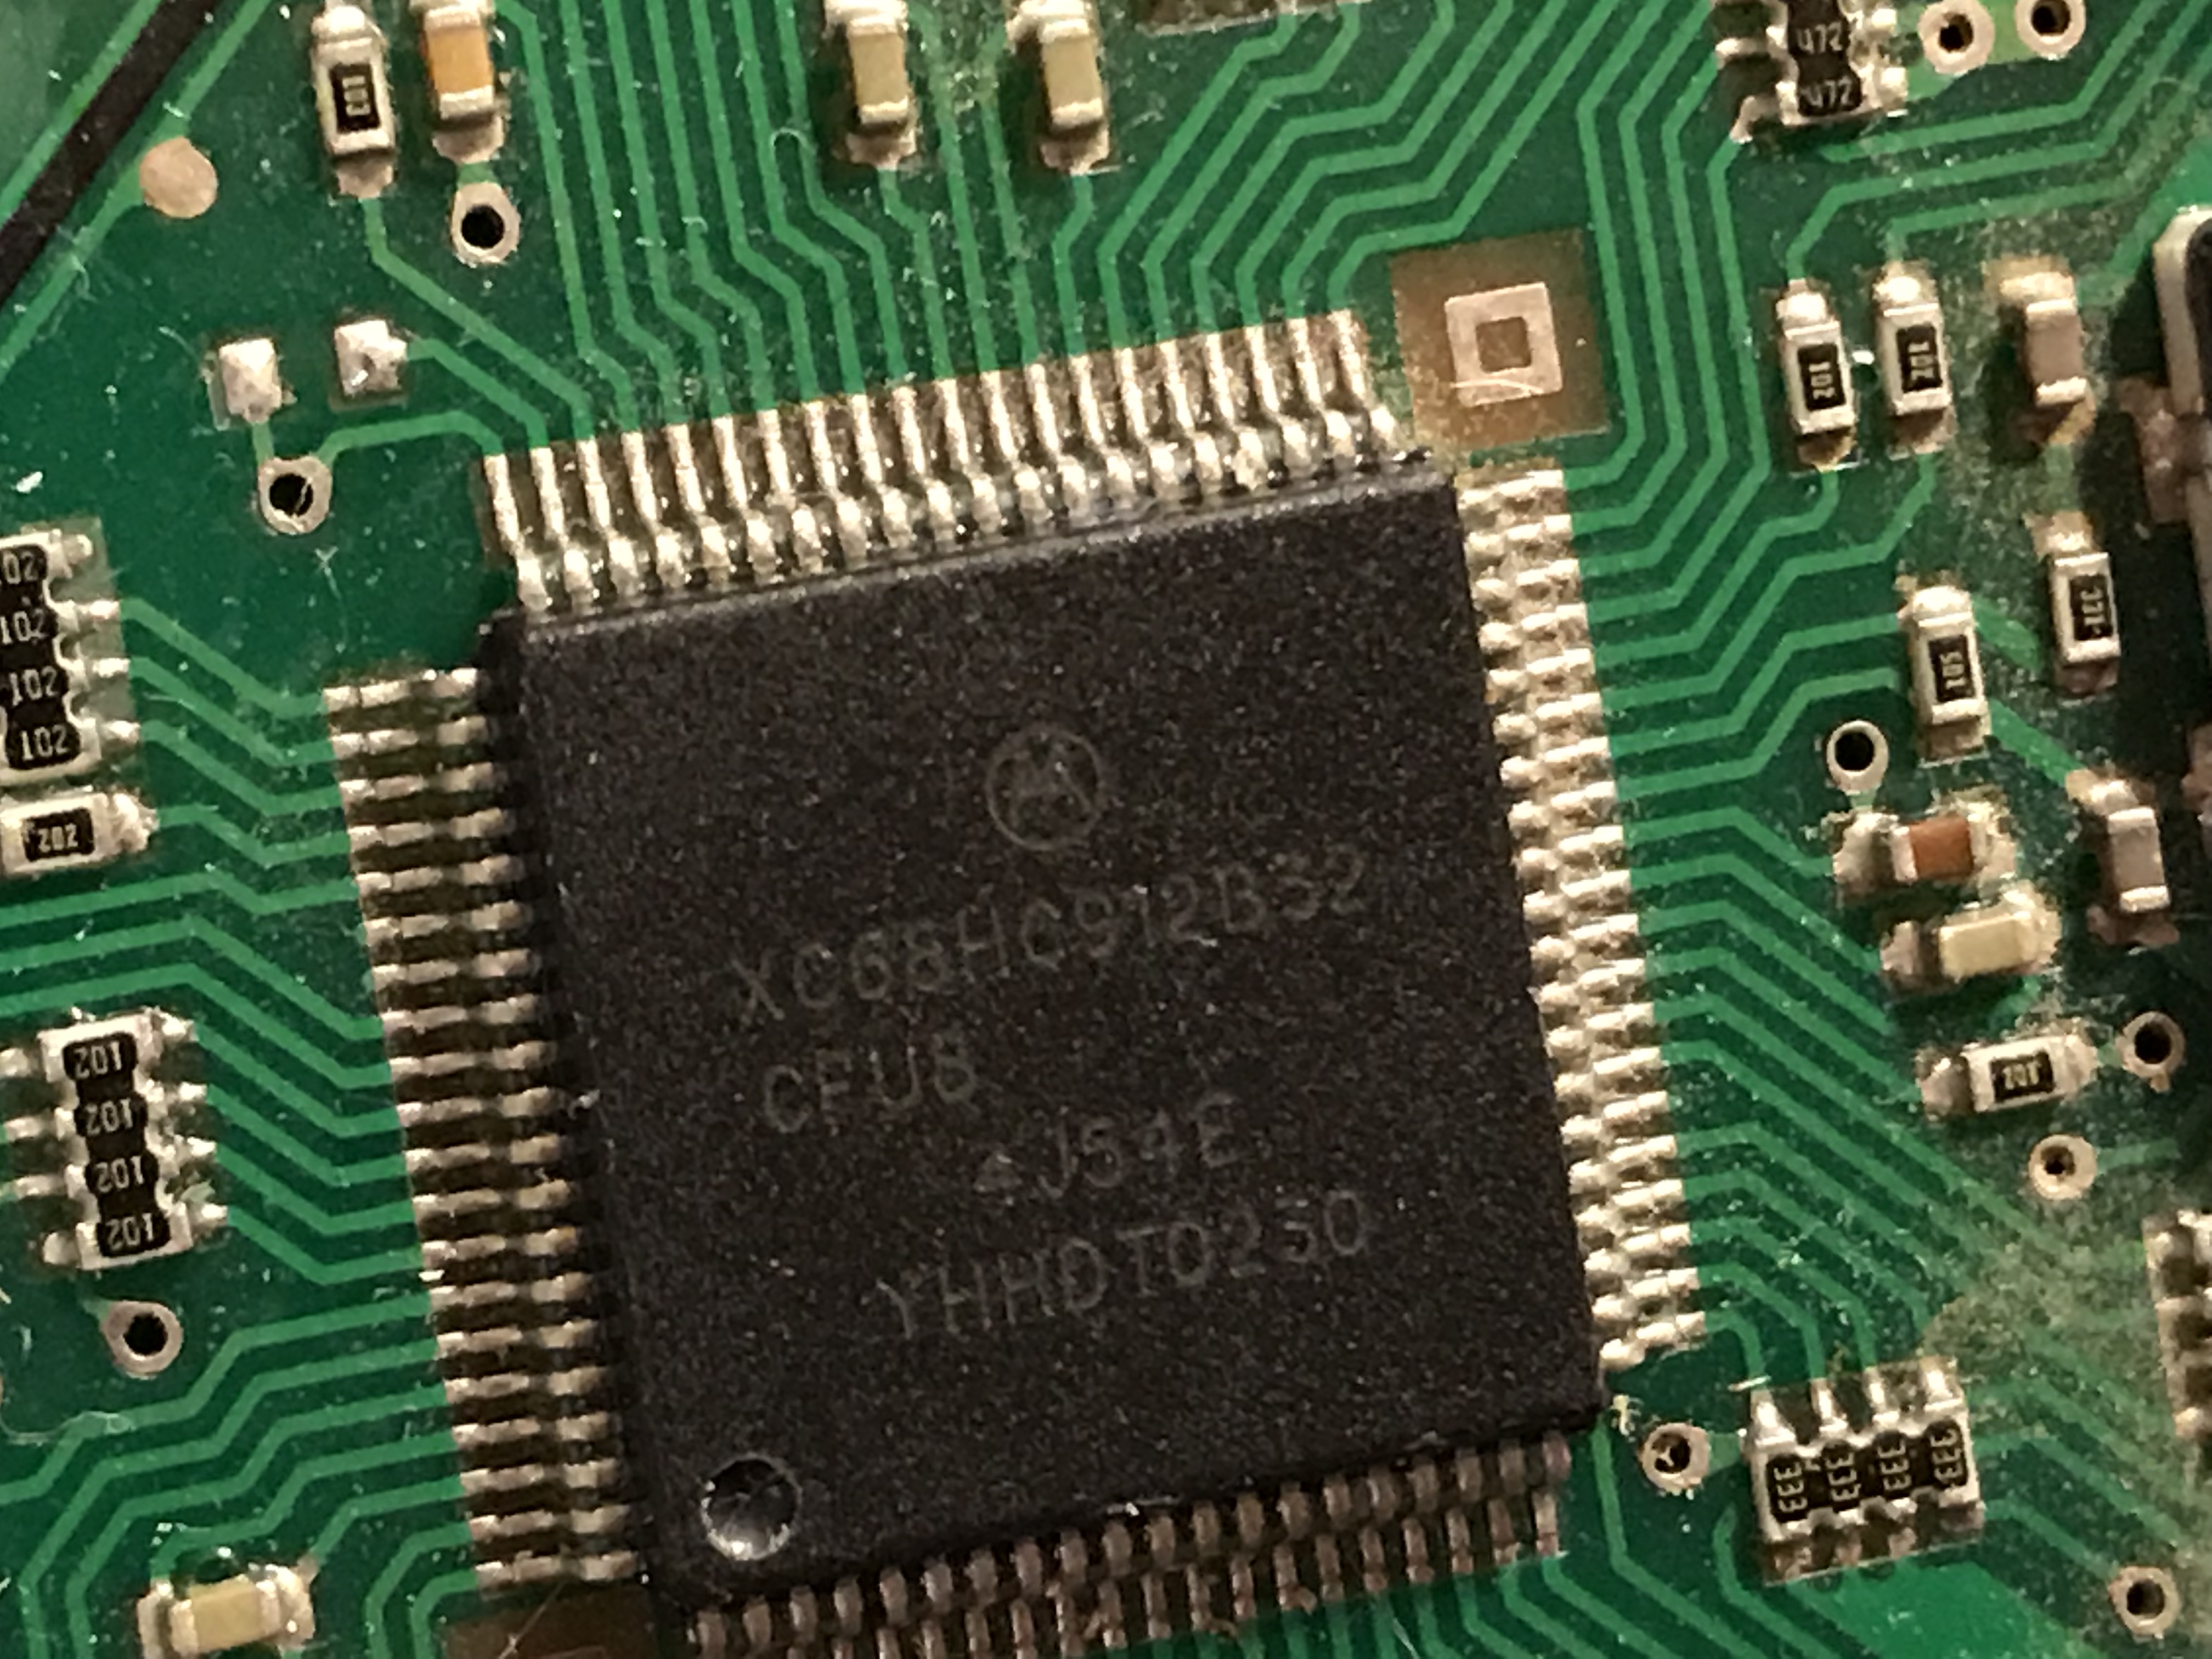
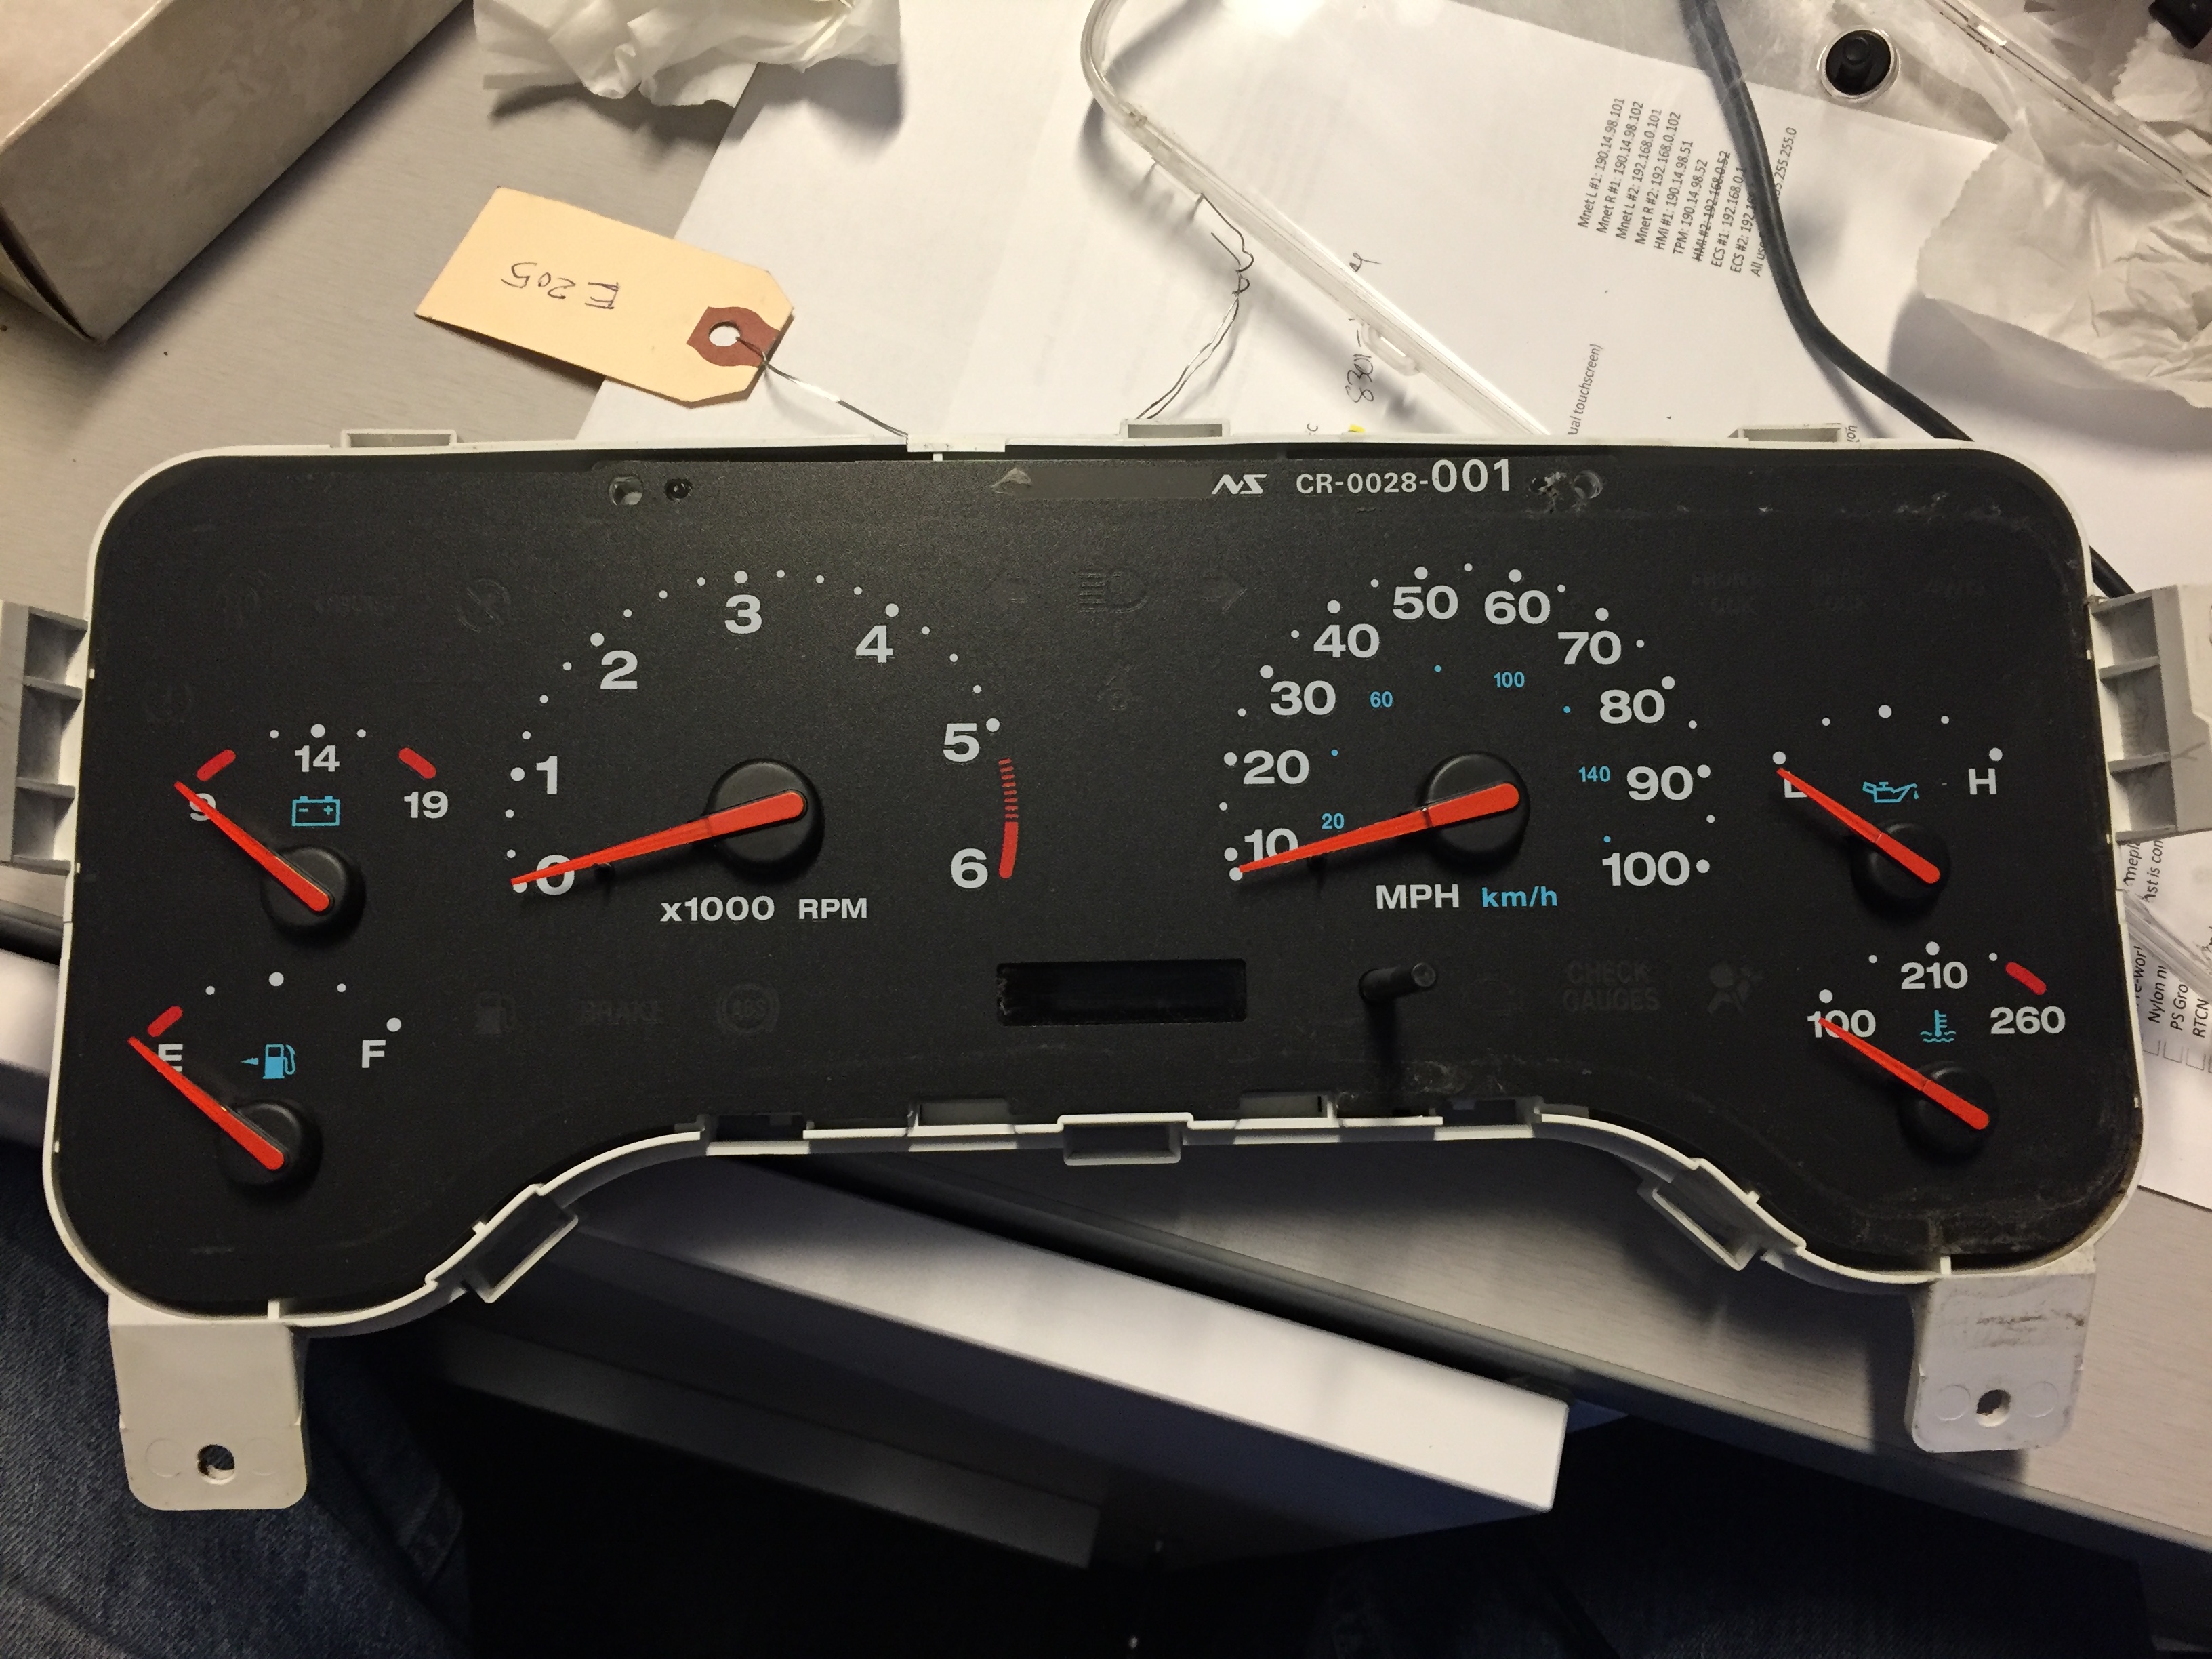
This is my next project, its the TJ cluster I am using for my MJ, I had to order some more equipment for this unit. The 02-06 TJ and 02-07 KJ similar years of WJ have no external eeprom, so the method is a little different.
|
|
|
|
|
02-12-2018, 01:49 PM
|
#80 |
|
- The Don -
Join Date: Sep 2002
Location: MN
Posts: 48,354
|
Noice!
__________________
To each his own. Not all those who wander are lost. The great irony - triggered snowflakes accusing triggered snowflakes of being triggered snowflakes
|
|
|
|
 |
|
|


 Linear Mode

