


 |
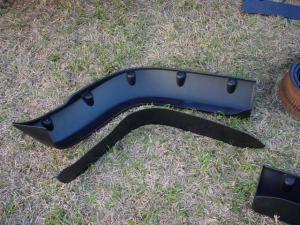
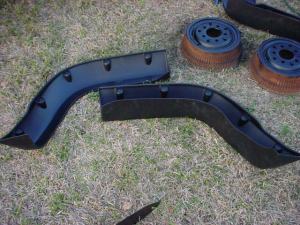
Bushwacker’s XJ Cut-Out Flares |
The rear flares are by far the hardest and most complicated part of the install. Couple that with really crappy installation instructions (or in my case, NO instructions), and you’ve got a recipe for lots of cursing and hair pulling.
 |
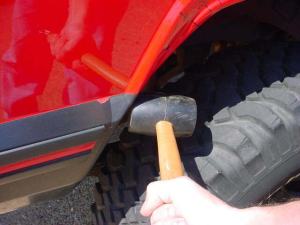 |
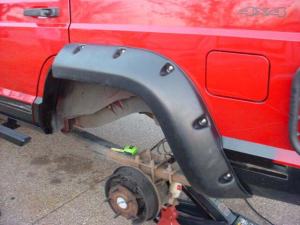
If you follow the Bushwacker instructions, you’ll cut up past the spot welds holding the outer fender and inner wheelwell sheetmetal together. This requires either lots of creativity with pop-rivits or some welding (or both) to put back together, and not looking forward to either, I opted to fold the fender lip back into the wheelwell instead. I made some radial cuts around the corners of the wheel well, and went to town with a big rubber mallet.
 |
 |
This actually worked out pretty good and I wasn’t left with any big gaping holes in the fenders. The paint chipped off where the metal was bend over, but it wasn’t anything some masking tape and black Krylon couldn’t fix.
 |
 |
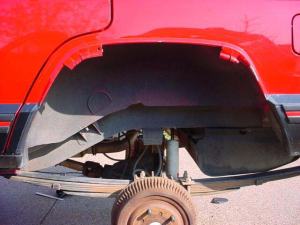
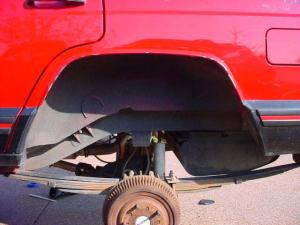
Unfortunately, this method doesn’t quite give enough clearance to mount the flares perfectly, which had me stumped for a bit… until I got the great idea of simply cutting out that inner lip (which I didn’t like anyway). So out came the sabersaw again and off went that lip! In hindsight, I’d have been much better off simply marking the flares where they hit the body and cutting out just that section, and not the entire lip. The lip helps give the flares their rigidity and shape, as well as hiding the large amounts of uncut sheet metal behind the flares.
 |
 |
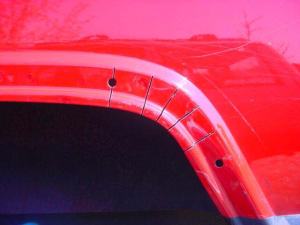
Once you’ve got the fenders (or the flares) cut to fit, position the flares and mark the holes just like you did for the fronts. This can be quite tricky though, figuring out exactly where to hold the flare on the fender because you’ve got two pieces that have to match up at the door.
Now drill and “tap” the holes just as before, and mount the flare halves using the washers, bolts and fuel hose spacers.
 |
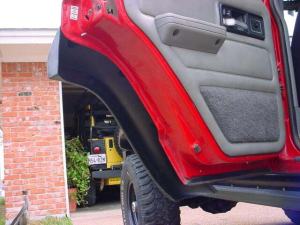 |
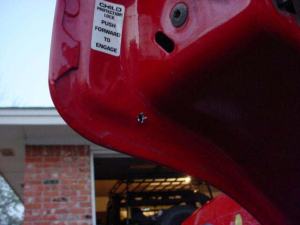
Two of the holes that you’ll drill in the back doors go all the way though, as seen in the pics above. You might want to drill these holes with the doors open so you don’t accidentally drill into the body as well.
 |
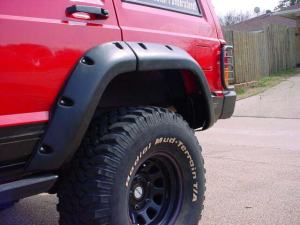 |
If you look close at these two photos, you can see where the fender kind of sticks in past the flares, as well as where I pulled the goofy red-striped Sport molding off the back door and rear quarter panel.
5 comments5 Comments so far
[…] […]
[…] […]
[…] […]
Hi there. great article for those of us going to fit these flares. I have obtained some second hand, and the comment I would make is that one of th lower “pockets” has broken right out. I didnt notice this before I bought them, and at the price I paid some damage was to be expected. It’s no biggy, I will fix it, but they sure aint indestructible. (Though Lord knows what he musta hit)
I did the same thing, i didnt want to cut into the body seams. Great writeup! Thanks